Look, I’m Painting Stuff: Hessian Grenadiers

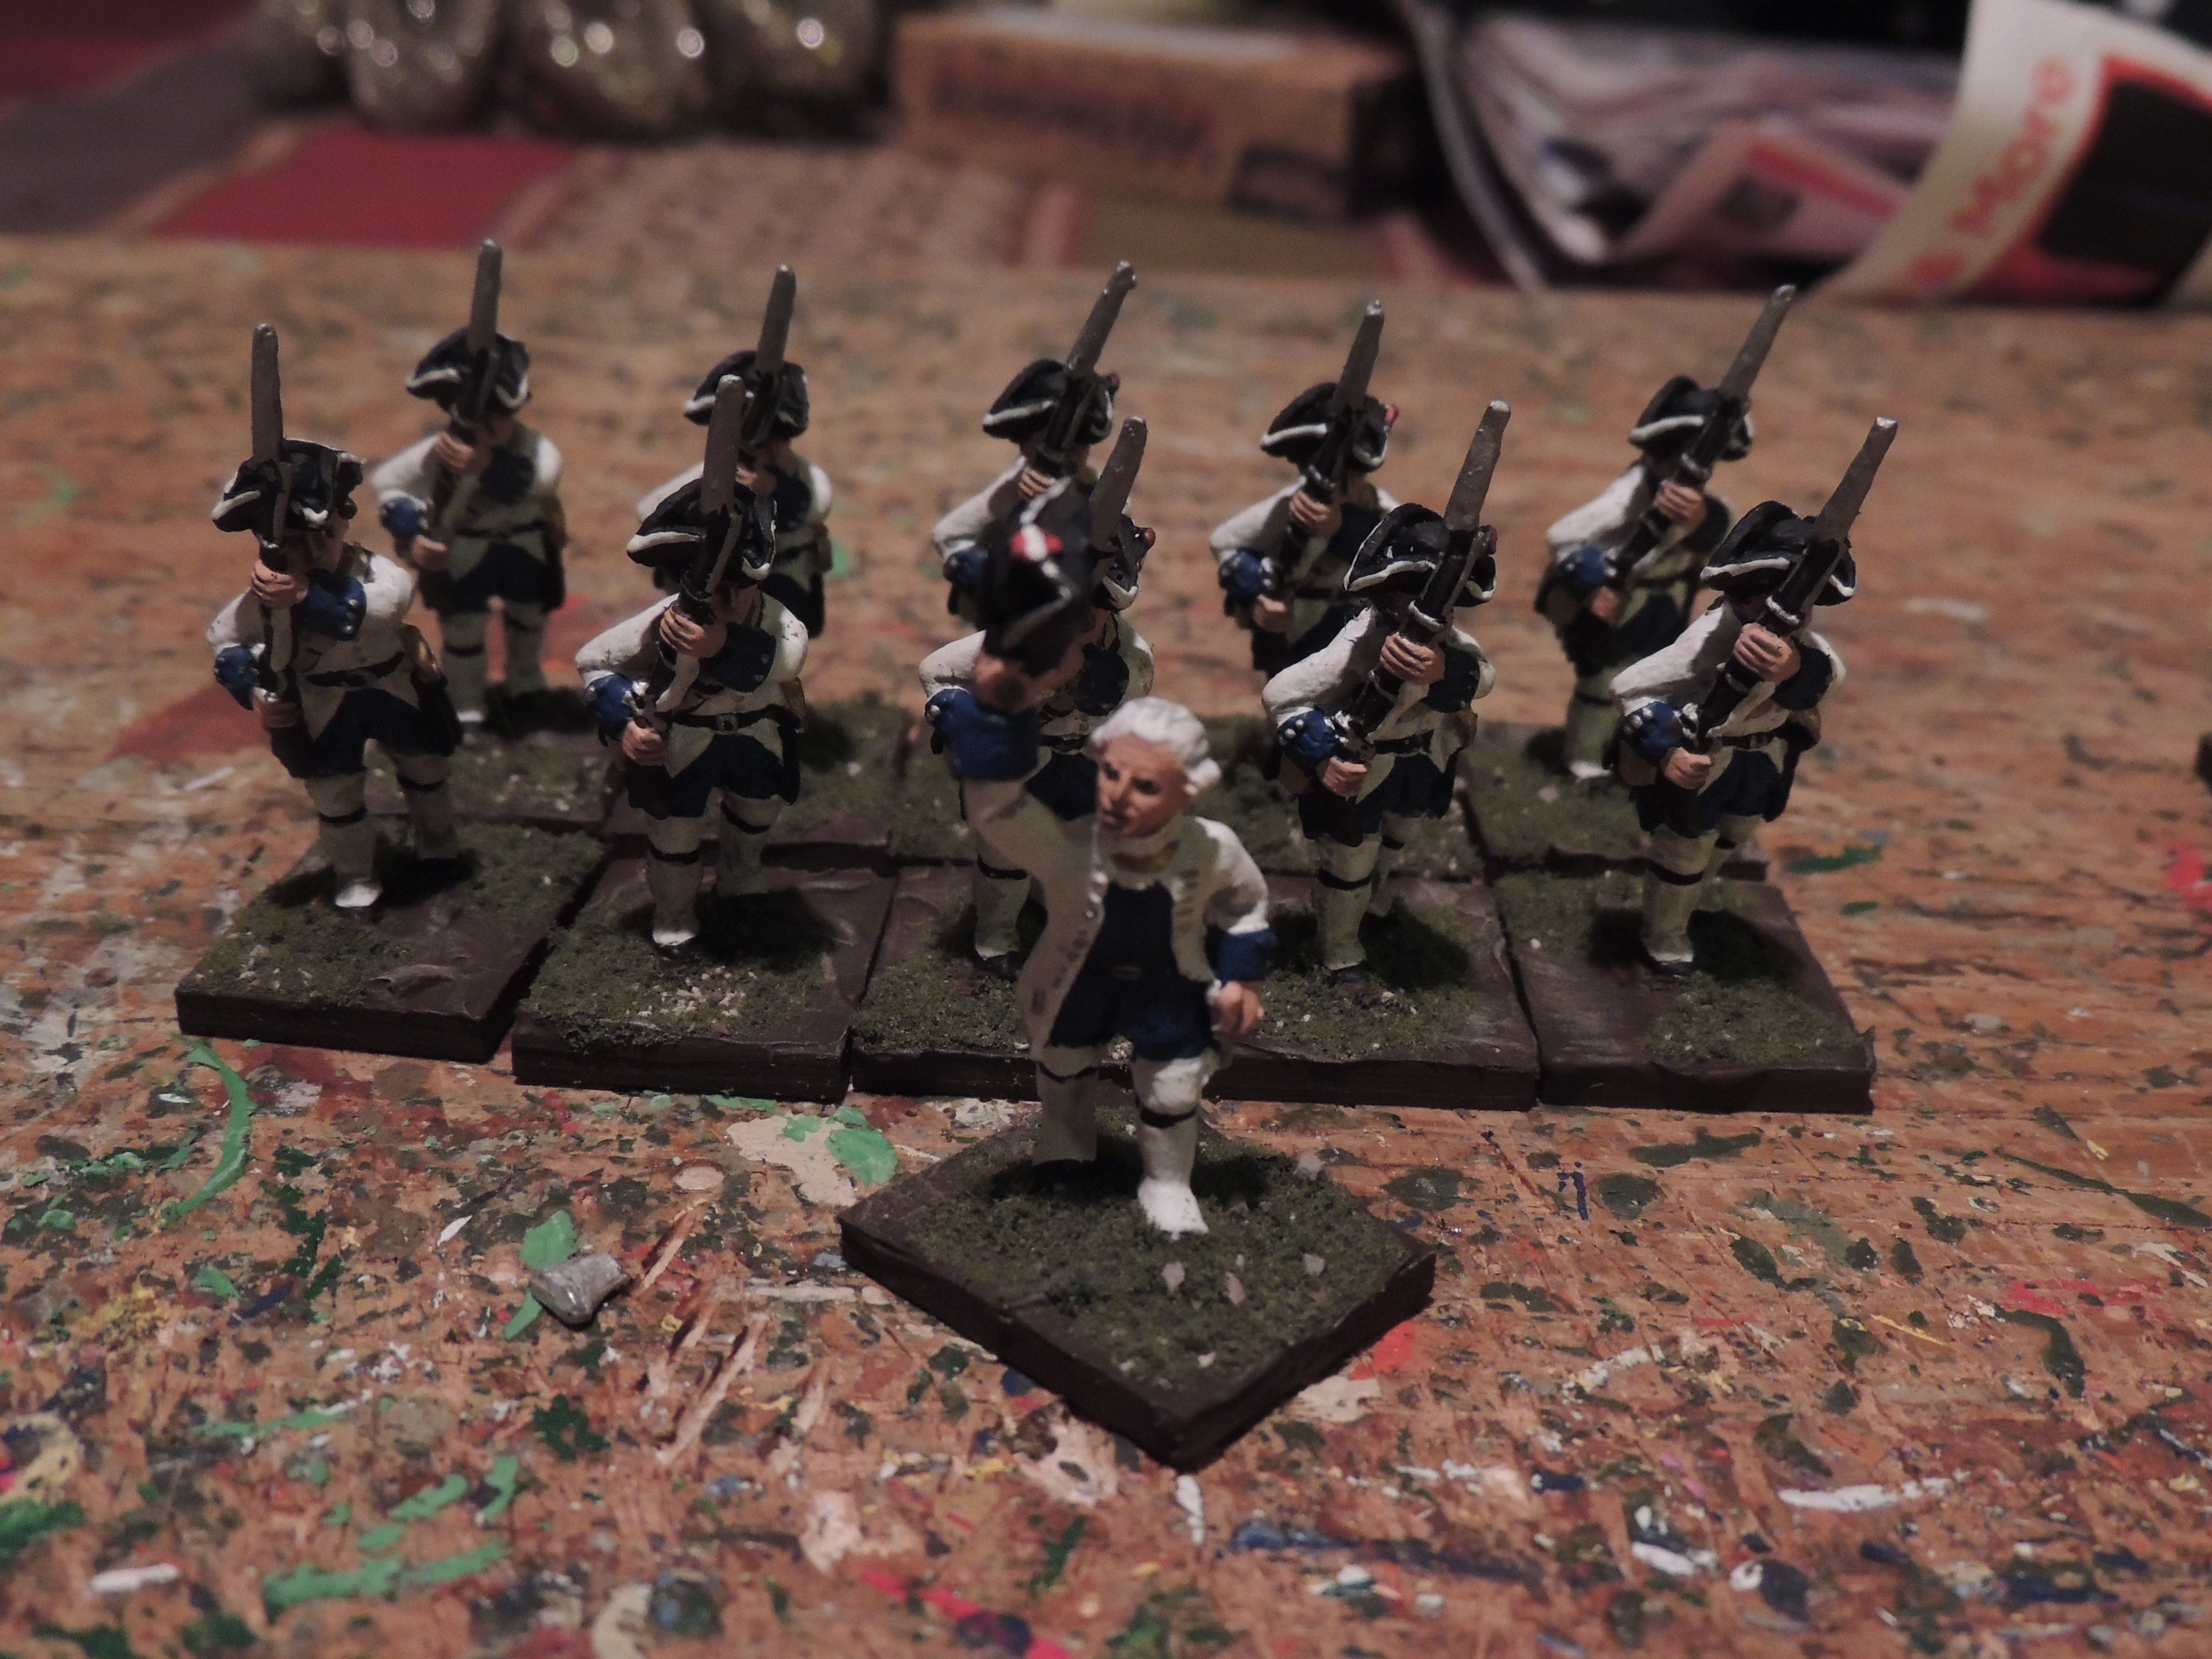
Hessian Grenadiers 001

School is back in session, and having a much different course load than in years past is taking its toll on me.  I passed on last weekend’s Fix Bayonets, an excellent little game gathering at Old Fort Steilacoom in west Pierce County.  I hope it went well, and to all my friends I’m sorry I missed you.  Next game on the docket is Fire and Fury at the same Old Fort Steilacoom.

My games have been fairly few and far between.  I haven’t reported on my Labor Day Weekend gaming in Astoria, which I will do in the next day or so, but aside from that I’ve been pretty unavailable. But I have been painting.

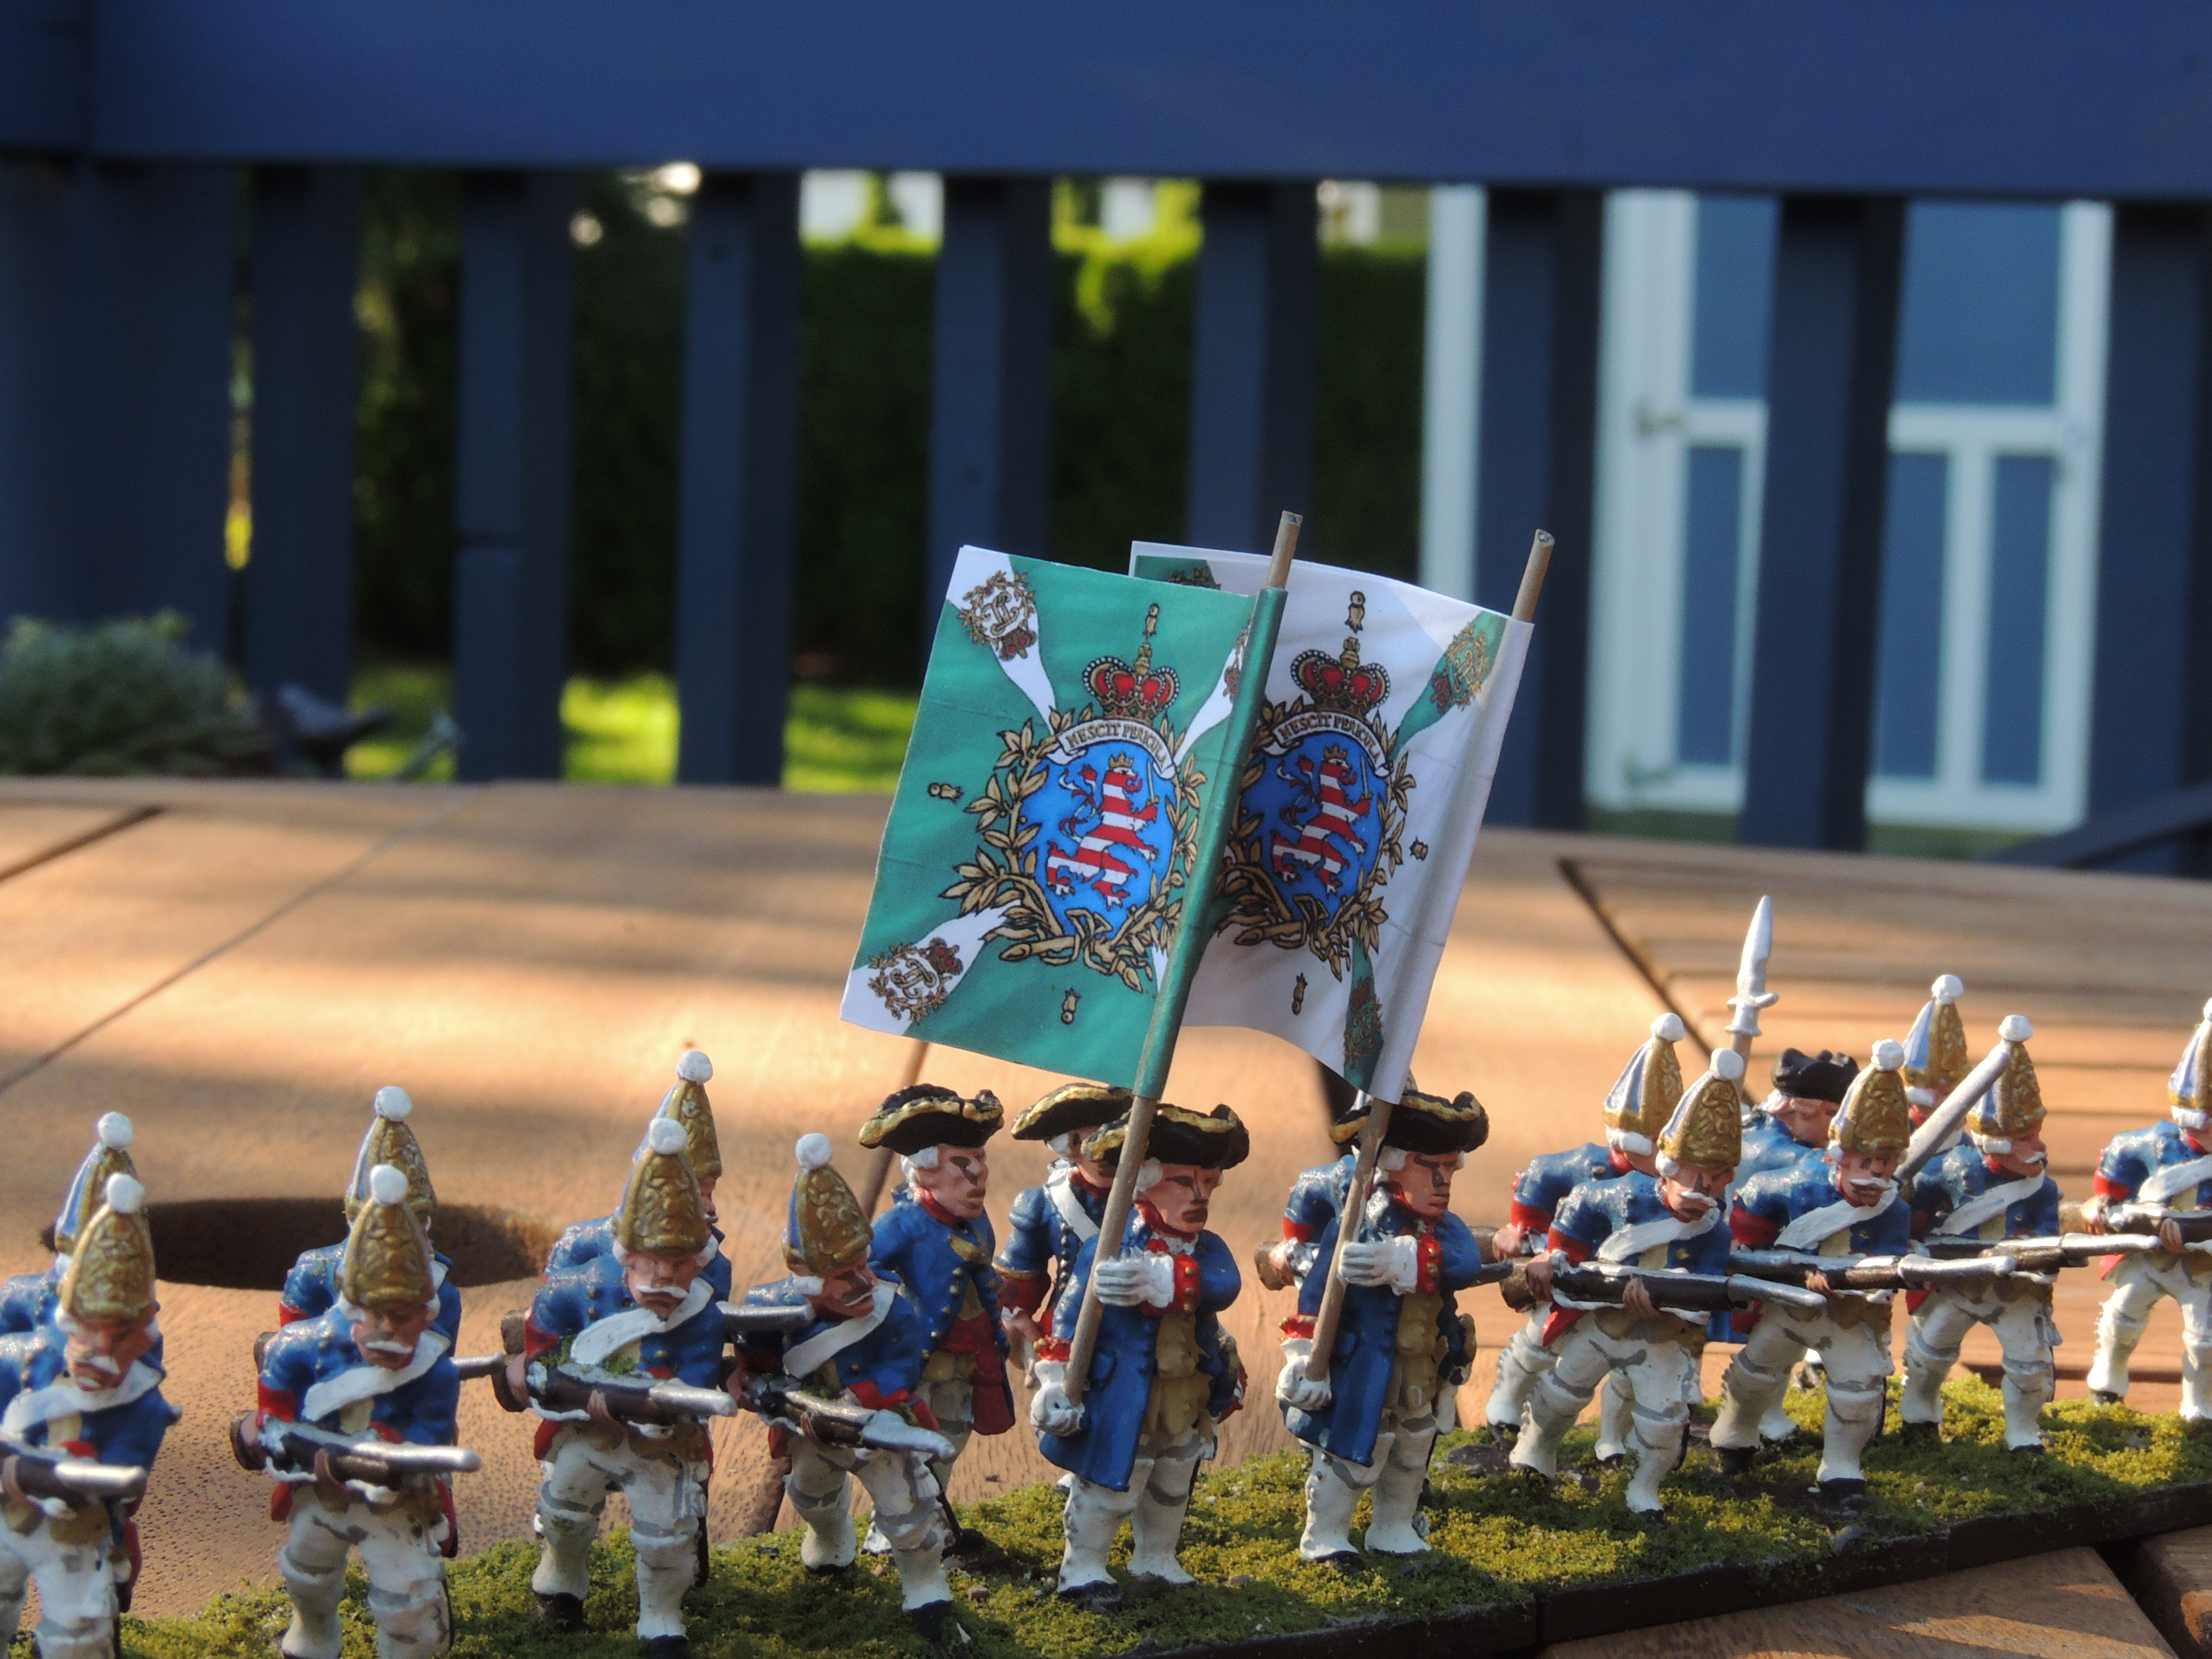
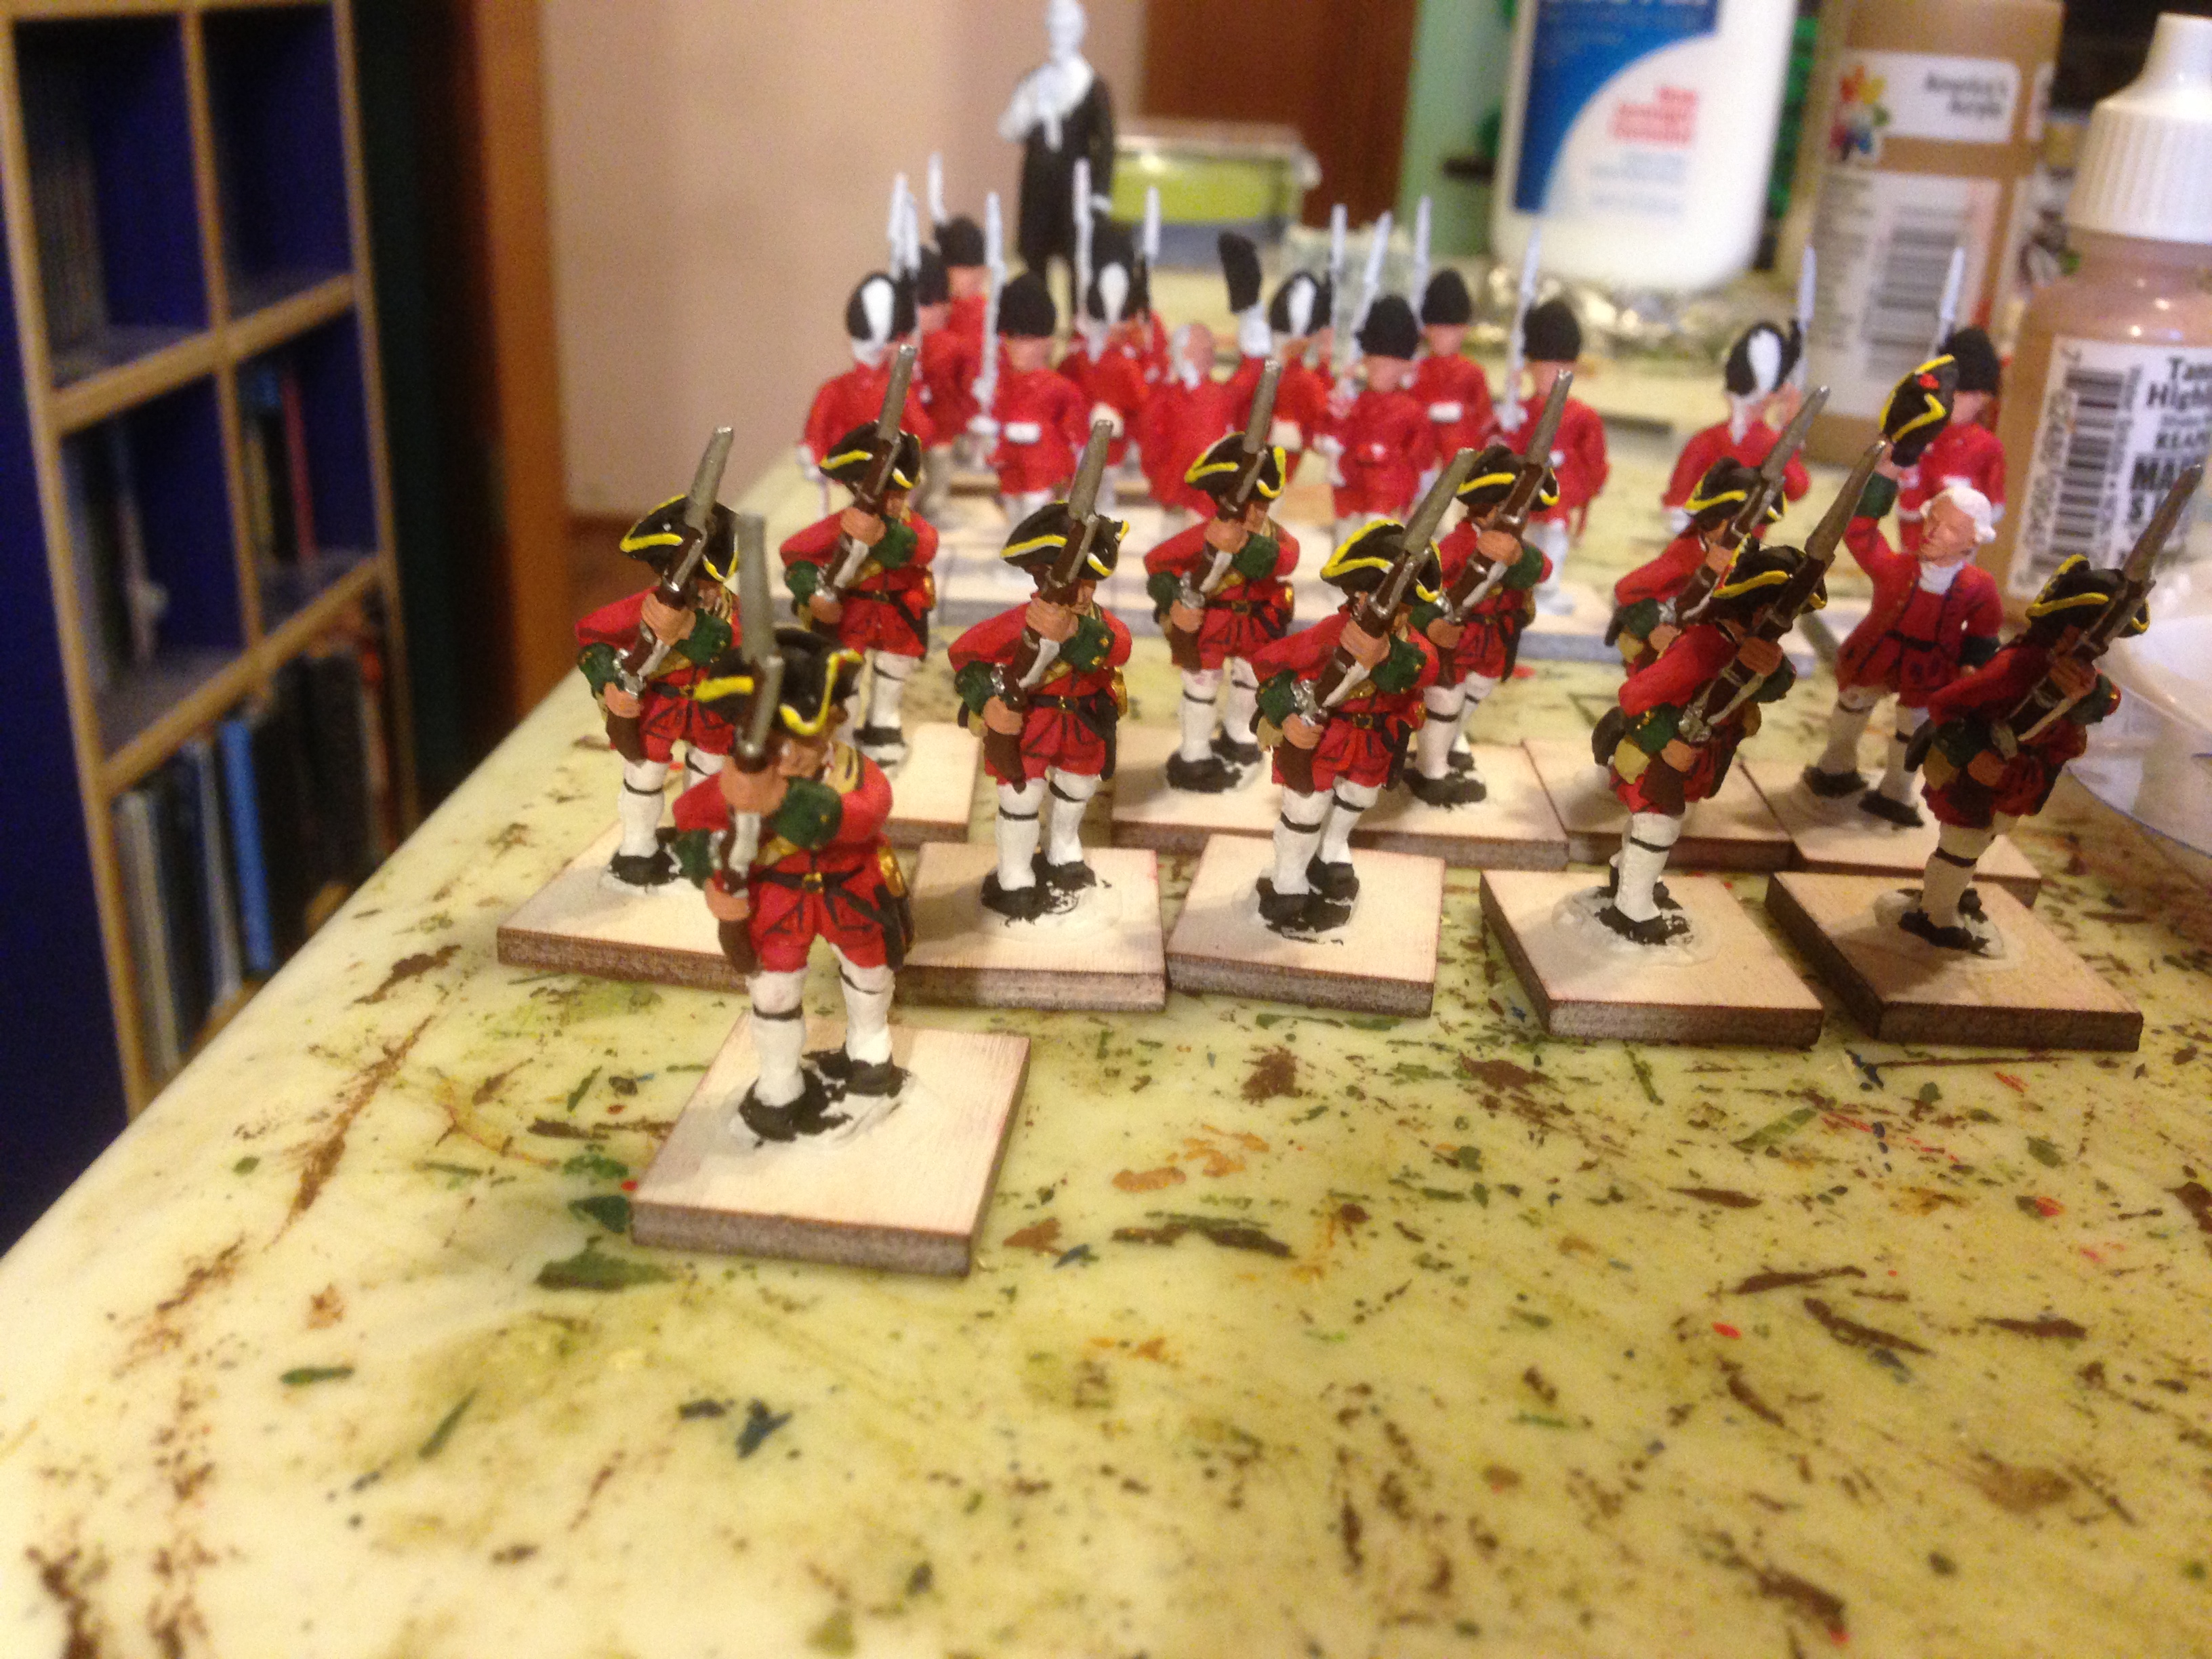
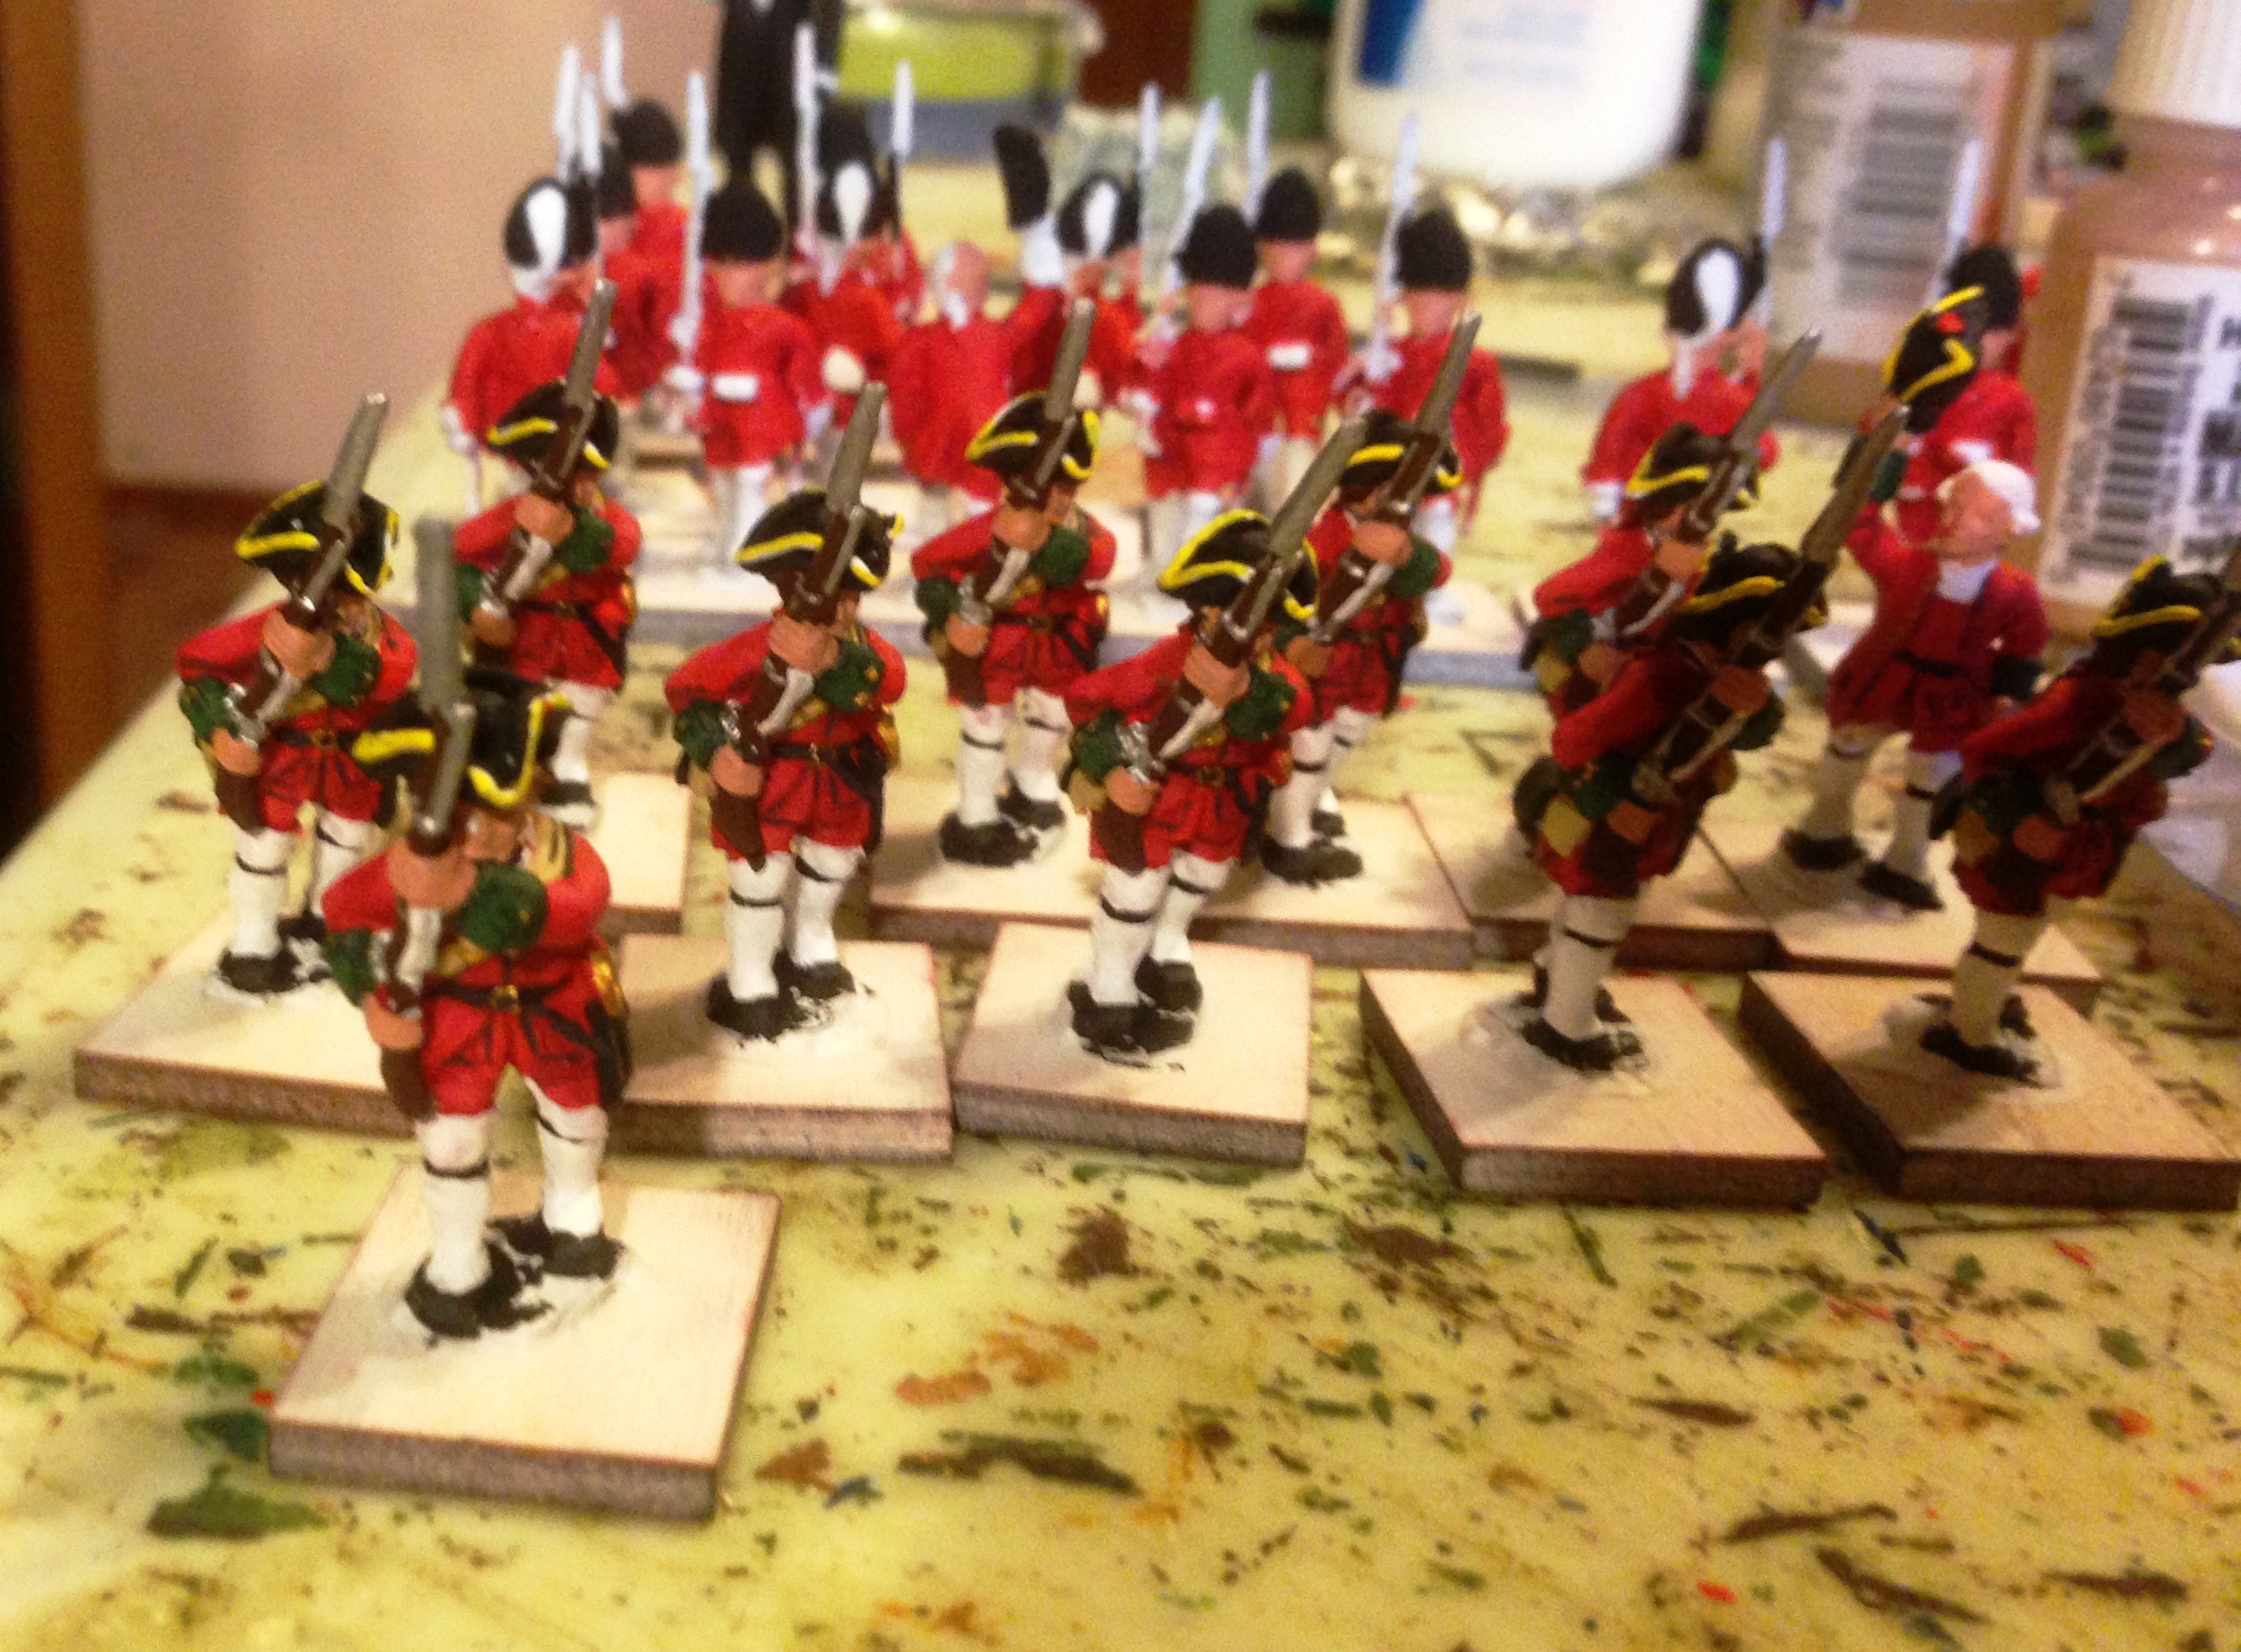
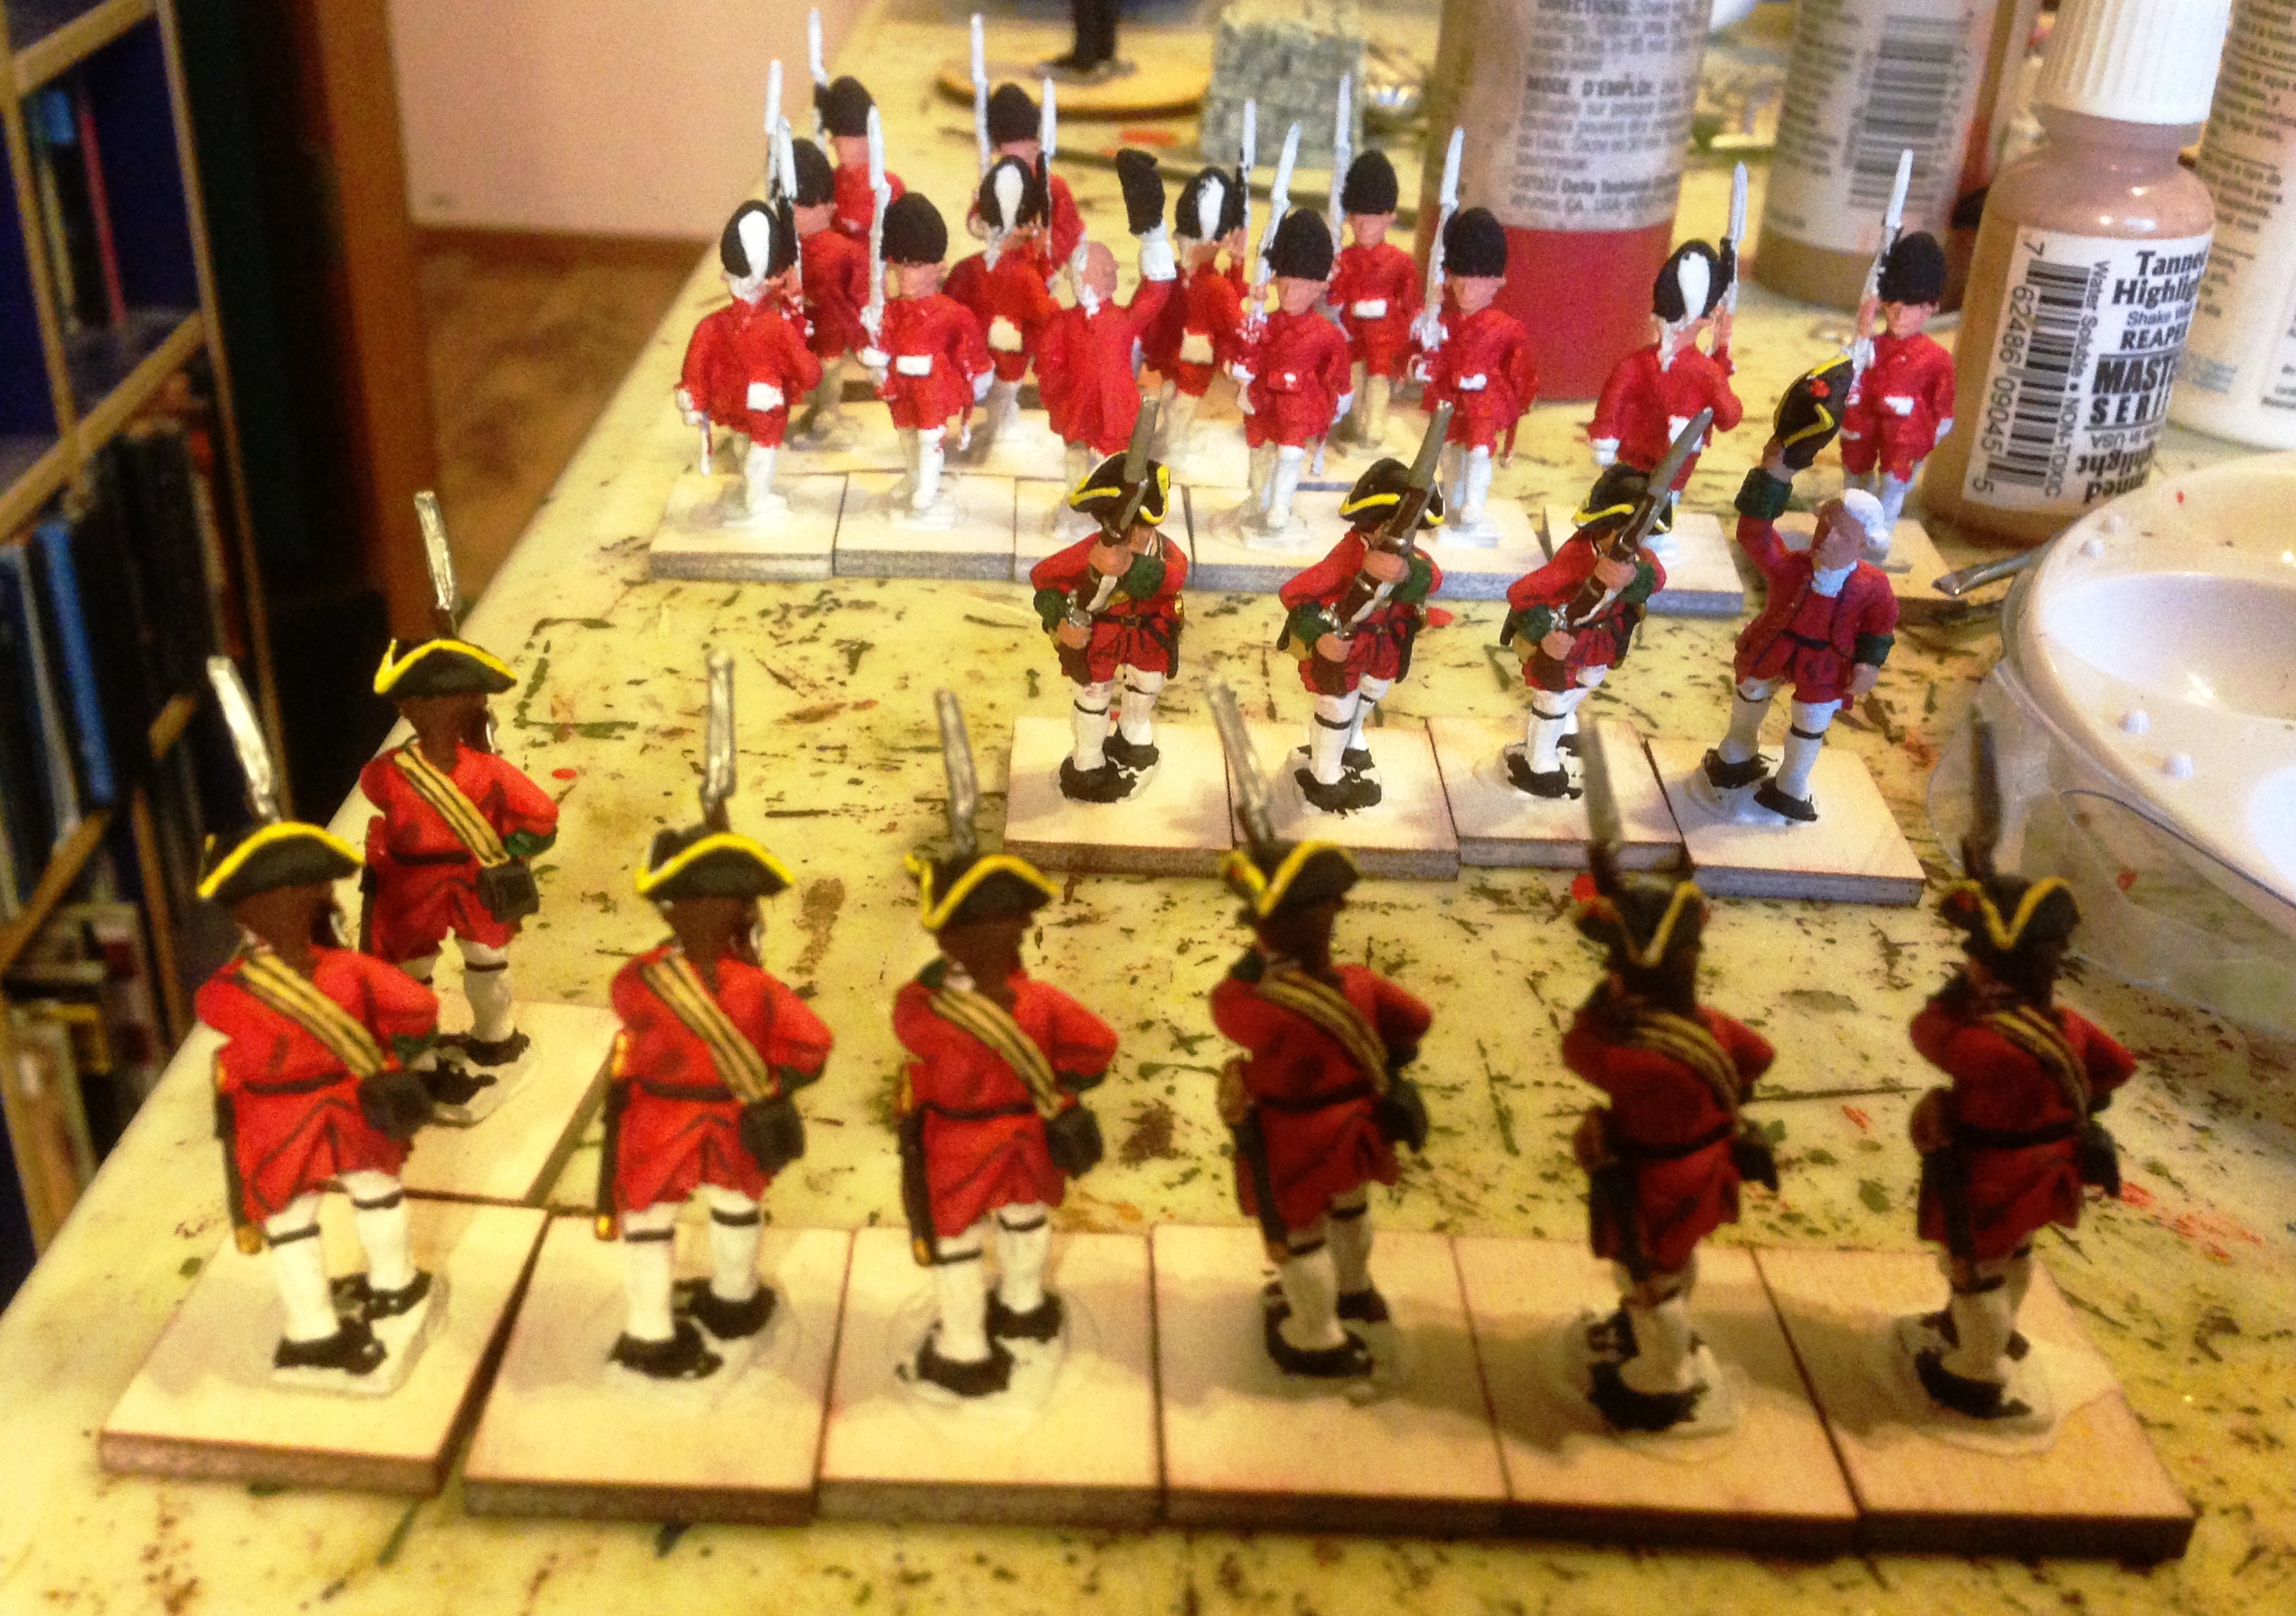
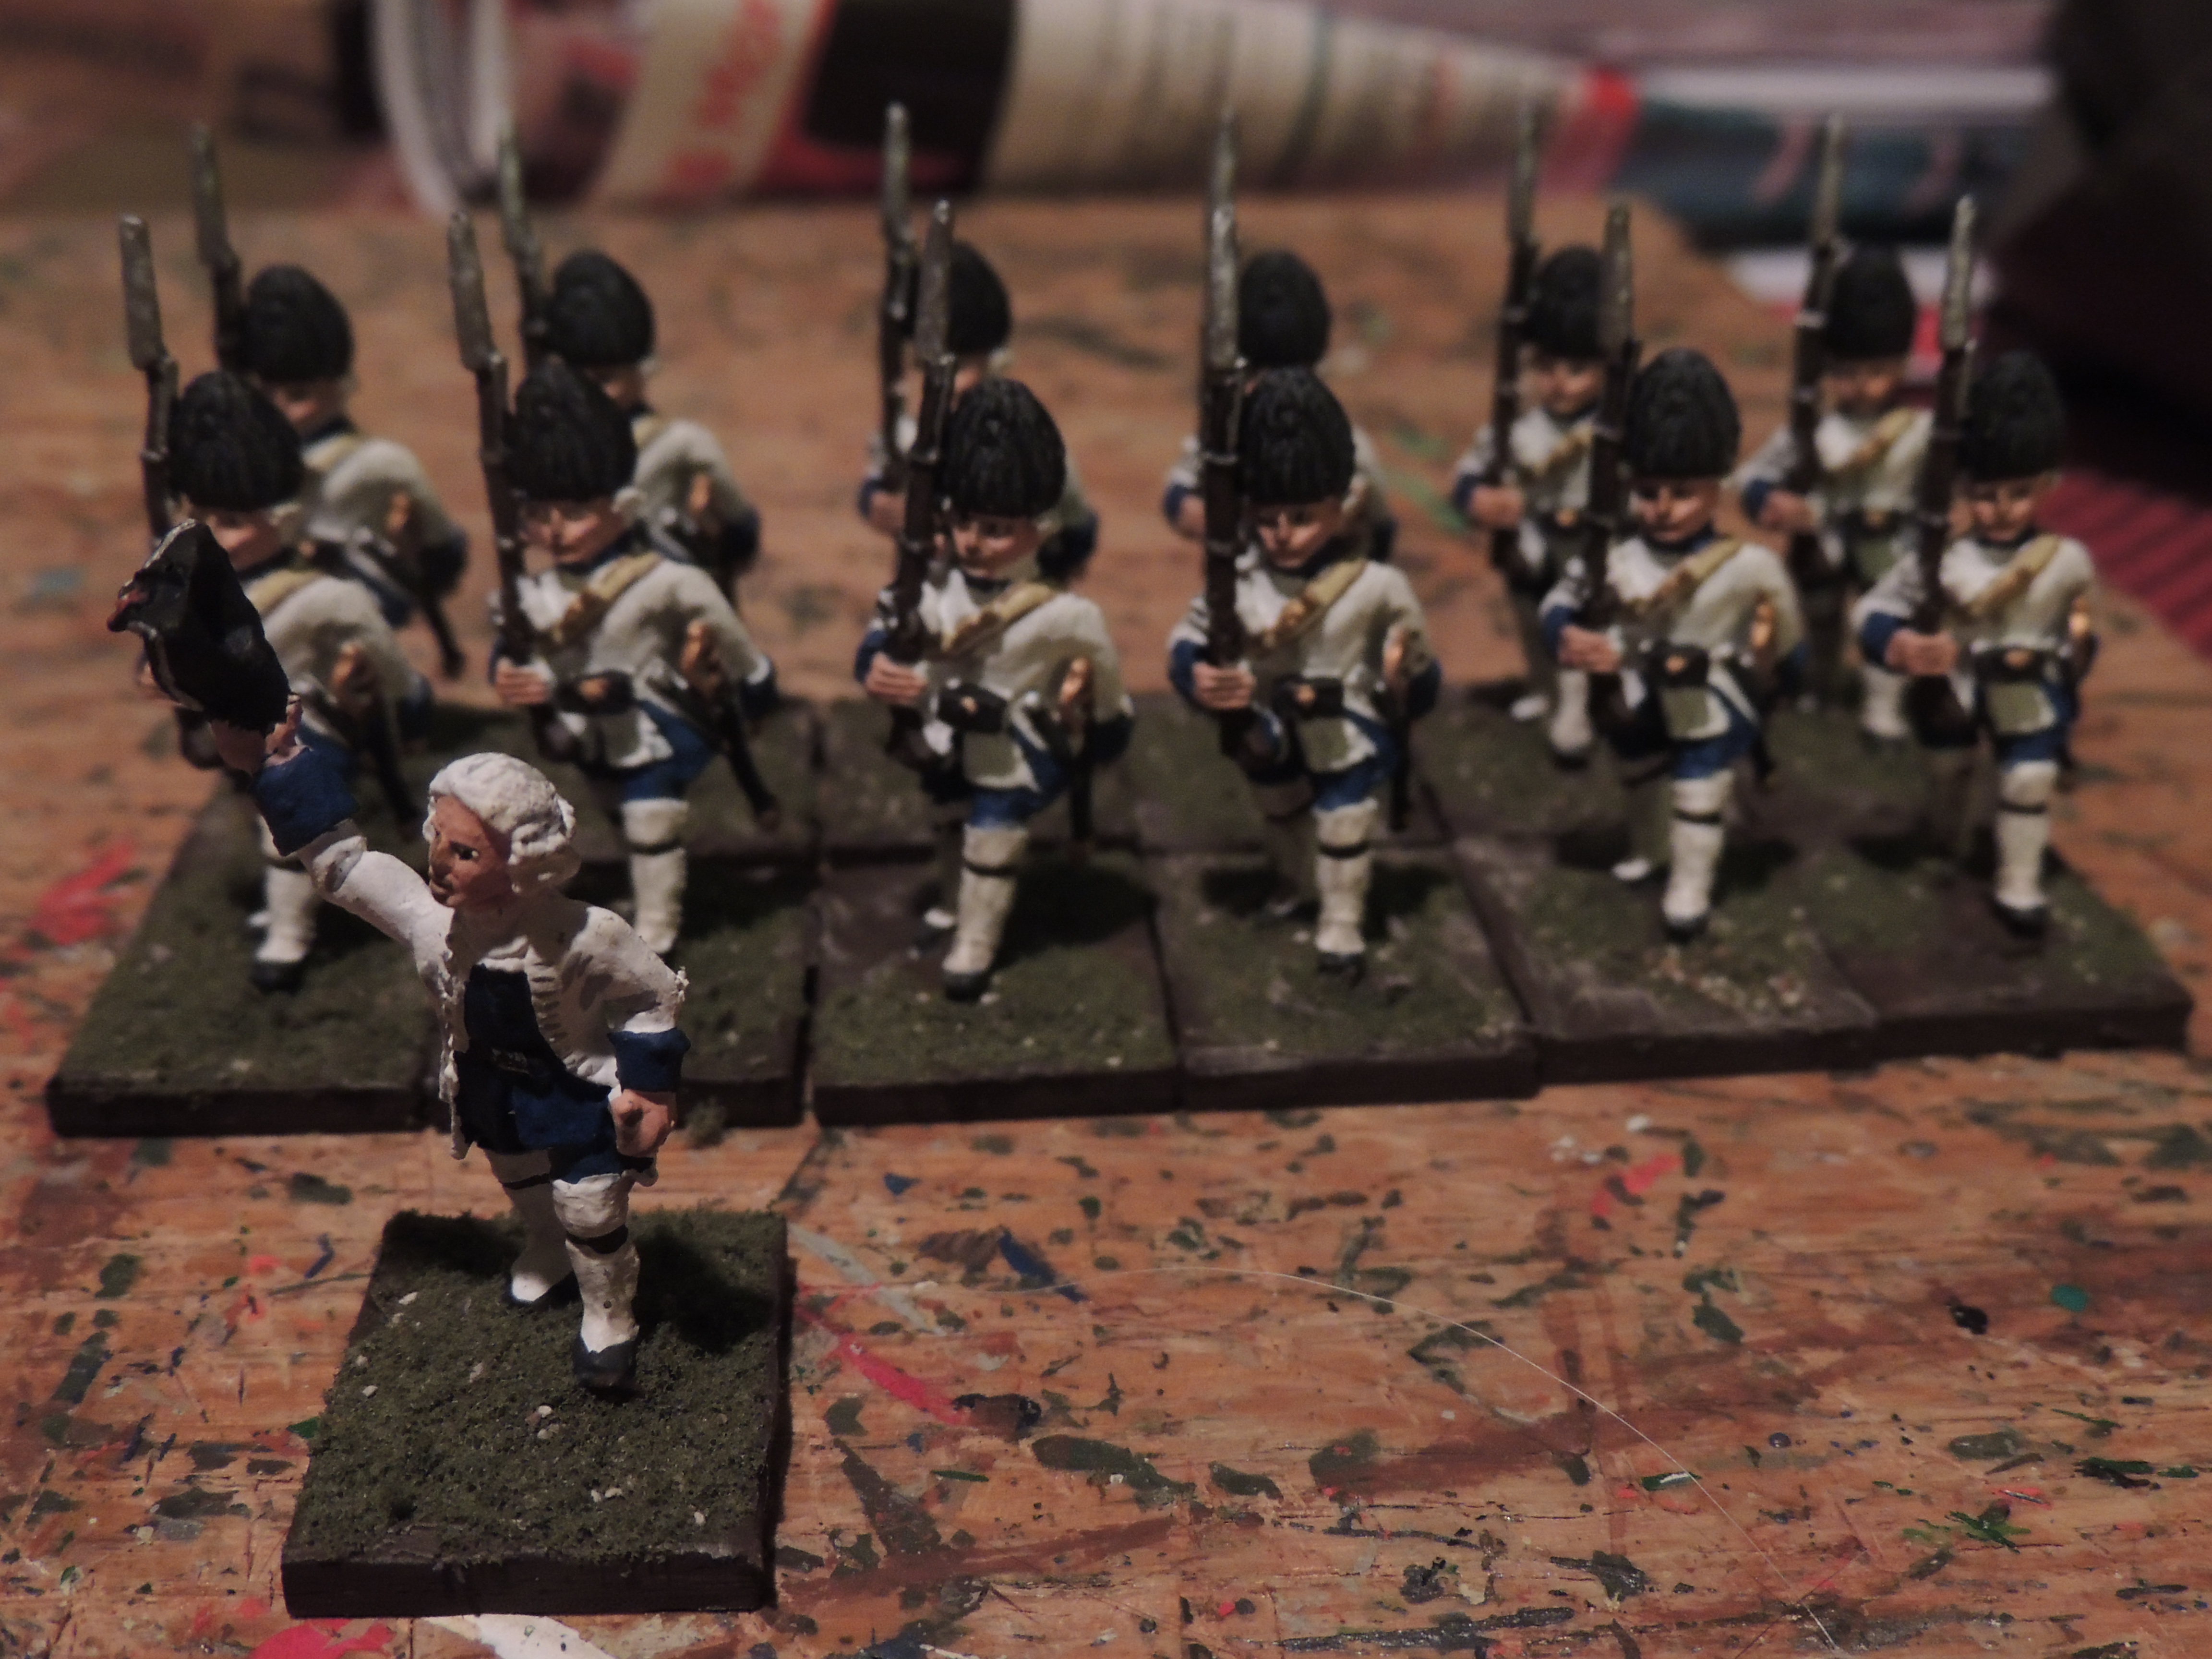
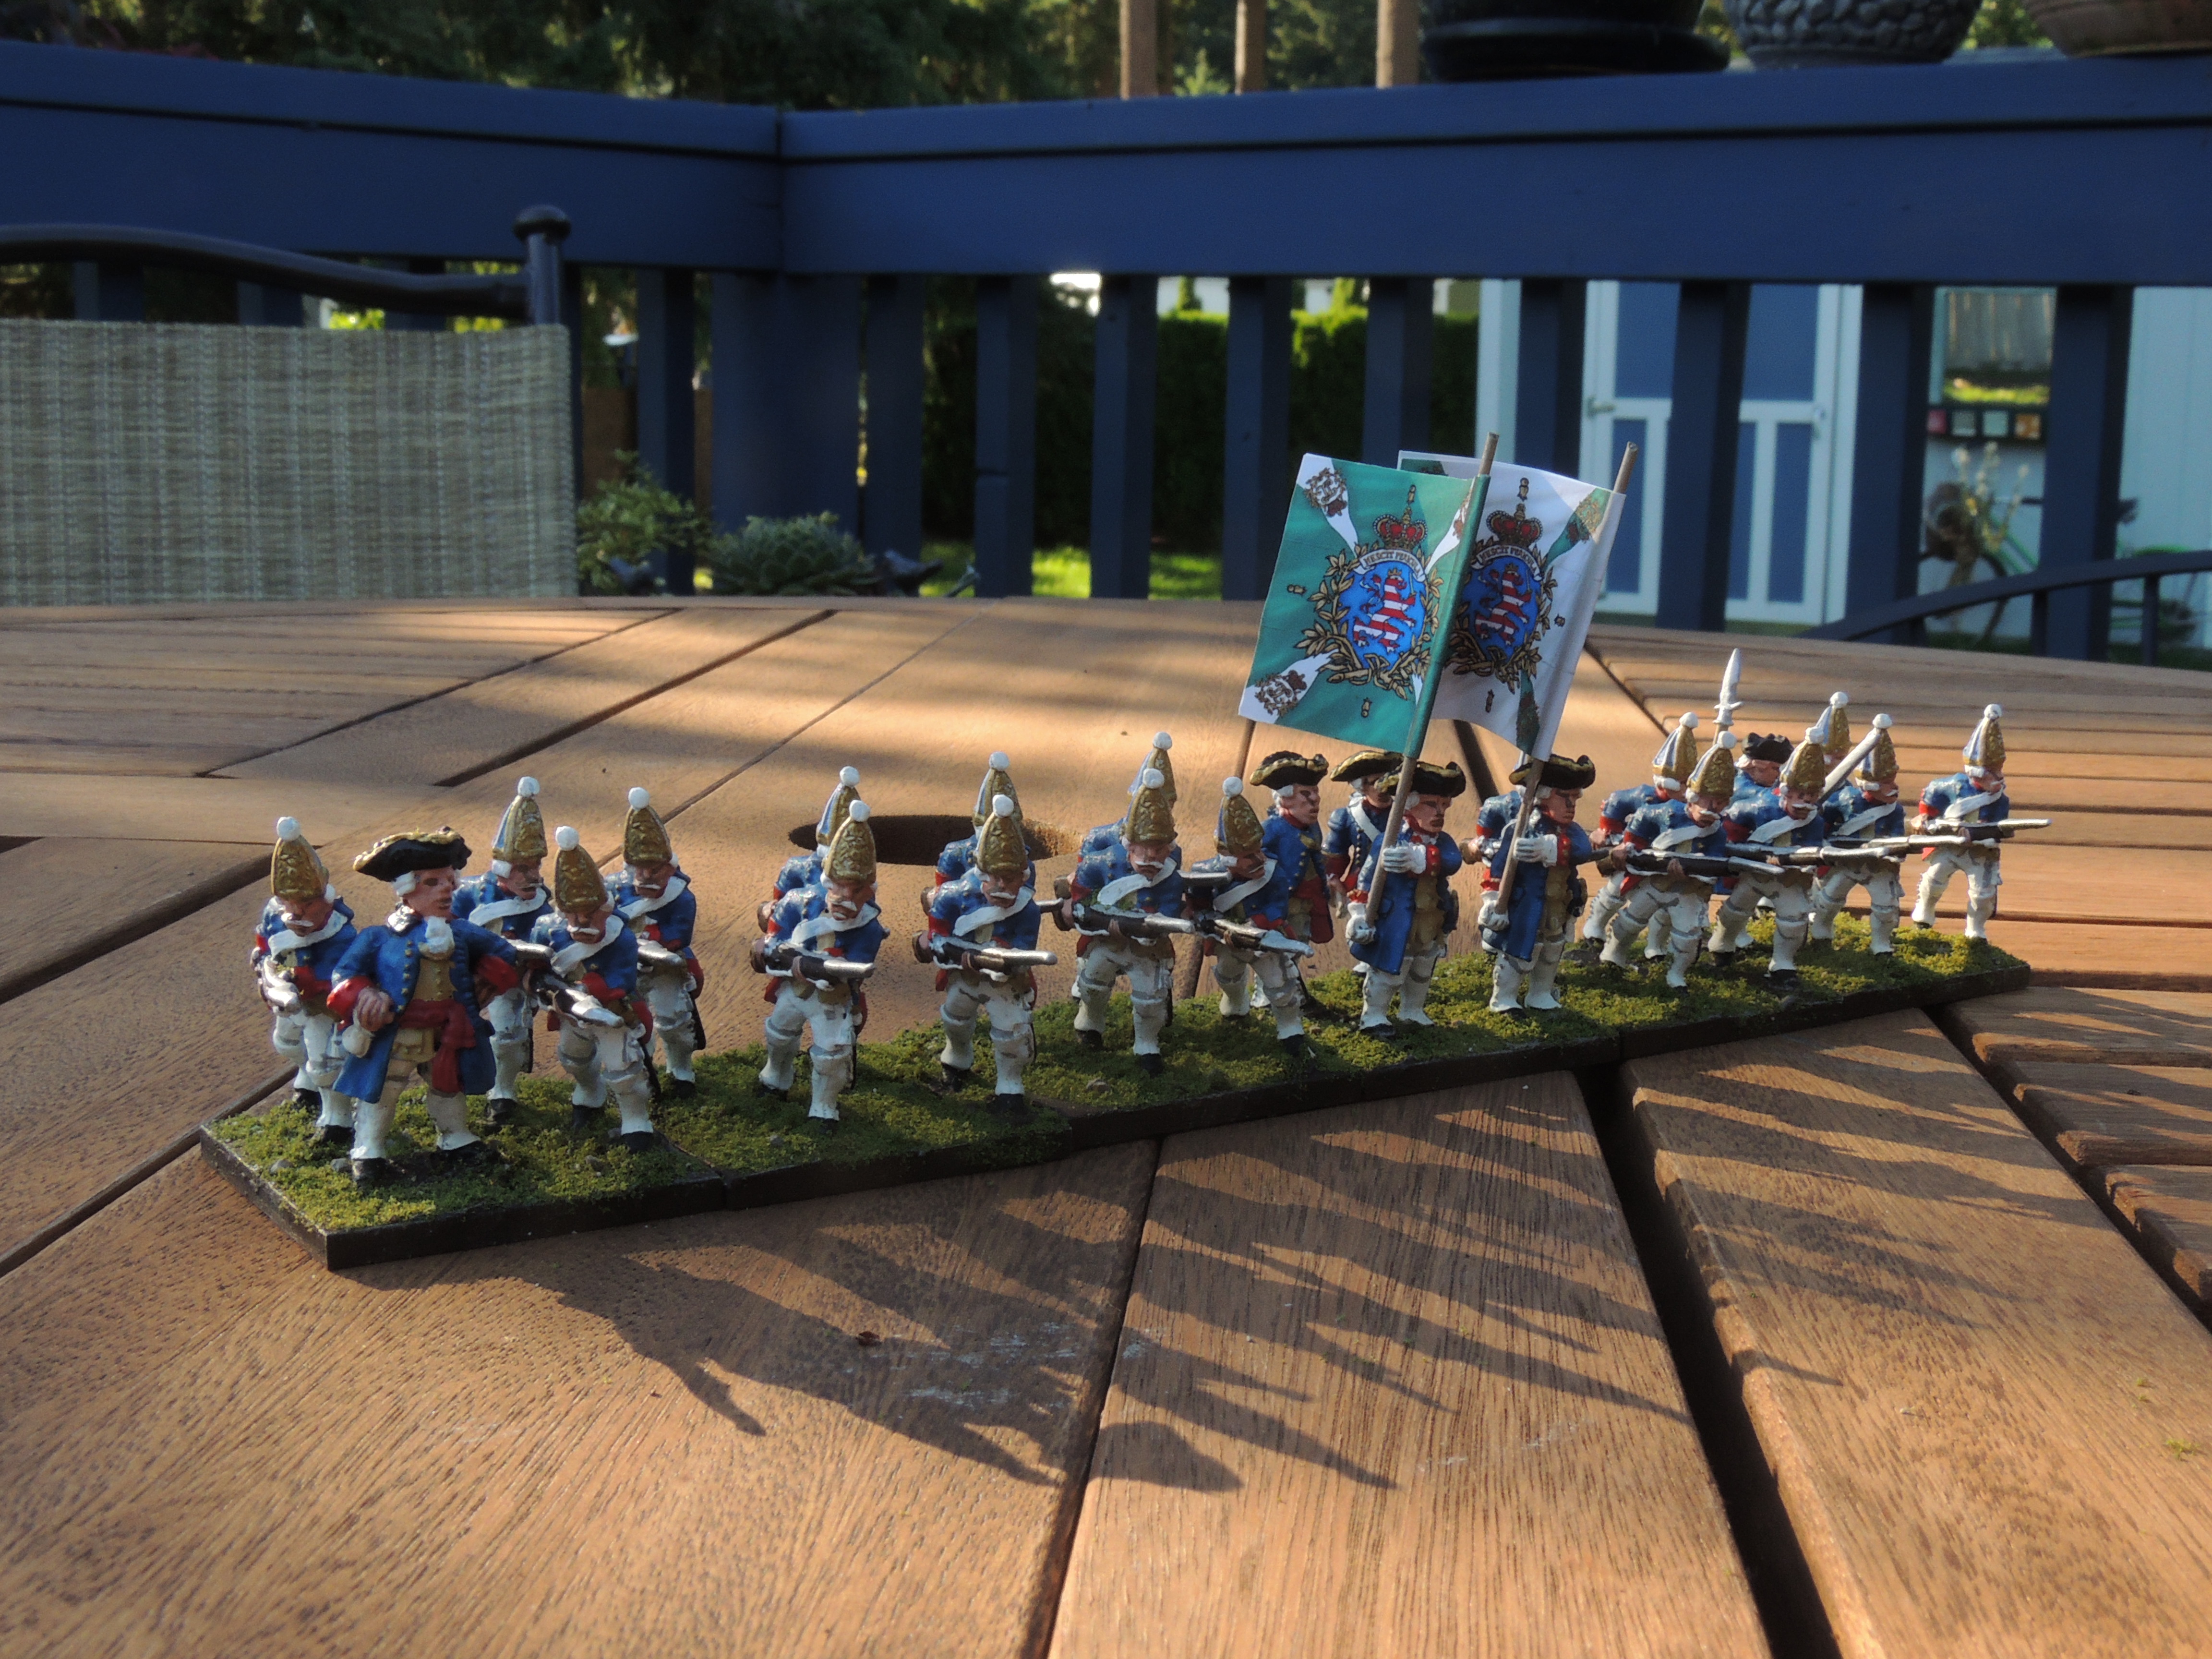
I am kind of in a mood in which I’m painting whatever I damn well please.  First on the docket here is the Hessian Grenadier Regiment von Rall.  It was the only grenadier unit stationed in the south during the later years of the American Revolution.  The regiment changed names at least twice during the war.  The unit was sent to Savannah, where it fought French and American forces and took heavy losses. Von Rall was also at the siege and capture of Charleston and was rotated back to New York in 1780.  Unfortunately the grenadiers were not present at the big battles of the southern campaign, but for a one off game who knows.

The figures are by Foundry.  They were easy to paint.  I was short a couple of grenadiers so leavened them with an extra officer or two.  I found them fun and easy to paint, nothing difficult. They are the first Hessians I’ve painted for my somewhat dormant AWI project. But they certainly aren’t the last.  I have the Old Glory figures to paint the von Bose regiment, present at Guilford Courthouse. I also have some stray Front Rank Hessians I may fill out to 24 figures each for another musketeer and fusilier regiment.

The big “new thing” I tried out with this unit is the addition of GMB flags.  I’ve always been a flag cheapskate, downloading flags from free sites and taking what I could get. With this unit I decided to change.  Giles Allison uses GMB flags on his magnificent units. I have friends that use them.  Heck, what’s wrong with me.  I ordered on-line, which was easy enough. But I did catch them on vacation.  It probably took 2+ weeks to get them from the U.K. They aren’t cheap at three quid 45 pence, but they are beautiful and the color and detail is amazing.

A little closer up of the GMB flags. Very nice. Worth their cost.

A little closer look at the GMB flags. Very nice. Worth their cost.

Last night based the figures and added the flags.  I carefully cut them out and and wondered what to do with them next.  It would be helpful if GMB included suggestions or directions or at least posted some on their site.  Thankfully you can find anything on the internet, and was able to find some forum posts that were helpful.  I didn’t feel too adventurous first time out so the flags look pretty straight, but it does show the detail off nicely.

4Ground buildings

001

Last year, about this time, I was contemplating a big Indian/Loyalist game on the frontier during the American Revolution.  I haven’t done the game yet, and honestly don’t know if I will anytime soon.  The scope in my mind is a lot bigger than my grasp.

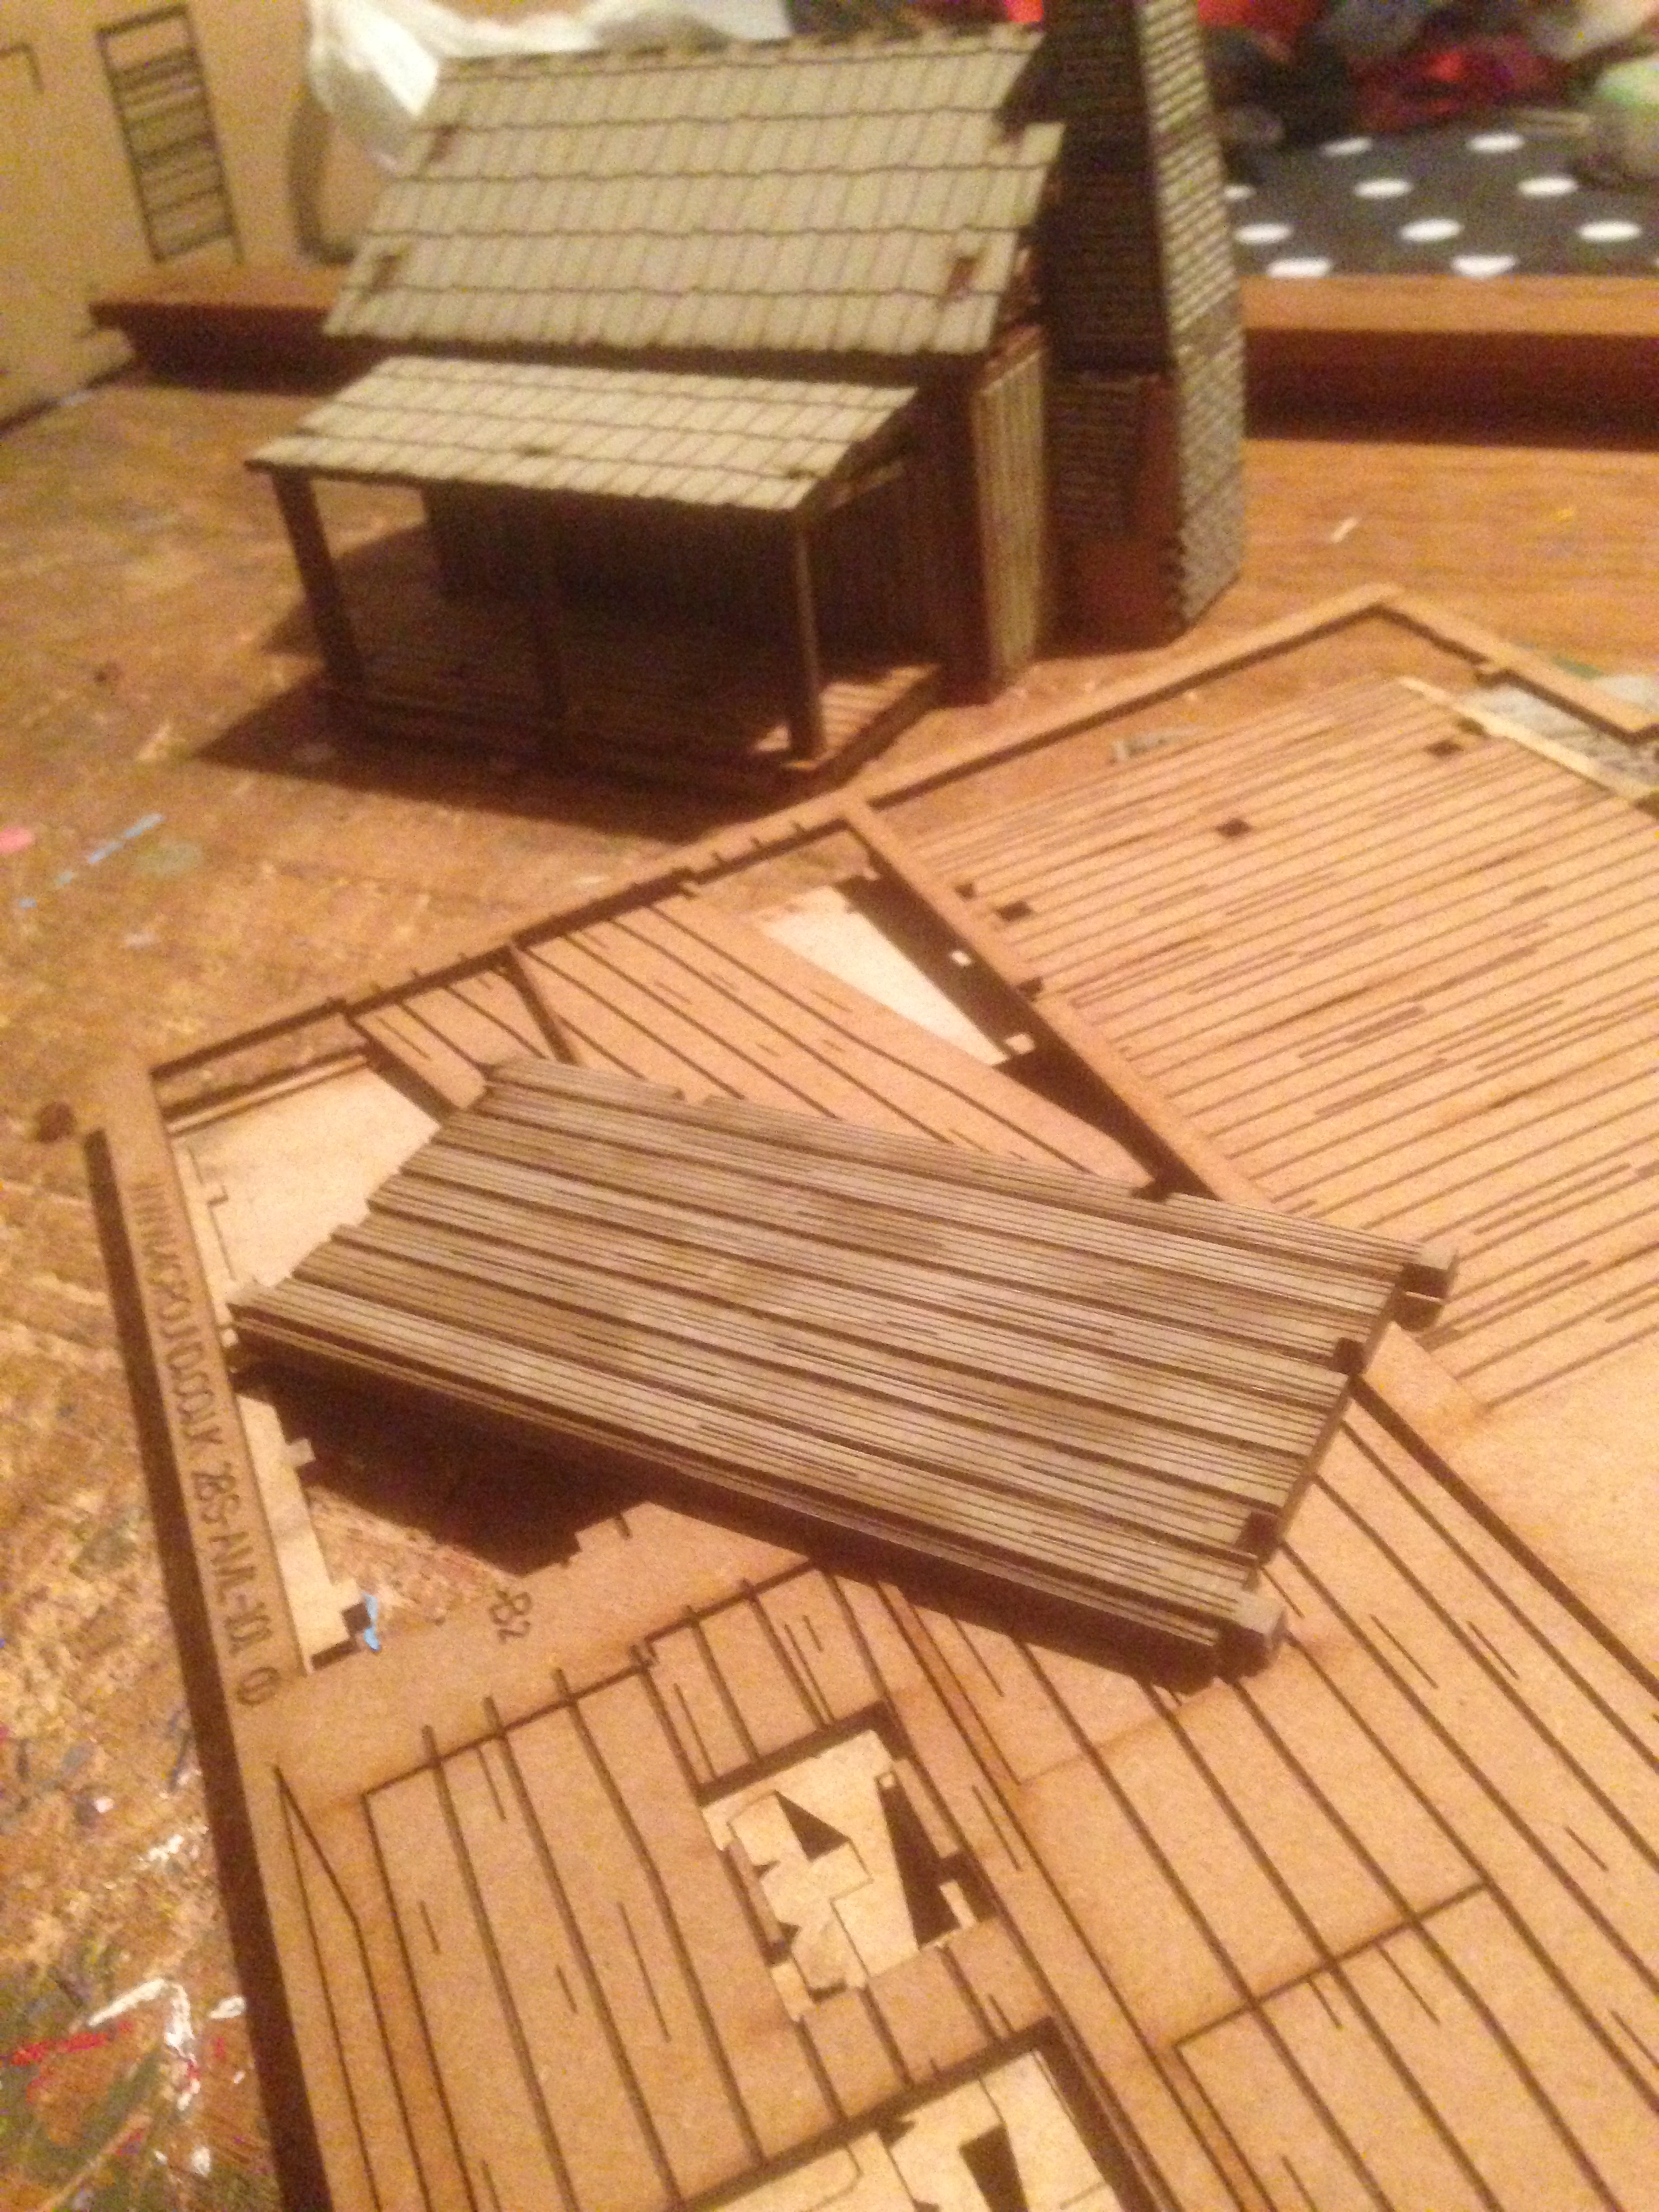
In any case, as I was preparing, I realized that I didn’t have many frontier habitations.  How can Butlers Rangers burn down the frontier if there aren’t any buildings to burn? A friend of mine had shared some of his experiences with laser cut wagons at 4Ground miniatures.  I perused their catalog, checked out their buildings from the American frontier and thought I would give them a try. I ordered from my local hobby shop, and they immediately went into the big pile of “all things Smyth,” as in I forgot I even owned them. But as I was deciding what to work on this summer, I set these aside to finish.

The two buildings I purchased were the Pioneer’s Log Cabin and the Settler’s Log Log Timber Cabin.  Each came in a sealed plastic bag with four slabs of laser cut plywood pieces.  The top was carefully sealed and the full color instruction guide was included with the parts. Together the two kits cost about $60, which is pretty fair for quality buildings–if you’ve priced a structure from Miniature Building Authority lately. . Because the structures are raw wood, the different colored wood examples work pretty well.

I would love to say the buildings went together quickly and without a hitch in a matter of moments, but they didn’t.  It could be that any building project for me is just going to take longer because I”M BAD AT BUILDING STUFF! But honestly, because we’re assembling structures with PVA glue (Elmers or something similar) sometimes things just need to dry. I assembled both buildings over three evenings including two Mariners games and the Republican presidential debate, which was easily as long as a Mariners game.

I can say with truth, that I was quite pleased with the way things went together.  The instructions took me step by step through the pieces I would need at each phase of construction and give a rough picture of how they went together. The pieces were of high quality and did go together well.  The construction was mostly pretty darned easy–good fit.  The finished interior and exterior had nice attention to detail, though there were some gaps I’ll share more about.  I could easily recommend these to another user.

However, I am not without some constructive suggestions. First, there is the matter of the directions.  Though they give an order to things, the lack of even simple written directions at times left me trying to figure stuff out and tearing things apart to reassemble. I felt like Tonto, with half the vocabulary, giving directions on sewing a shirt to The Lone Ranger. “No Kimasabee, it go here.”  The lack of clarity led me to mis-assemble the chimney on one of the buildings, though it is obscured by a chunk of the roof.  Pity, because the detail is so great. Another issue with the directions is although the piece numbers are printed on the color directions, they blend right in and are difficult to read.  For those of us in the geriatric set, this is a problem. Bigger, darker, clearer would be better.

In the case of the Frontier Log Cabin, some of the pieces really needed double assembly so the detail would show on both sides.  For the most part, 4Ground is really good at doing this, But for this model, some of the finishing pieces could be better.

Overall, for price, quality of detail and ease of assembly, I can at least give these models a solid B, maybe even a B+.

Enfilade around the corner: My mad dash to the finish line.

Though I may not have written much recently, that doesn’t mean I haven’t been busy.  I have three games I’m running at Enfilade, and I’m still trying to wrap up the last one in time for my weekend-before-the-convention playtest.

I’ve done a lot this spring/winter (this is so embarassing!) Dave Schueler and I will host a game we’ve wanted to do for many years-the 1942 combined sea/land raid on St. Nazaire. I slowly accumulated all the motor gunboats and assorted naval vessels needed to play the game, but the challenge was always going to be putting together what would pass for a harbor and adapting a game to it.  Dave and I have done a lot of projects together including the Tirpitz game and the Persian Gulf tripwire scenario with lots of modern gunboats, but this was especially challenging.  Dave did most of the work modelling the various pieces representing warehouses and dockyards.  I contributed some, but the work is mostly his.  The scenario will force the British players to cooperate and be aggressive as they try to land their commandos in the face of fire and demolish their targets.  Dave and I will run the Germans using a combination of ideas from David Manley’s excellent Action Stations and the old Raid on St. Nazaire board game by Avalon Hill.

I’m also running two games using the Lion Rampant rules by Daniel Mersey.  As I’ve written before, I really like these rules-you just need to think outside the box. The first scenario, Raid on Agen, I’ve already written about.  I’ve done a couple of playtests, and hopefully I’ve worked out the flaws. It represents a typical chevauchee of the Hundred Years War.  Maybe not typical, but the French are inclined to resist in this scenario.

The second game is the preparation sucker.  It is based on the English raid on the port of Bolougne in 1340.  It reminds of the Raid on St. Nazaire in the sense that the raiding force was disembarked in darkness, did their work, but were trapped and captured or killed. The English will start on either end of the lower town.  Their job is to destroy buildings and ships along the waterfront. The resistance in the dock area is light, but enough to be a pain to the attacking English. The challenge to the English will be the French relief force as it masses and thunders down from the upper town.

For both scenarios I’ve tried to think outside the box.  I’ve used or created troop types to assist in the scenario.  Town militia was a type suggested on the game forum hosted on Boardgamegeek.  I’ve created a sailor troop type to defend some of the ships.  I’ve also created an engineer type charged with destroying the ships and town in the Bolougne raid. In addition to troop types I’ve also worked out rules for burning.  In the case of the Bolougne scenarios, I’ve put together rules for tow-wrapped flaming arrows and combustibles used by the engineers.  Don’t know how historical they are, but they should be fun and easy.

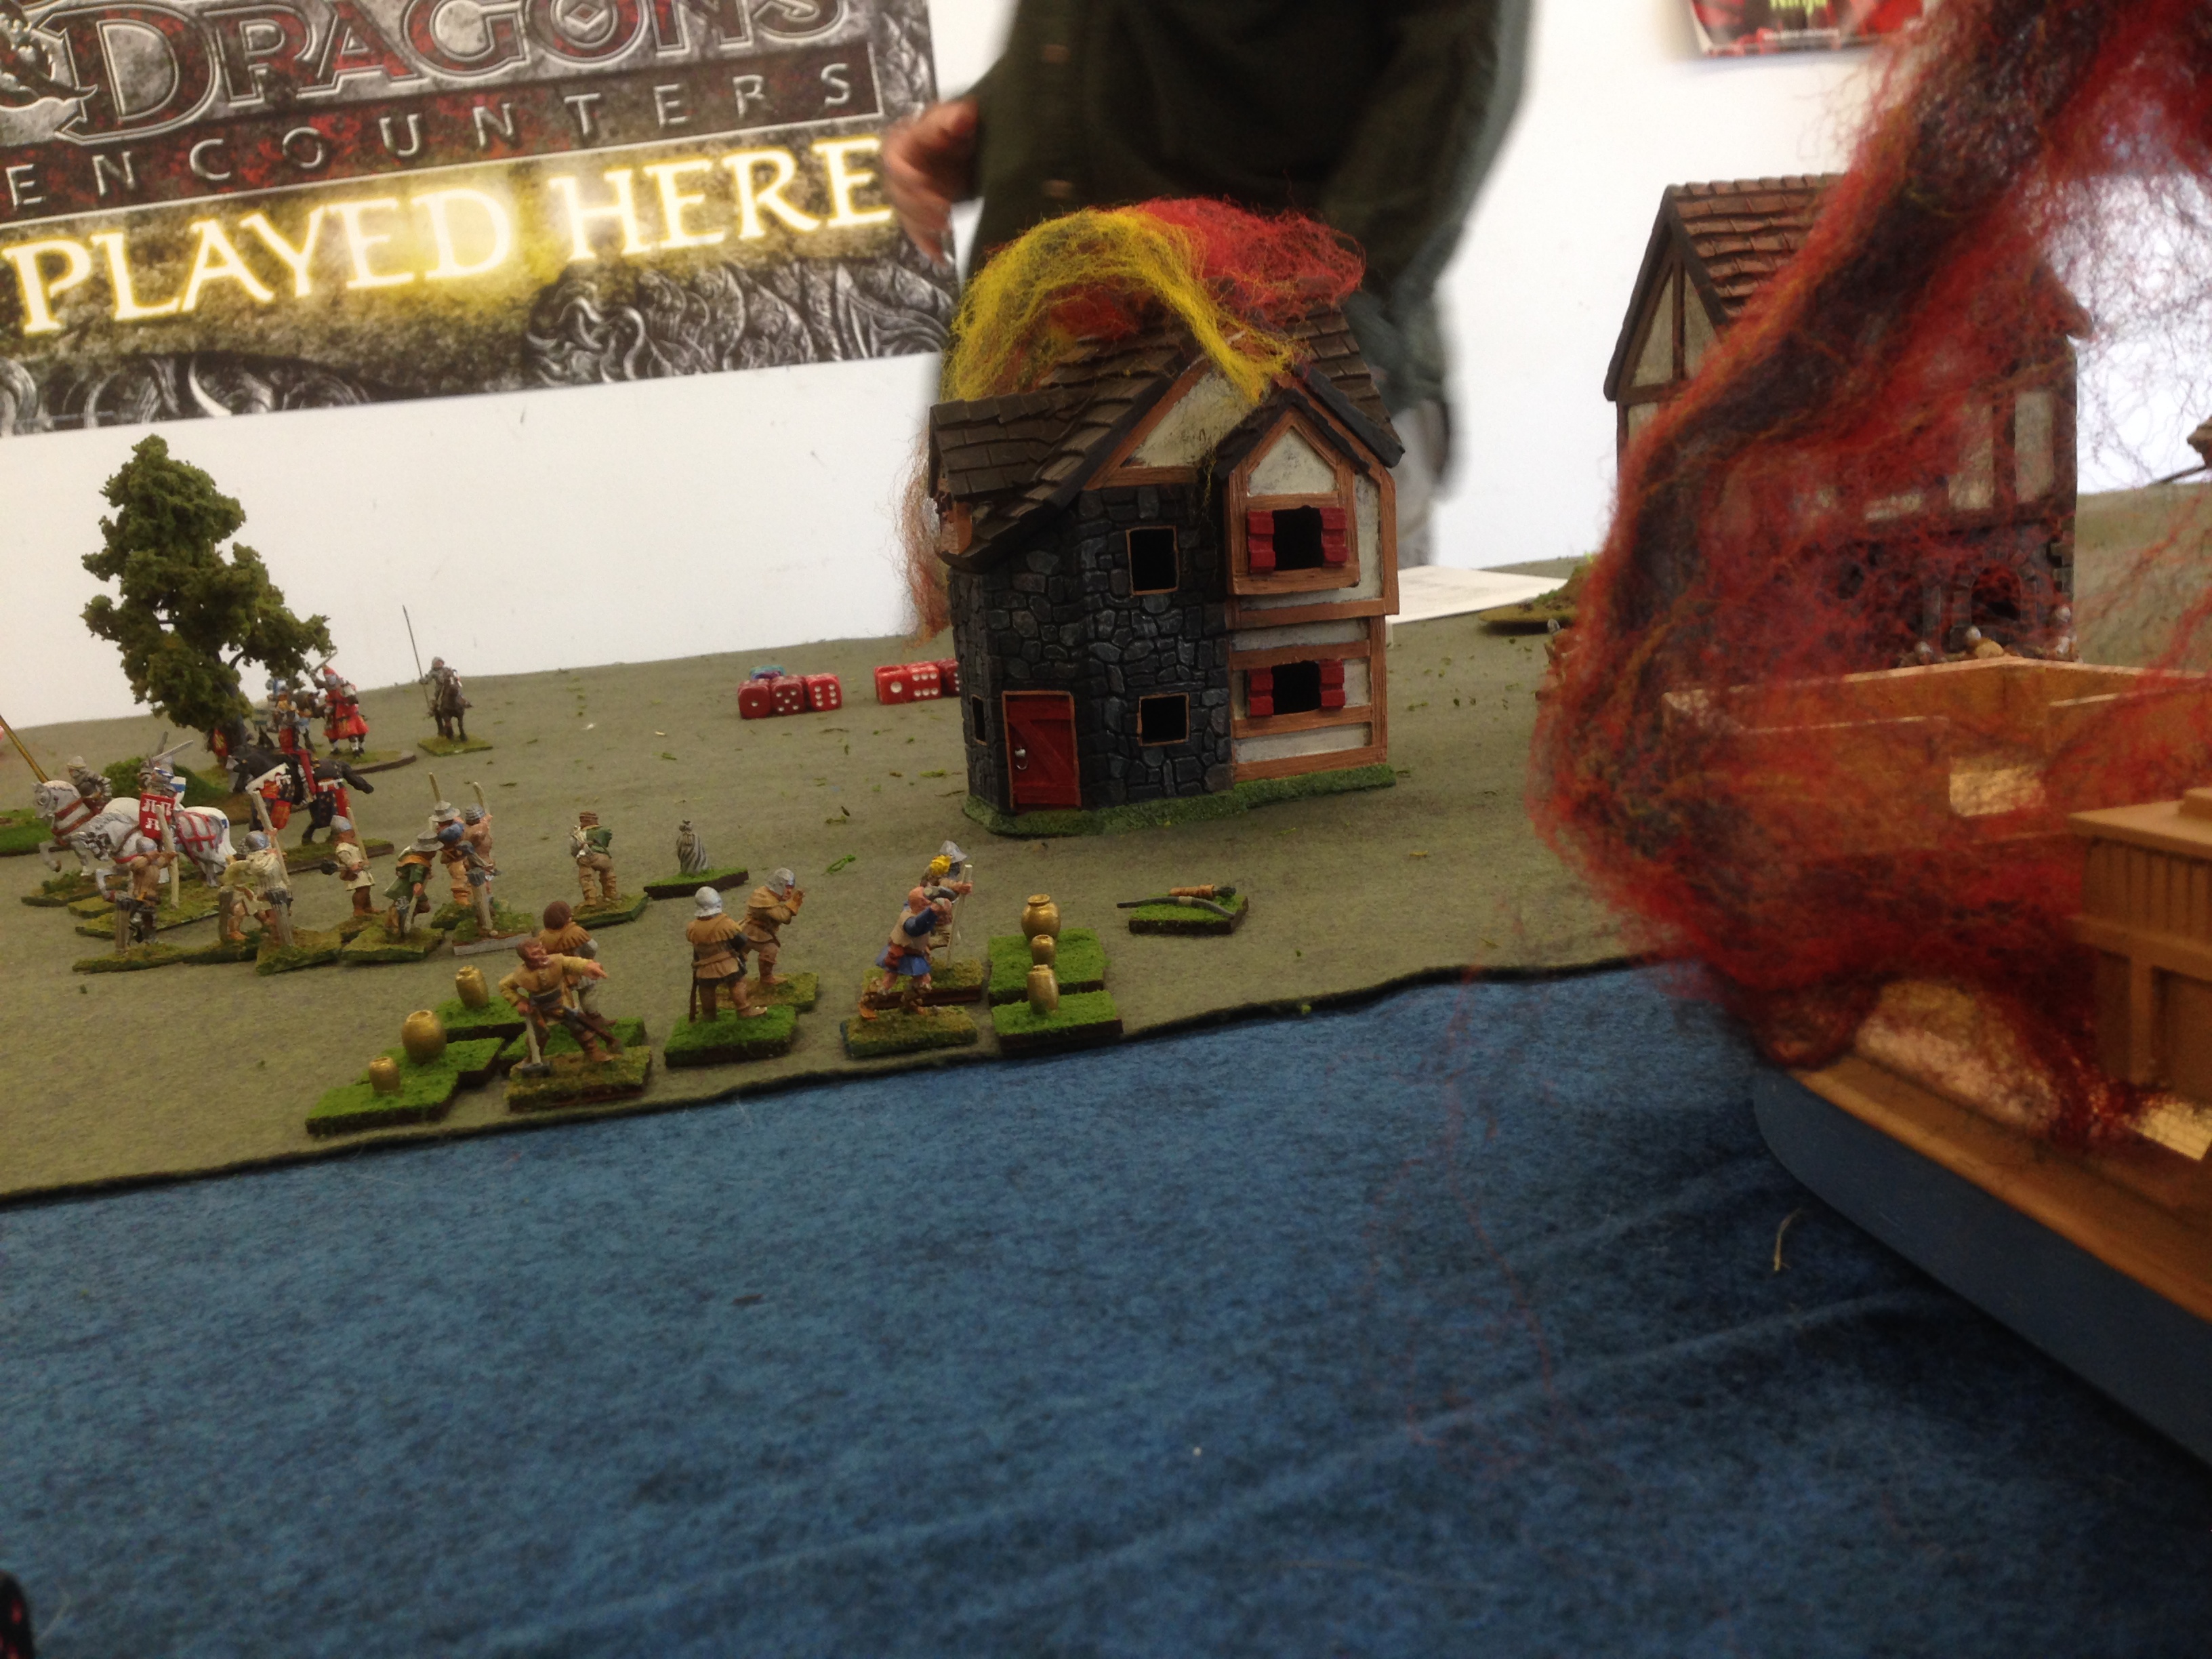
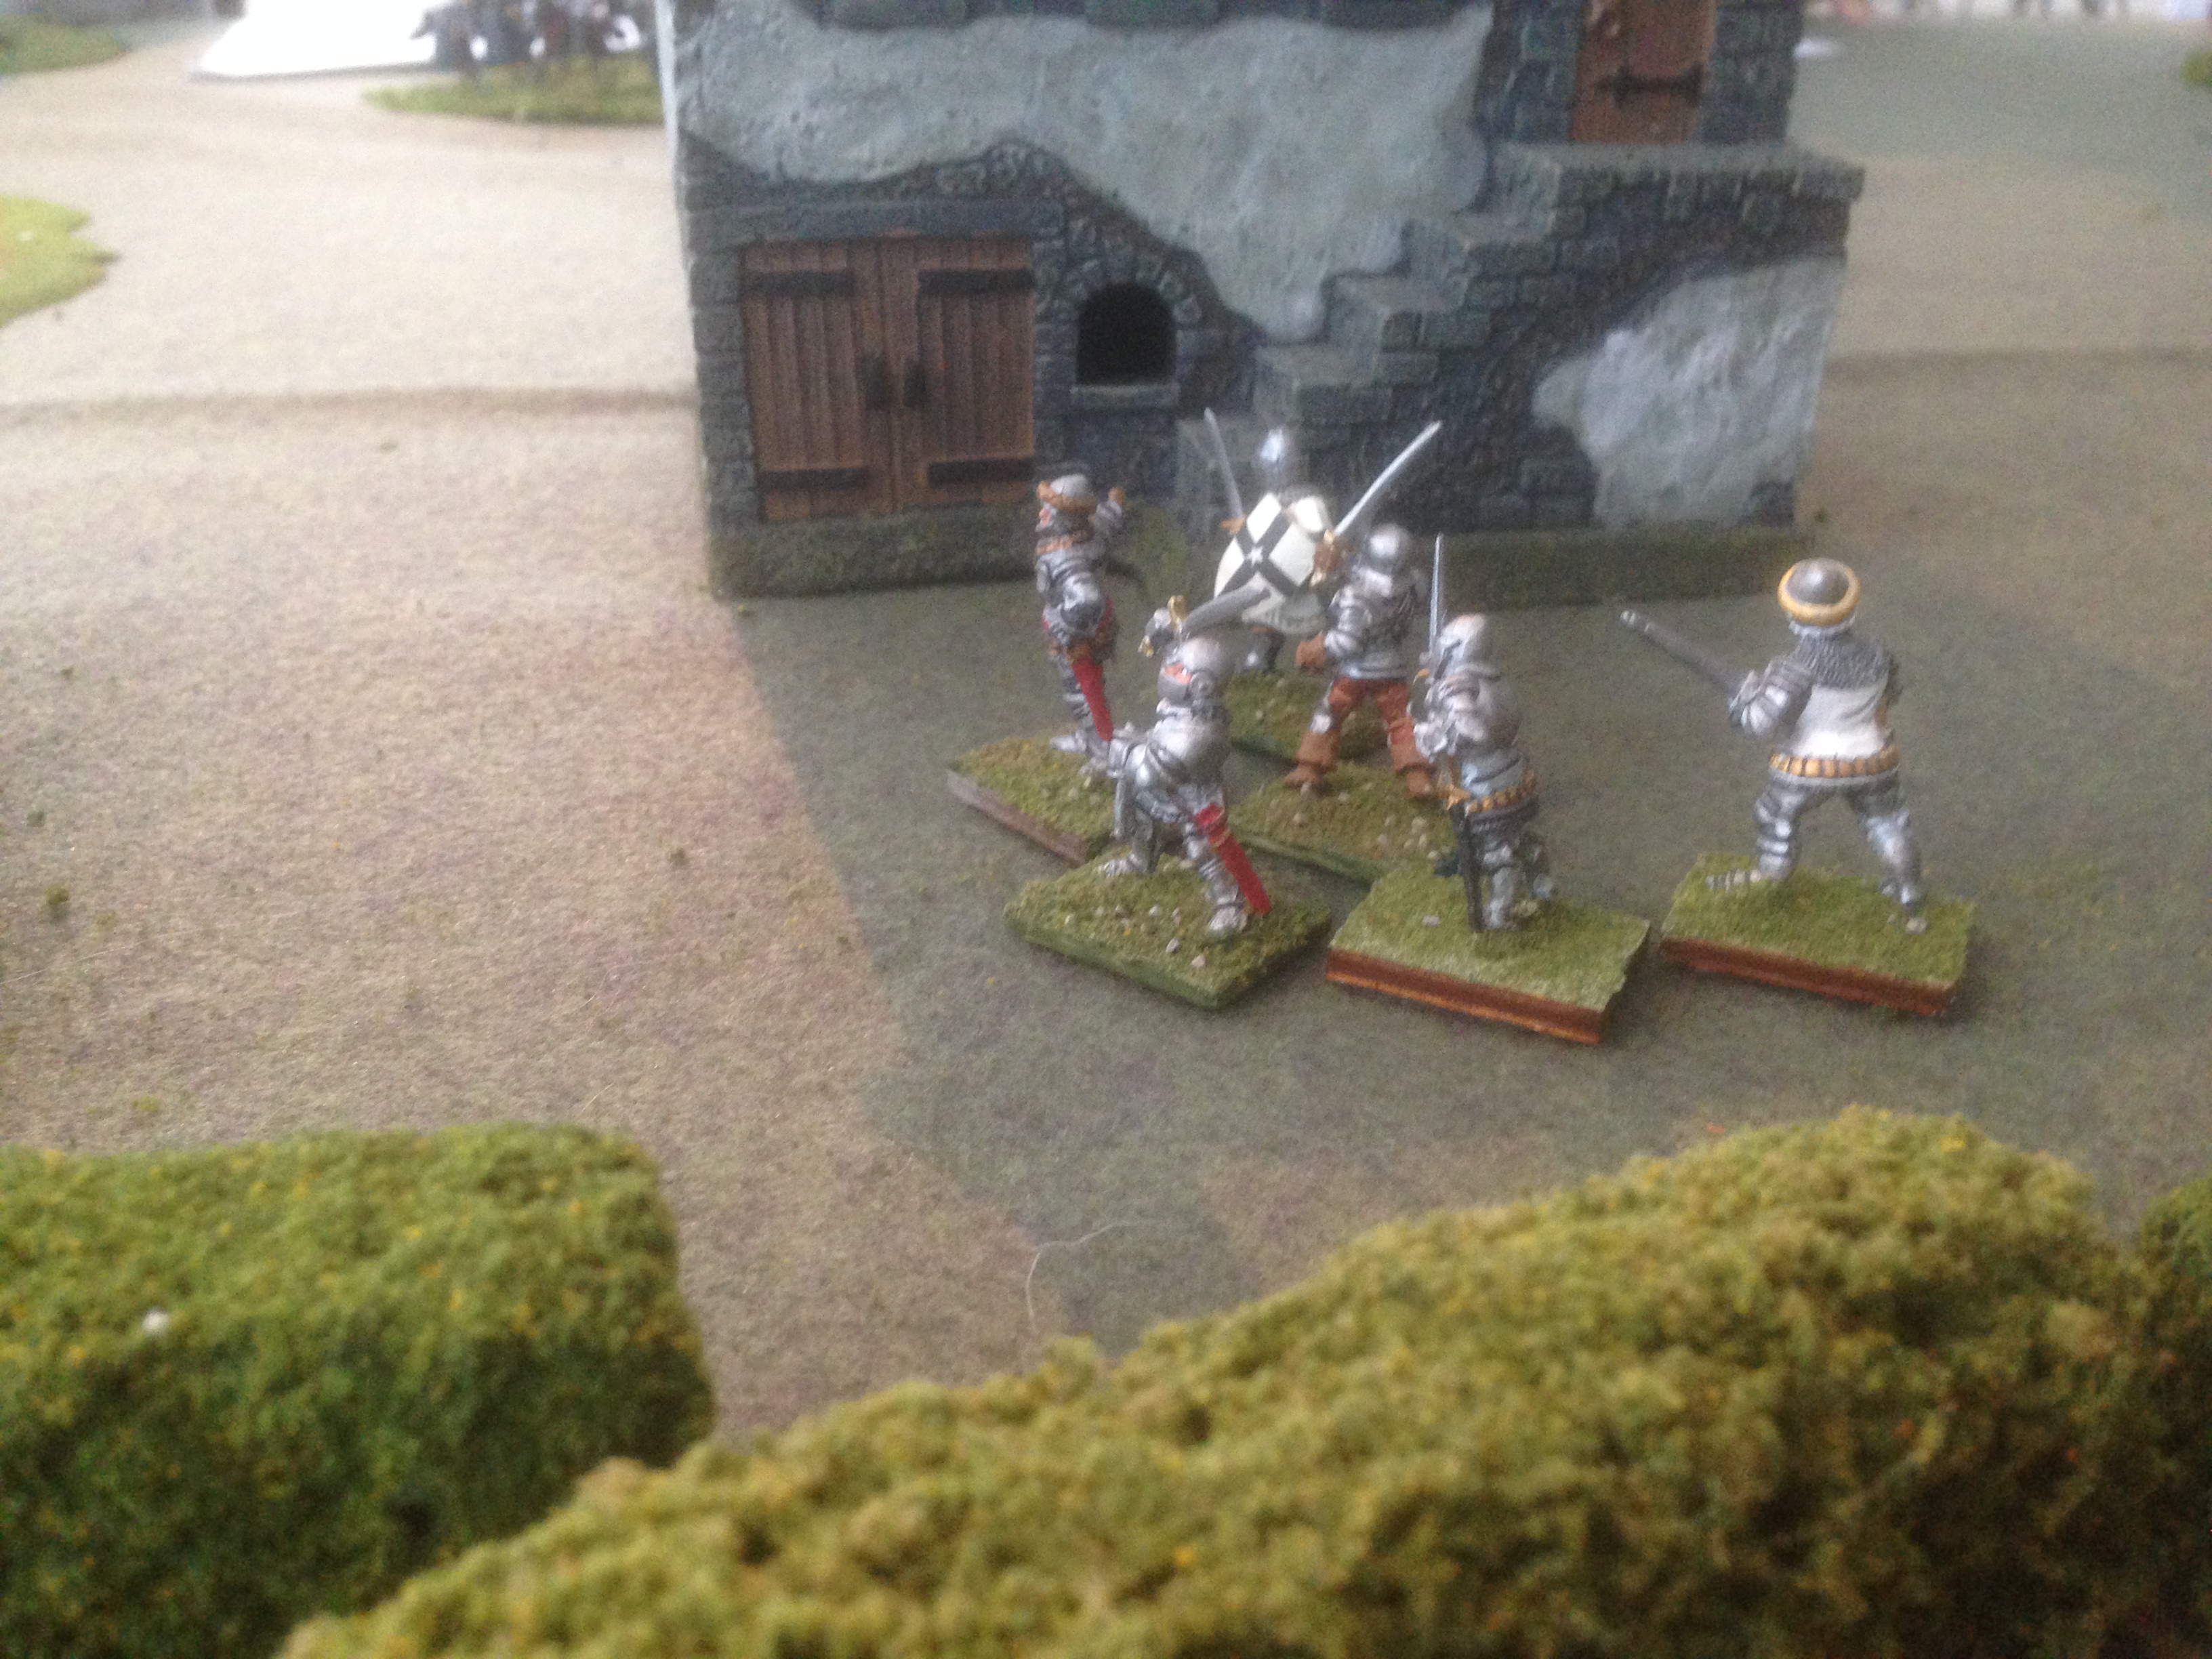
Playtest photo.  The English land in the lower town, setting afire a waterfront building and a ship

Playtest photo. The English land in the lower town, setting afire a waterfront building and a ship

I hope to have pictures from the Saturday playtest on the web by the weekend.

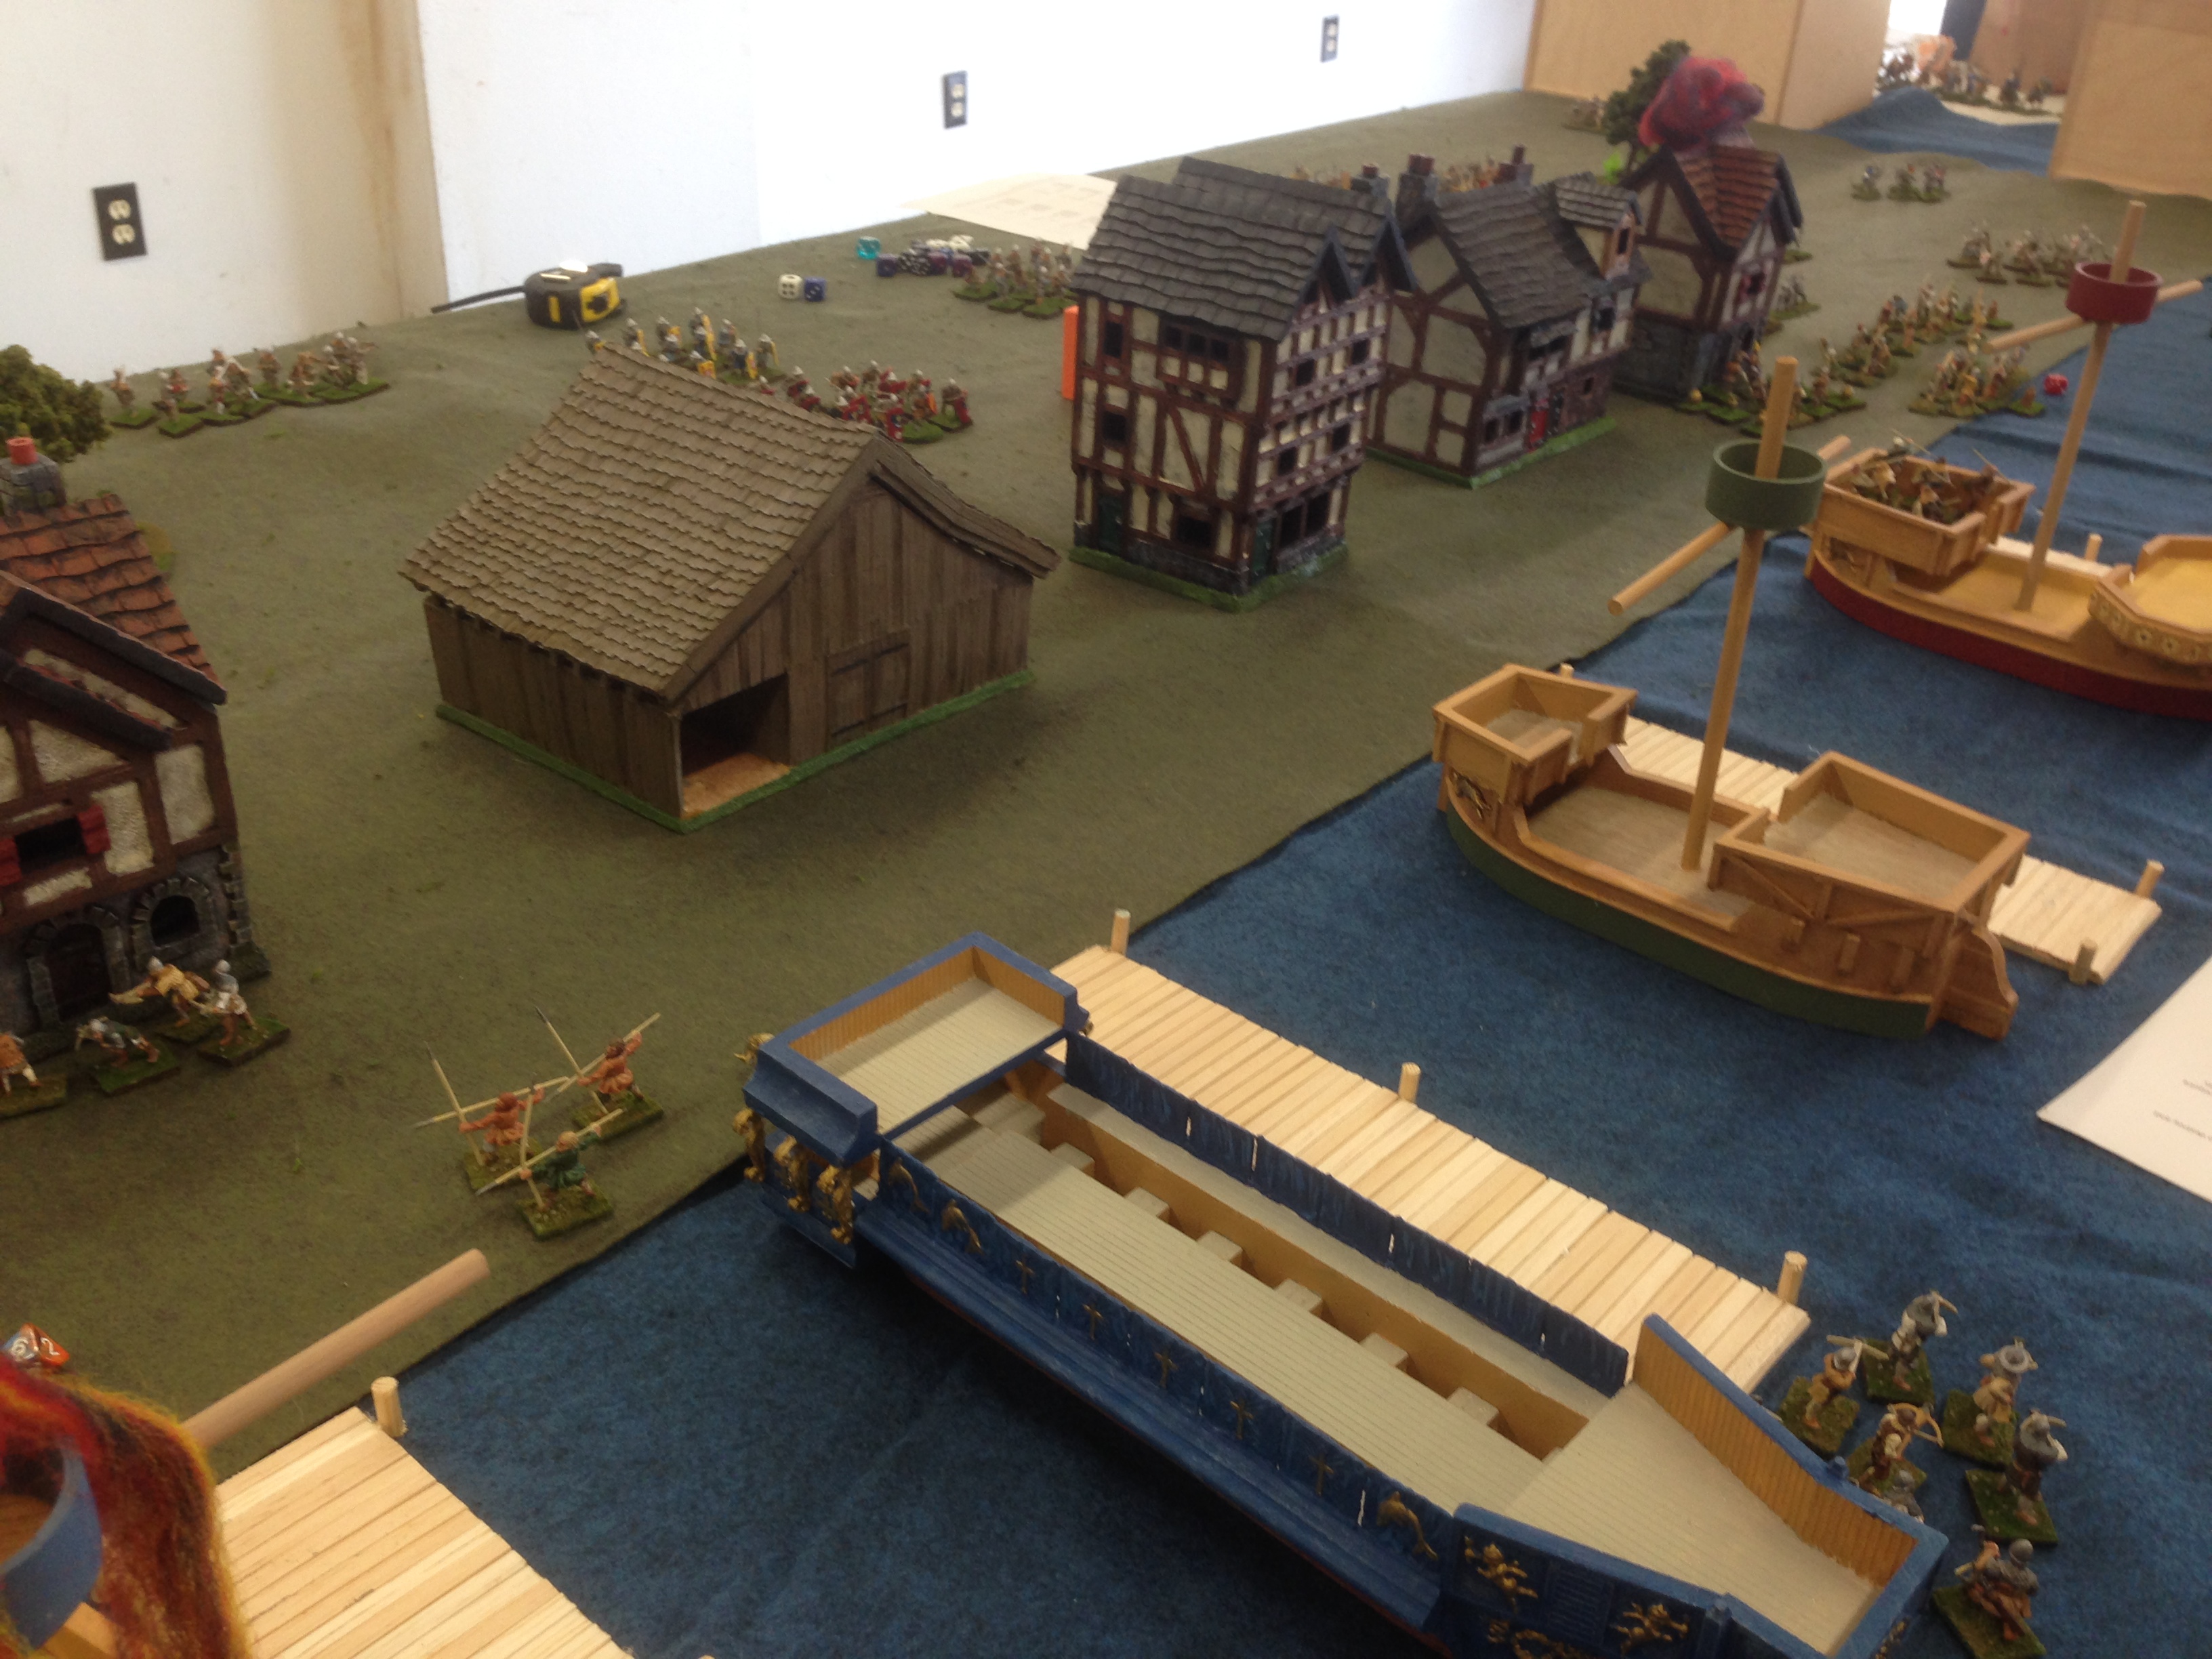
The playtest set-up. The French fleet rests at anchor as English retinues approach from either end of the town. French reinforcements boil out of upper Bolougne and down to the docks

The playtest set-up. The French fleet rests at anchor as English retinues approach from either end of the town. French reinforcements boil out of upper Bolougne and down to the docks

Dipping your toe in the Lion Rampant pond.

If you’re thinking about trying out these rules, whether you have stuff or not, I hope, with this post, to offer some guidance to you.

First, a bit about my decision to go with this game rather than another. I am the owner of some 500 singly mounted Hundred Years War figures.  I have more than a hundred painted longbowmen.  I have more than a hundred painted dismounted men-at-arms.  I can field seven units of foot sergeants and multiples of most other units from this conflict.  I am also a devoted student of the period.  My interest in these rules was only natural.  All I needed was to try them out to see if they met some simple requirements

  1. Were they easy to play?  Could I easily run them at a convention with folks who didn’t know them at all?  The answer was a simple yes. I’ve played with at least a dozen of my gaming friends. Of those only one has had a less than enthusiastic response.
  2. Were they suitable for making well thought out scenarios?  I didn’t want a game that was really designed for head to head games.  Again, I’ve tried several multi-player games and have reported on the Agen scenario.  I’ll likely run that one at Enfilade, together with a second scenario based on the 1340 raid on the Boulogne docks.

I find Lion Rampant to be a great set of rules.  Of course, I feel fully prepared to play them with figures, high interest and research material galore.  What if I wasn’t?  How could I get started?

First, some basic parameters.  If you’re interested in refighting Agincourt, or Bannockburn, or Mortgarten, these are not the rules you want.  These are small unit actions.  No archers behind stakes, no Flemings defending ditches, no massive schiltrons of Scots spearmen driving foolish English knights into swamps. Those troop types might be available to you, but they won’t quite function the way they would in large formations. I confess I haven’t quite found the right set of rules for fighting big battles in the late middle ages, but Lion Rampant won’t do the trick either.

I always worry about the cost of rules sets. Rules books that cost forty or fifty bucks really annoy me.  They better come with their own electronic service like Siri to answer my questions, a useful painting guide, complete army lists and an introduction by Anne Curry.    Worse than rule books that cost forty or fifty bucks are rule books that cost forty or fifty bucks and will require the forty or fifty dollar expansion or two.  I don’t care what the logic is, it’s ridiculous and inexcusable.

If you’re worried about the cost of Lion Rampant, you can buy it at your local game store for $17.95.  You can order it at Amazon for $13.62.  You can order it for your Kindle or Kindle ap for $10.49.  I bought two.

What do you get for your dough? A complete set of mechanically simple, grammatically clean set of rules. There are some quirks to the game, but nothing that is unreasonable or unfathomable.  There are a plethora of handy color plates and game photos.  There are eleven troop types and 40 sample retinues to muster them into. Finally there are twelve sample scenarios. That’s a lot for less than twenty bucks.

This is a highly adaptable rules set.  Though the sample retinues cover England all the way to Eastern Europe, the Middle East and the Thomas Mallory Arthurian legend, there is definitely room for more.  I see these rules as something to experiment with, as many did with The Sword and the Flame. A friend has been playing Korea and Japan.  I plan to build something around the Spanish conquest of  Mexico.  It should work for any region up through the early gunpowder age. Not only that, but author Daniel Mersey is highly accessible, regularly answering questions on a Lion Rampant forum on BoardGameGeek.

So what is the cost to get in on Lion Rampant? Units are either six figures or twelve figures.  I’d suggest starting out with a retinue which is usually 4-6 units.  If your army is infantry-heavy, like the Swiss you’ll need more figures, say 60 figures.  If you have expensive troops, like the English you’d have fewer, say 42.  Armies with cavalry like the French Hundred Years War army, the Normans or the Ottoman Turks makes an army more costly in real dollars. Be sure what you buy fits in with your friends, and is an army you are really interested in.

There are lots of great figure manufacturers for the Hundred Years War.  Here are a few of my favorites:

Old Glory Miniatures–They have a huge range for this period.  They are relatively inexpensive per figure, especially if you are an Old Glory Army member. They are also quite nice and draw a distinction between the early period of this war (say until 1380) and later.  The drawback is that you have to buy the figures in pretty large quantities.

Front Rank Miniatures–A very nice range of miniatures for the Hundred Years WAr and the Wars of the Roses.  The range is older, so not tons of variety between figures of the same type, but a huge range of troop and armor types.  The mounted figures are really awesome.  They also have some great accessories and wagons. The downside is their size.  They are huge.  They don’t mix well with other manufacturers in the same unit.

Crusader Miniatures–Some great figures, but not tons of different troop types.  Sized well, all the major troop types are covered. Some very nice command figures too.

Perry Miniatures–The Agincourt to Orleans range is geared strictly for about 50 years of the conflict. Absolutely stunning miniatures, but a little spendy. The Perrys have a number of plastic boxed sets that are super reasonable covering the Wars of the Roses.  They plan to release an English boxed set for Agincourt to Orleans before Christmas (hark, I hear sleigh bells.)

Before I close, I’d simply add that no I am not an Osprey employee, nor do I hang out with Dan Mersey.  I do believe this is a great set of rules. Not perfect, and with limitations that are clearly stated.  If you believe you’d enjoy a skirmish set of rules for the late middle ages, these may work for you.  They definitely work for me and my interest in the Hundred Years War.


Lion Rampant: The Agen Scenario

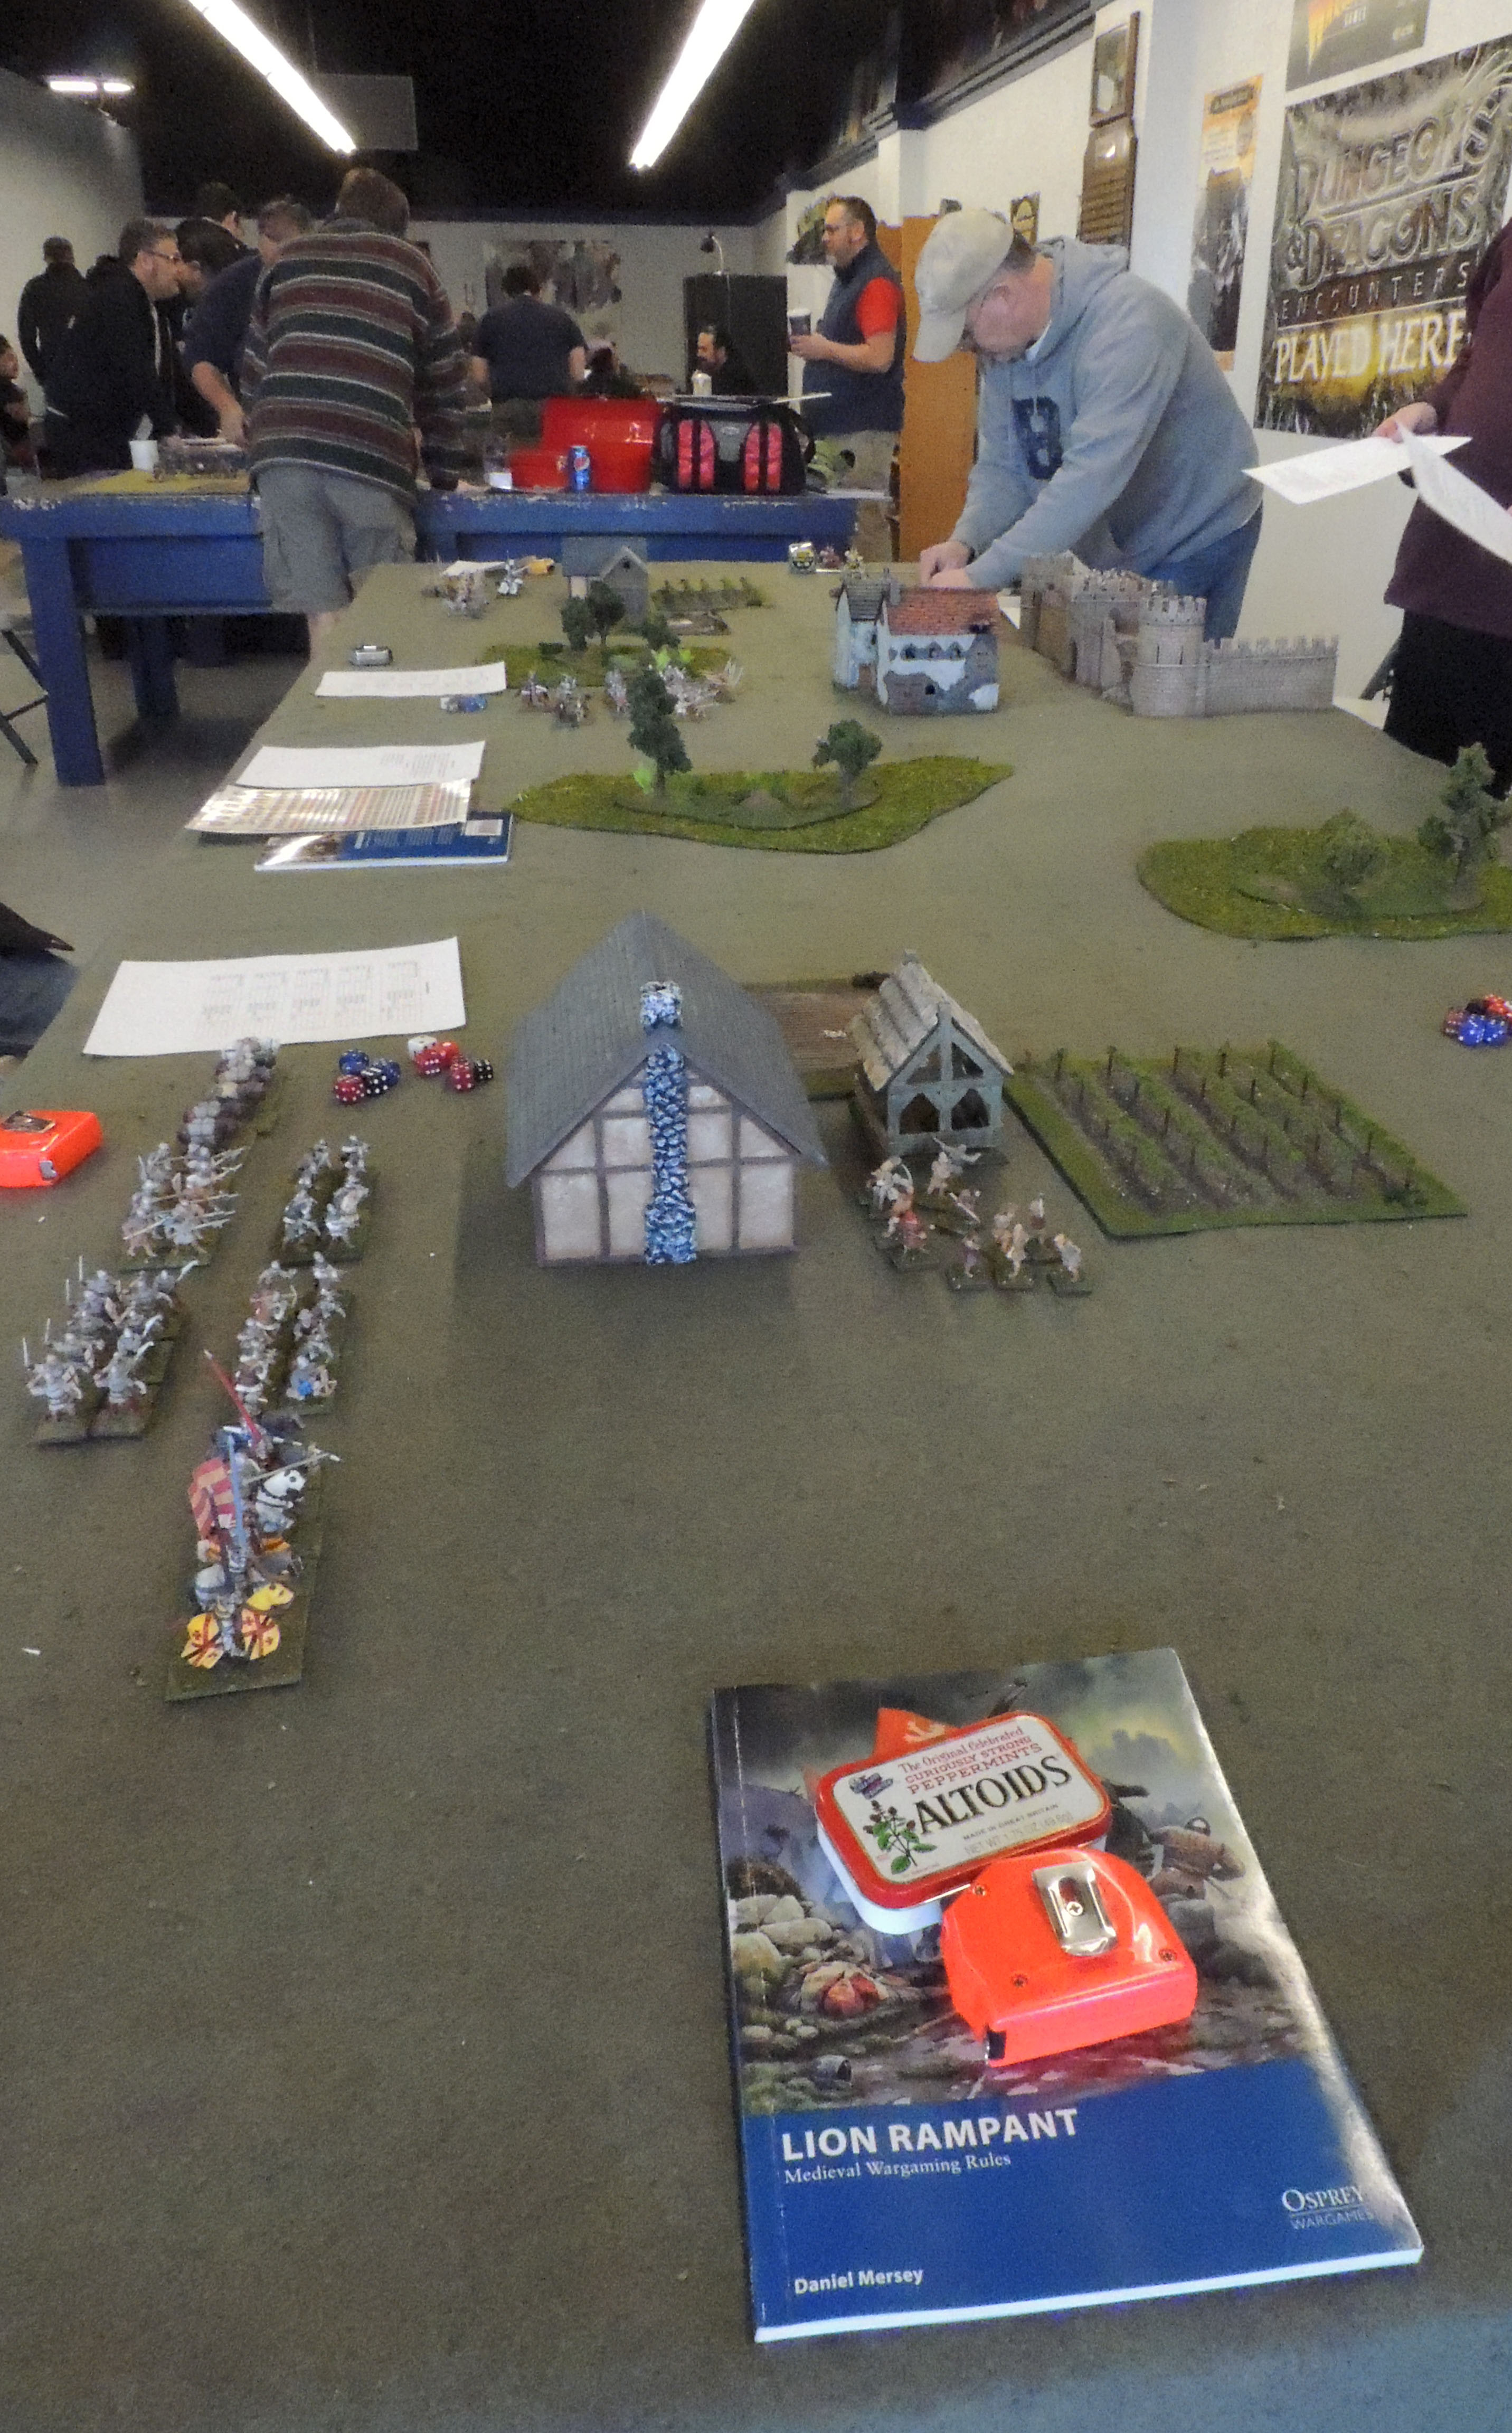
A quick shot down the 14' board at Game Matrix.  Enough going on to make it look good, without too much clutter.

A quick shot down the 14′ board at Game Matrix. Enough going on to make it look good, without too much clutter.

It’s rare that I’ve fallen utterly in love with a set of rules.  Maybe only one other time.  About twenty years ago I played the original Fire and Fury Rules for American Civil War and I continue to believe they were the most influential rules set in my life.

But, for the moment, at least, I am consumed by Daniel Mersey’s Lion Rampant, published by Osprey. In my previous post I mentioned my idea for a game involving a raid on a small town, a castle and too many troops.  Yesterday, with the help of many friends we tried it out.  It was sort of like buying an awesome car-maybe one of the new Chevy Camaros. It looks cool.  It sure drives nice between Tacoma and Seattle, but you really need to get it over the pass on a trip to the Gorge to see Tom Petty and the Heartbreakers to air it out and see what you’ve got.  Yesterday was our trip to the Gorge.

First of all the basics:

  • This was a scenario based game-cooperative in the sense the three French players and three English players had to decide on a plan.
  • The table was 5′ X 14′. That was the table mix available at Game Matrix so I went with it.
  • There were three retinues for each side.  None of the retinues were the same.  I have no idea of the total retinue points or quite how even they were.  There was one additional retinue composed of four serf units.whose primary mission was to stay alive. All in all, there were 12 French units, 14 English units and the 4 Serf units for a total of 30 units on the table.
  • The game was played “out of the box” with one exception I’ll get to shortly.  I did add some rules to the scenario.  The rules were chiefly added to allow the English to sack the settled areas on the table.  These included rules for looting and burning. There was also a rule that allowed peasants to panic and flee toward the castle, violating the 3″ ZOC around French units.
  • Each side earned victory points-the English chiefly for destroying/looting/killing, the French for saving property and killing English.  The French also received points for killing Englishmen, of course, the peasants, scored separately, won points for stayin’ alive, stayin’ alive, ah, ah, ah ah, stayin’ aliiiiiiive. (sorry couldn’t help myself.)

The game was large and pretty elaborate.  I made sure to get to the shop as early as I could and allow about an hour’s set up.  I used two buildings for each of two. I put the castle on a hill near the three building town.

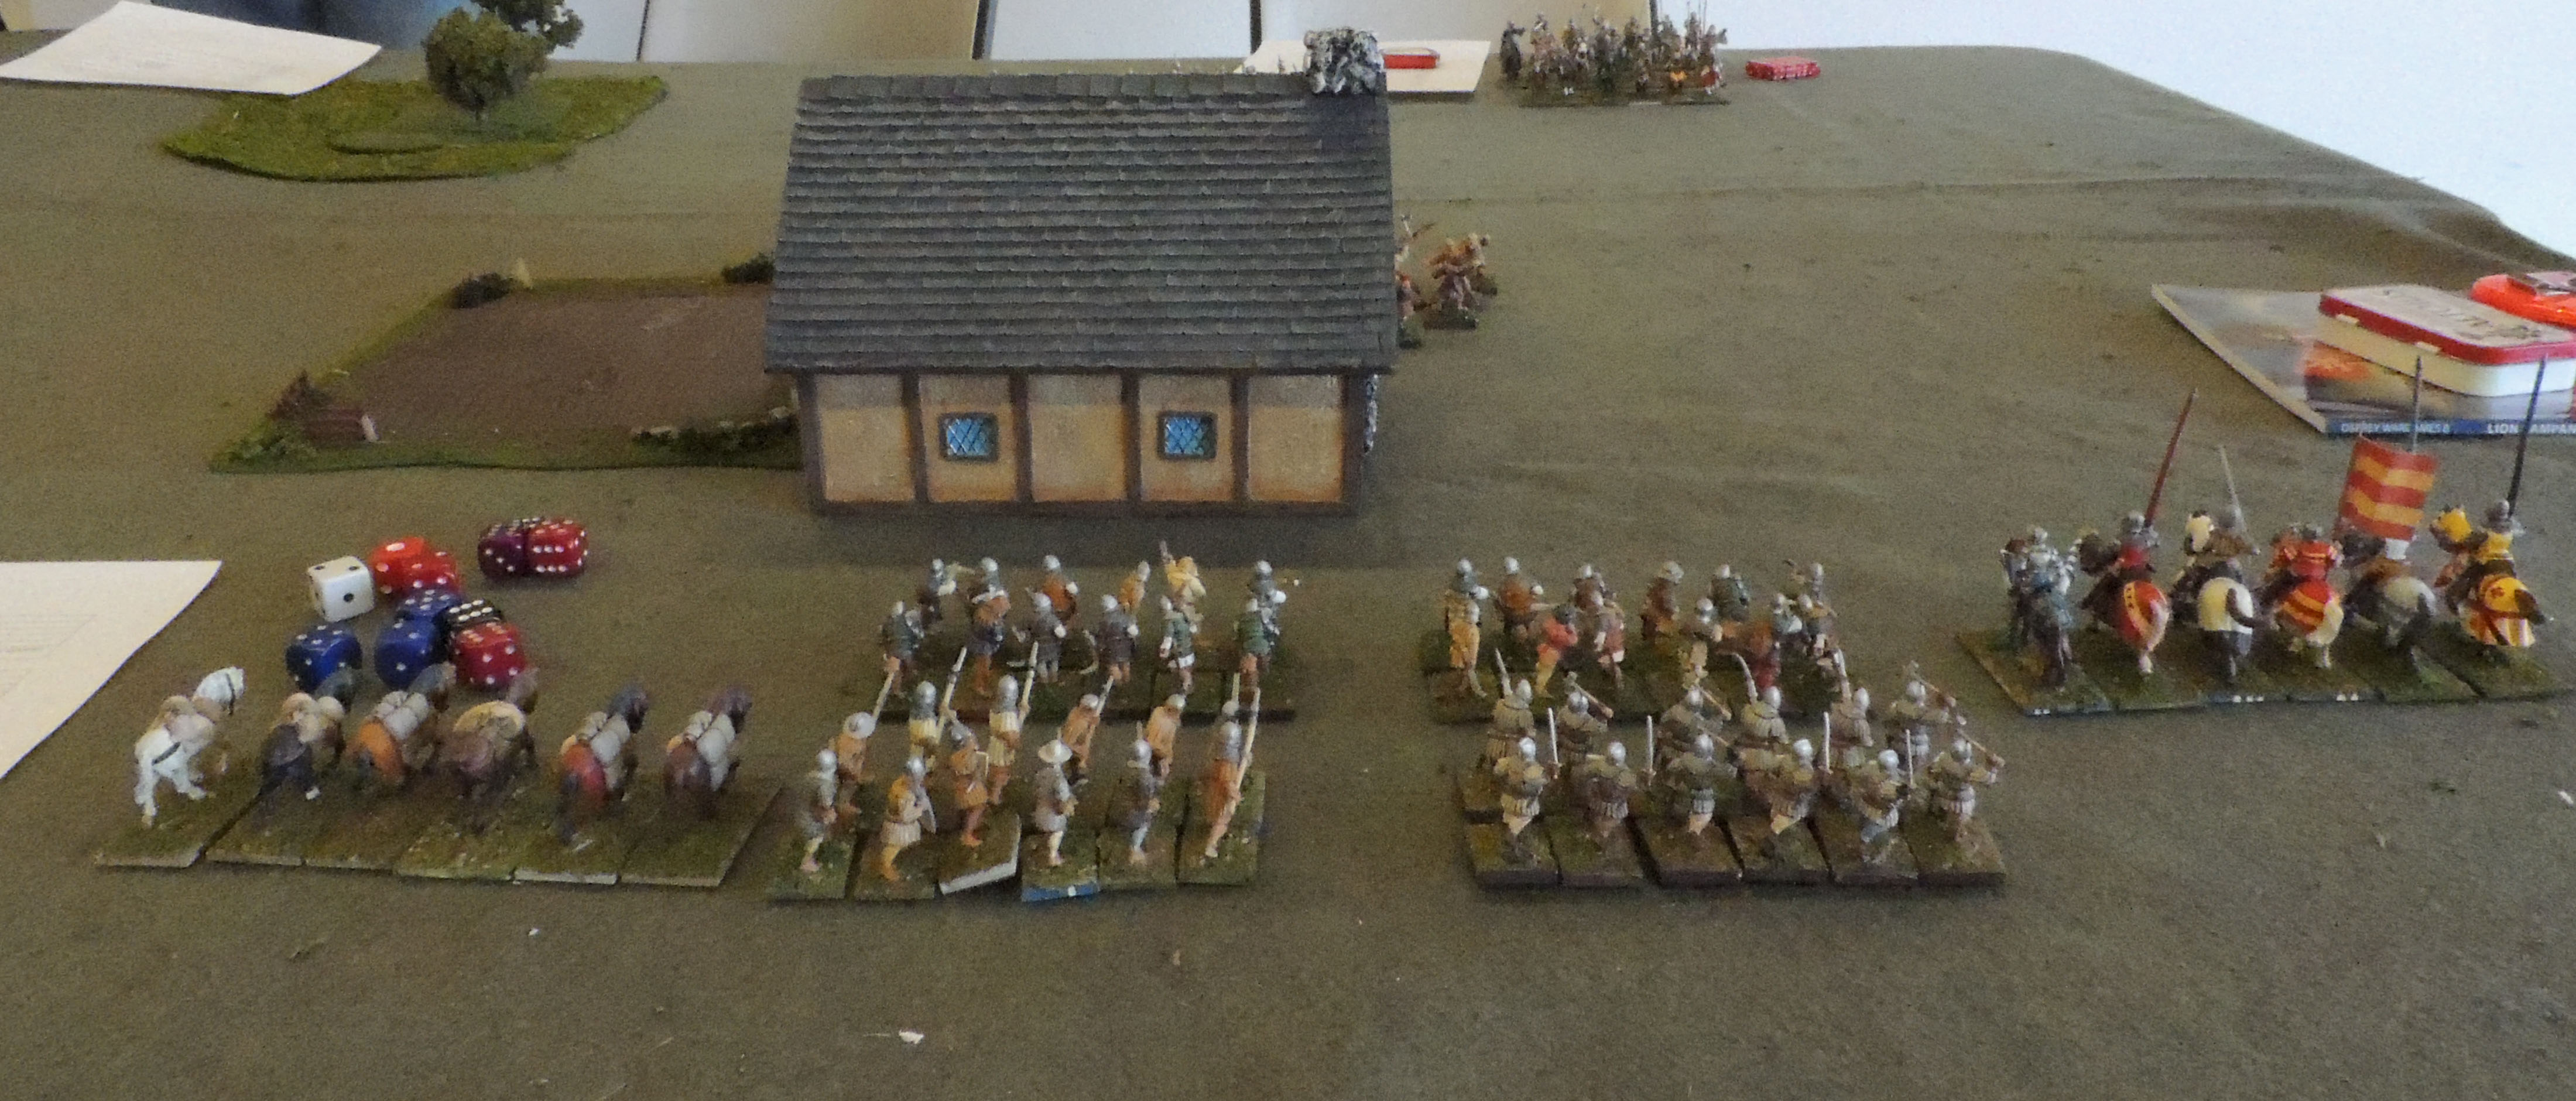
One of the English retinues.  Five units 54 figures is a pretty typical retinue size for Lion Rampant.

One of the English retinues. Five units 54 figures is a pretty typical retinue size for Lion Rampant.

The English forces, who had a pretty complex bunch of tasks to choose from, were allowed to set up 6″ from each of the three settled areas.  The French were allowed to set up 18″ on to the table. The challenge for the English was to make a plan from a variety of point scoring options, and fight off the French.

Though there was complexity in the scenario, the game devolved mostly into retinue on retinue combat, though the English were also burdened with devoting time and resources to looting and burning. On the English left, things went badly, mostly through bad die rolls. The French attacked with their cavalry, eventually destroying the English unit of mounted knights and killing the leader.  The English couldn’t activate their archers, and failed key courage tests. Though they were able to burn one of two structures, they couldn’t make key die rolls when needed.

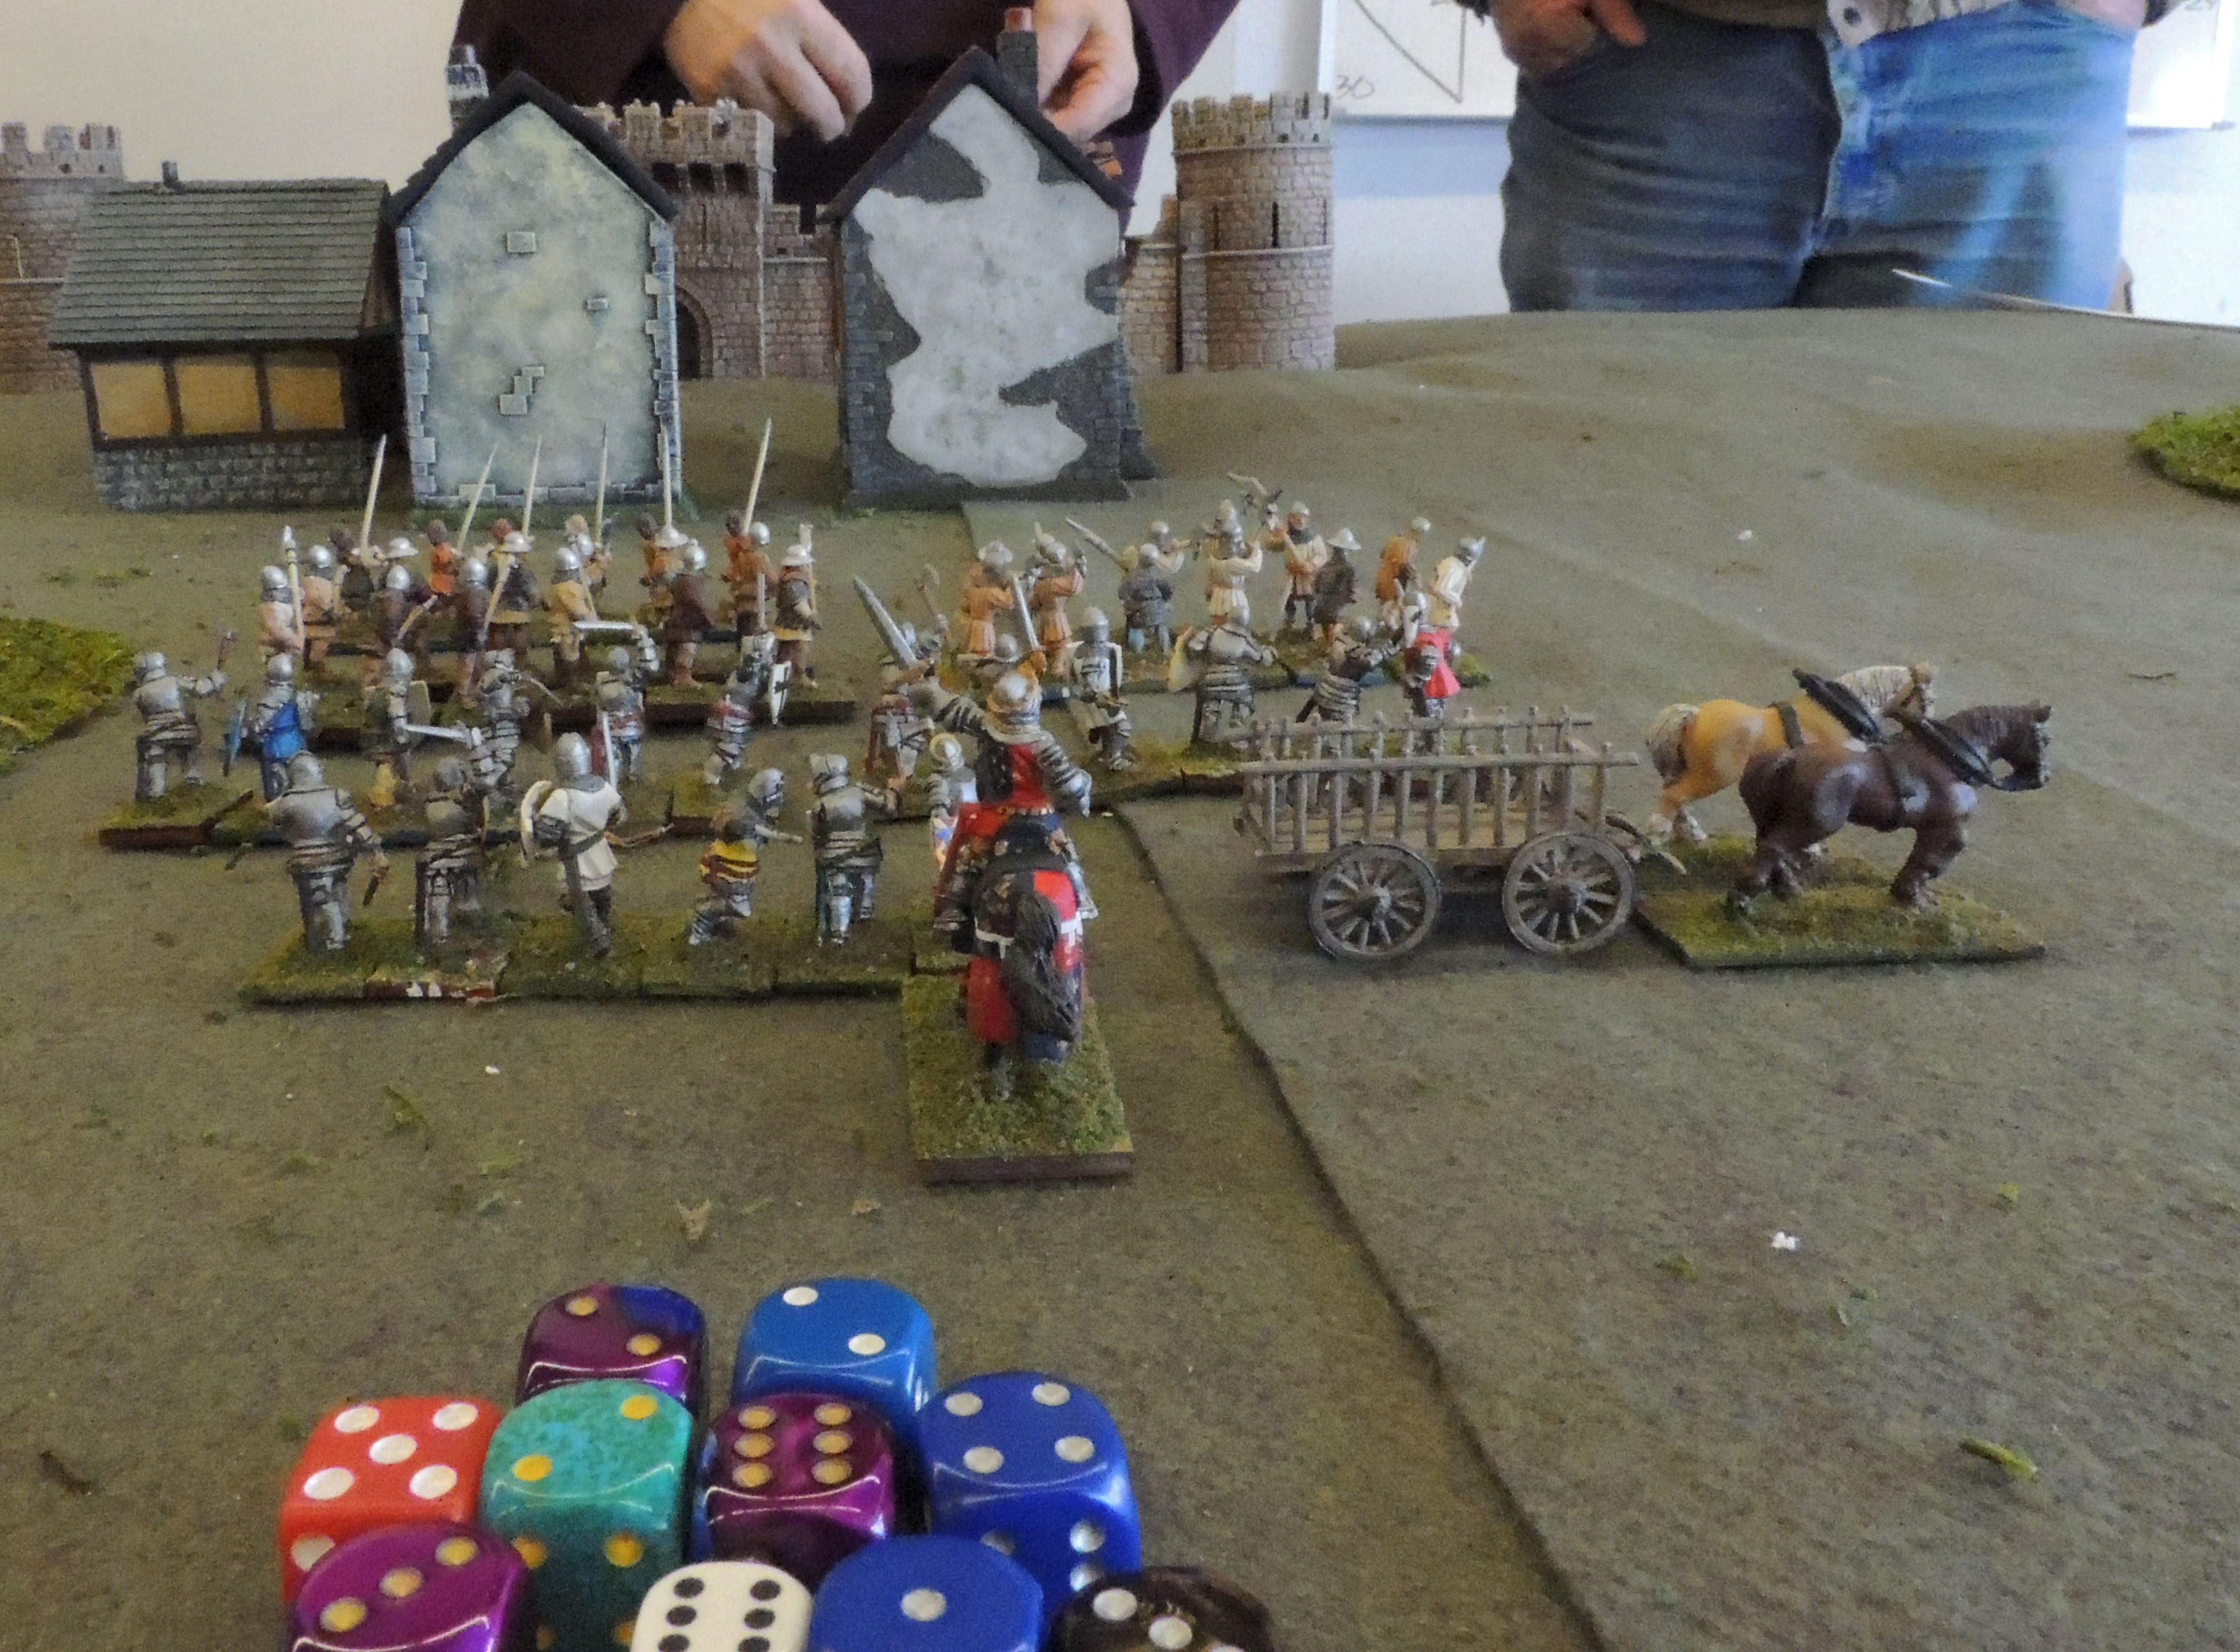
English retinue in the center comprised three units of dismounted men-at arms, two units of expert foot sergeants and a unit of bidowers. Nasty stuff, but they faced supporting fire from the castle.

English retinue in the center comprised three units of dismounted men-at arms, two units of expert foot sergeants and a unit of bidowers. Nasty stuff, but they faced supporting fire from the castle.

In the center, the English burned all three buildings in the town, driving the serfs into the castle.  However they suffered from crossbow fire from the castle walls losing a vulnerable unit of bidowers. They also drove off a counterattack from the mounted sergeants coming from the French left.

On the English left, they easily burned the farmstead and held off the French advance.  The French were content to stay away from the English bowmen and siphon some of their mounted troops to the center of the board to support the castle.

We played for about two and a half hours.  All but one of the players had played at least one game of Lion Rampant, but I don’t think anyone had played more than one game. We carefully walked through the first turn, and pretty much after that, players ran on their own, with occasional questions.

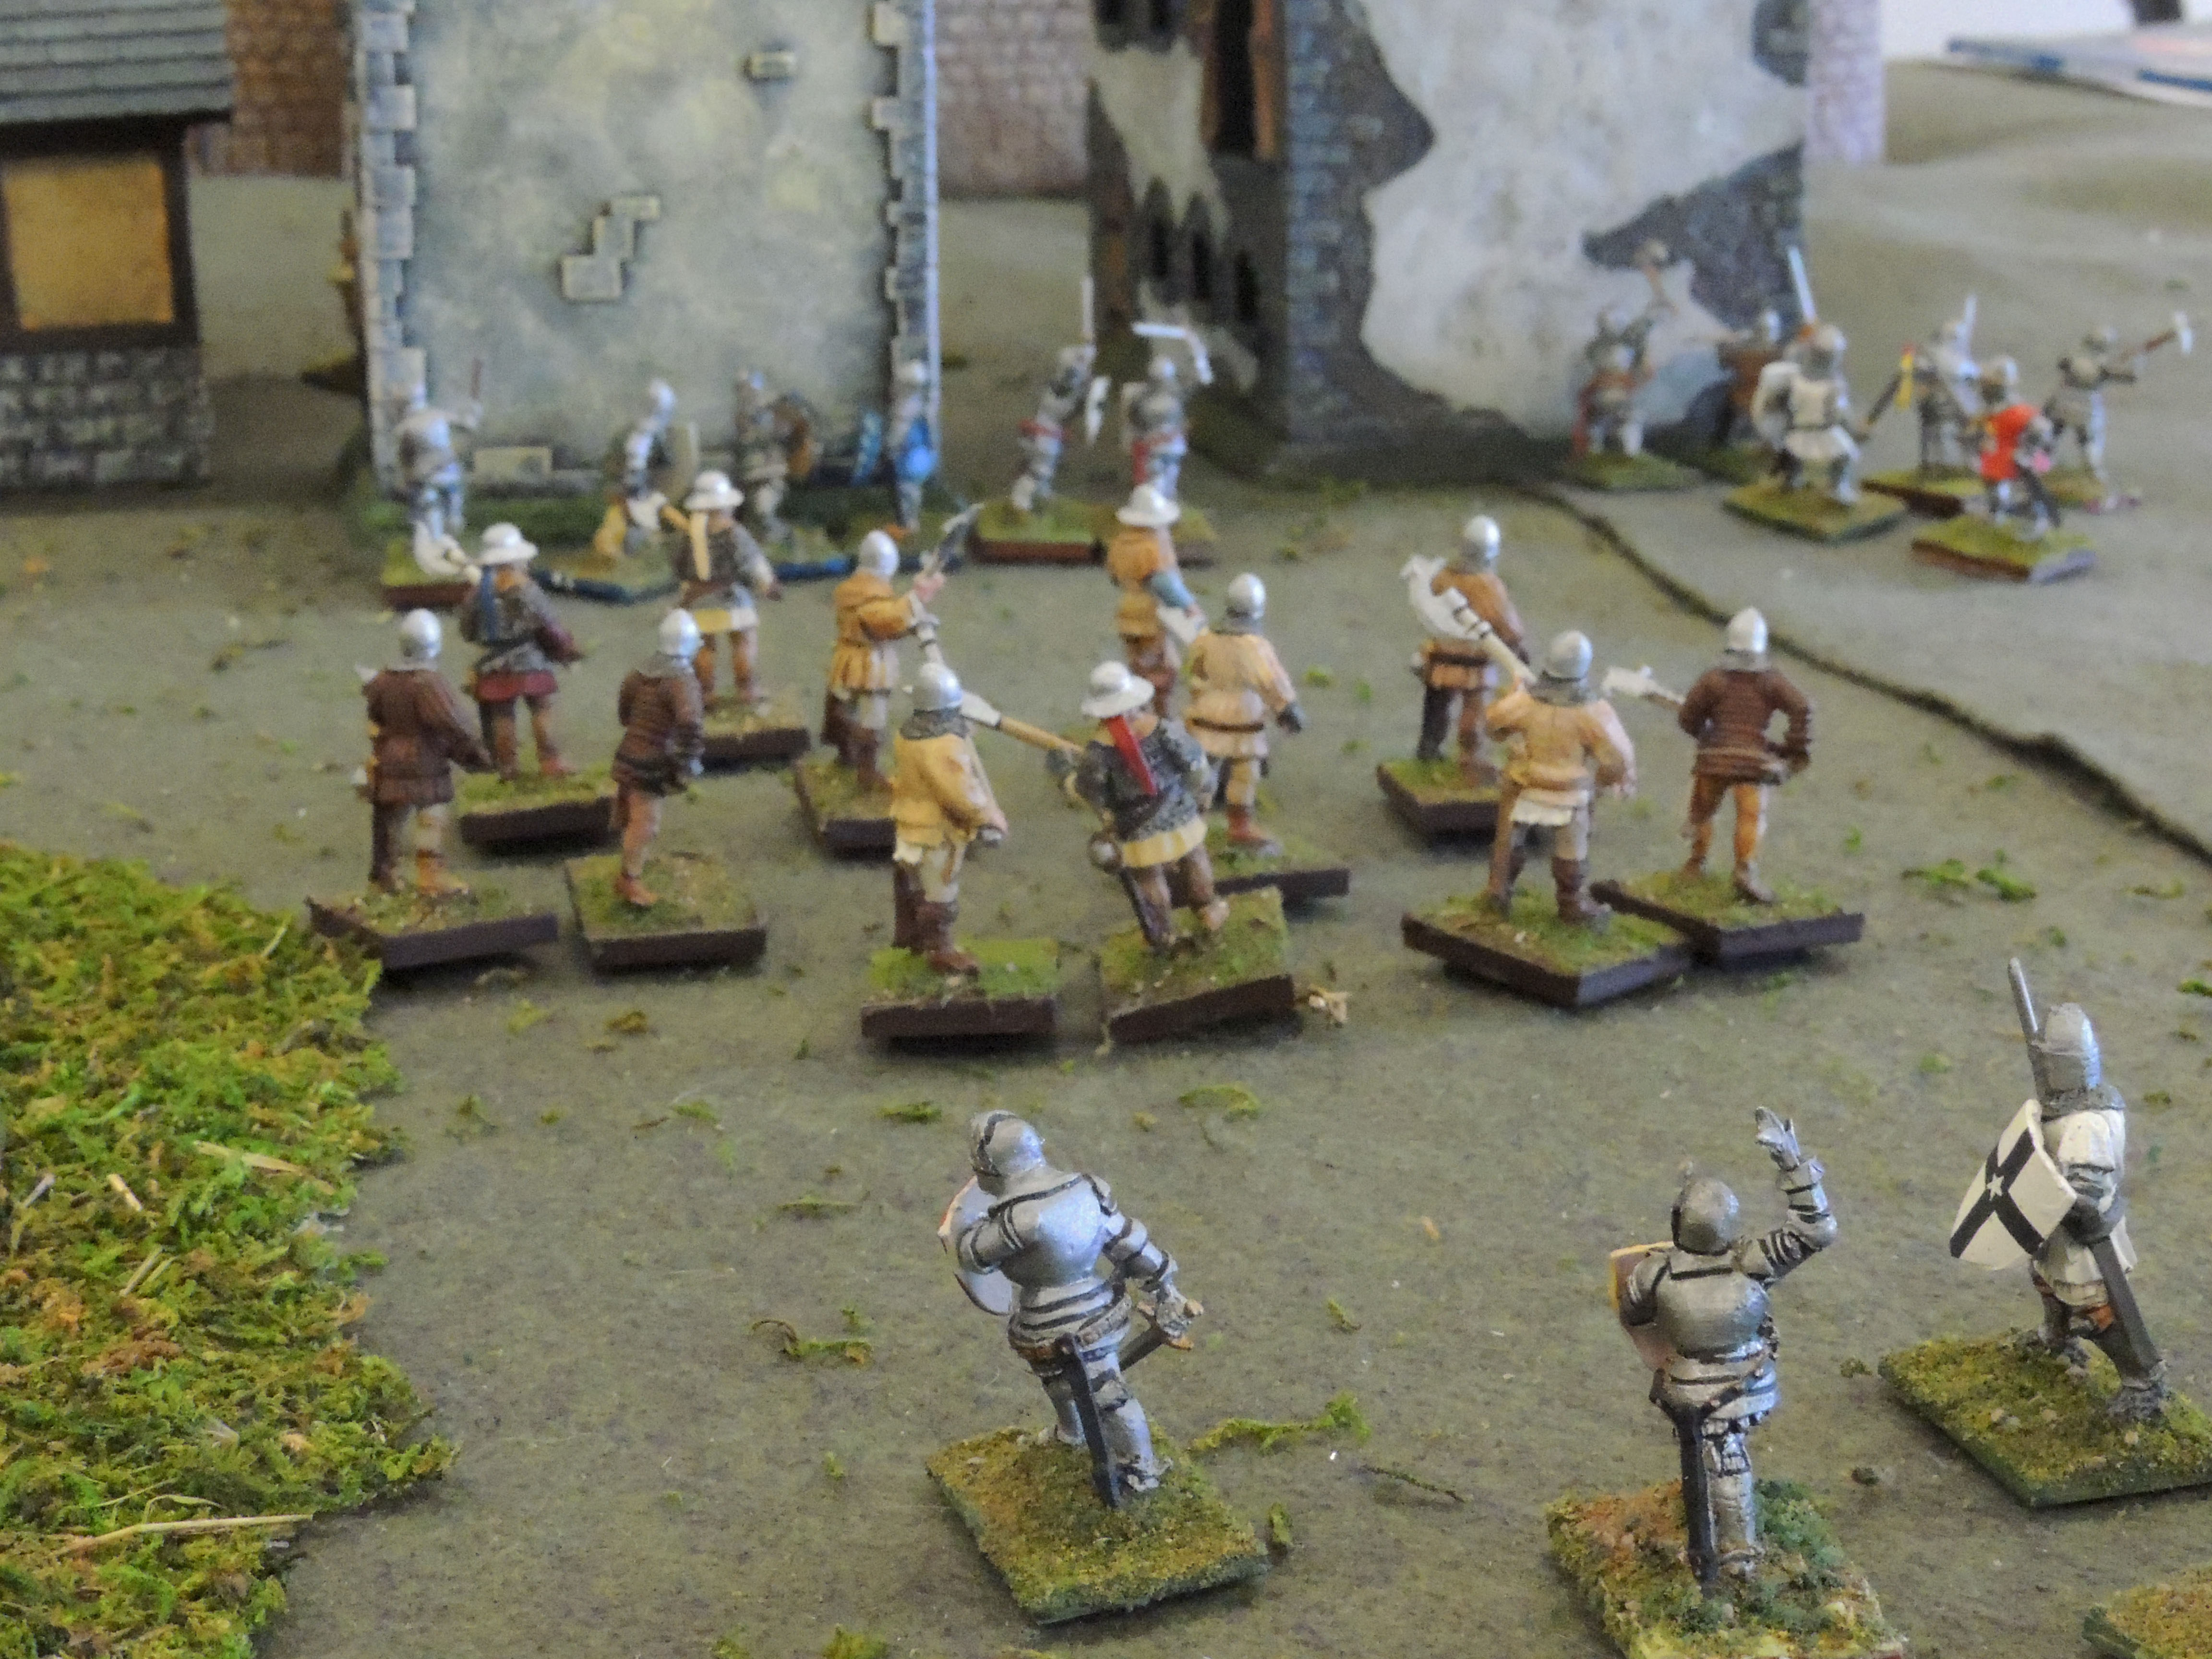
A tighter shot of the English assault on Agen town. They successfully drove the peasants out of the buildings and burned them, but didn't try to take the castle. ,

A tighter shot of the English assault on Agen town. They successfully drove the peasants out of the buildings and burned them, but didn’t try to take the castle. ,

We did struggle a bit to keep everyone on the same game turn.  Multi-player games are a bit of a mystery and aren’t covered much in the rules. I set up the game so the English retinues went first, then the serfs, then the French. There was a little more thumb twiddling than I’d like as folks from one end of the table who weren’t involved with combat waited for those who were.

All agreed the rules were fun, the scenario was enjoyable and easy to figure out. The serfs, based on the victory points I’d set up won easily, with the French edging out the English for second. I made some mistakes in the rules that were quickly brought to my attention (gotta work on that.)  This is a scenario I’d really like to run again, and possibly at Enfilade.

English on the left have burned one of the farm structures, while mounted French advance on them.

English on the left have burned one of the farm structures, while mounted French advance on them.

A couple of quick changes I’d make:

  • Adjustments in the victory points. Not a big deal, that’s why you play test is to make adjustments.
  • Would like a shorter table. 5′ X 14′ was too long, 5′ X 12′ would probably be optimal.  5′ X 10′ would probably be crowded.
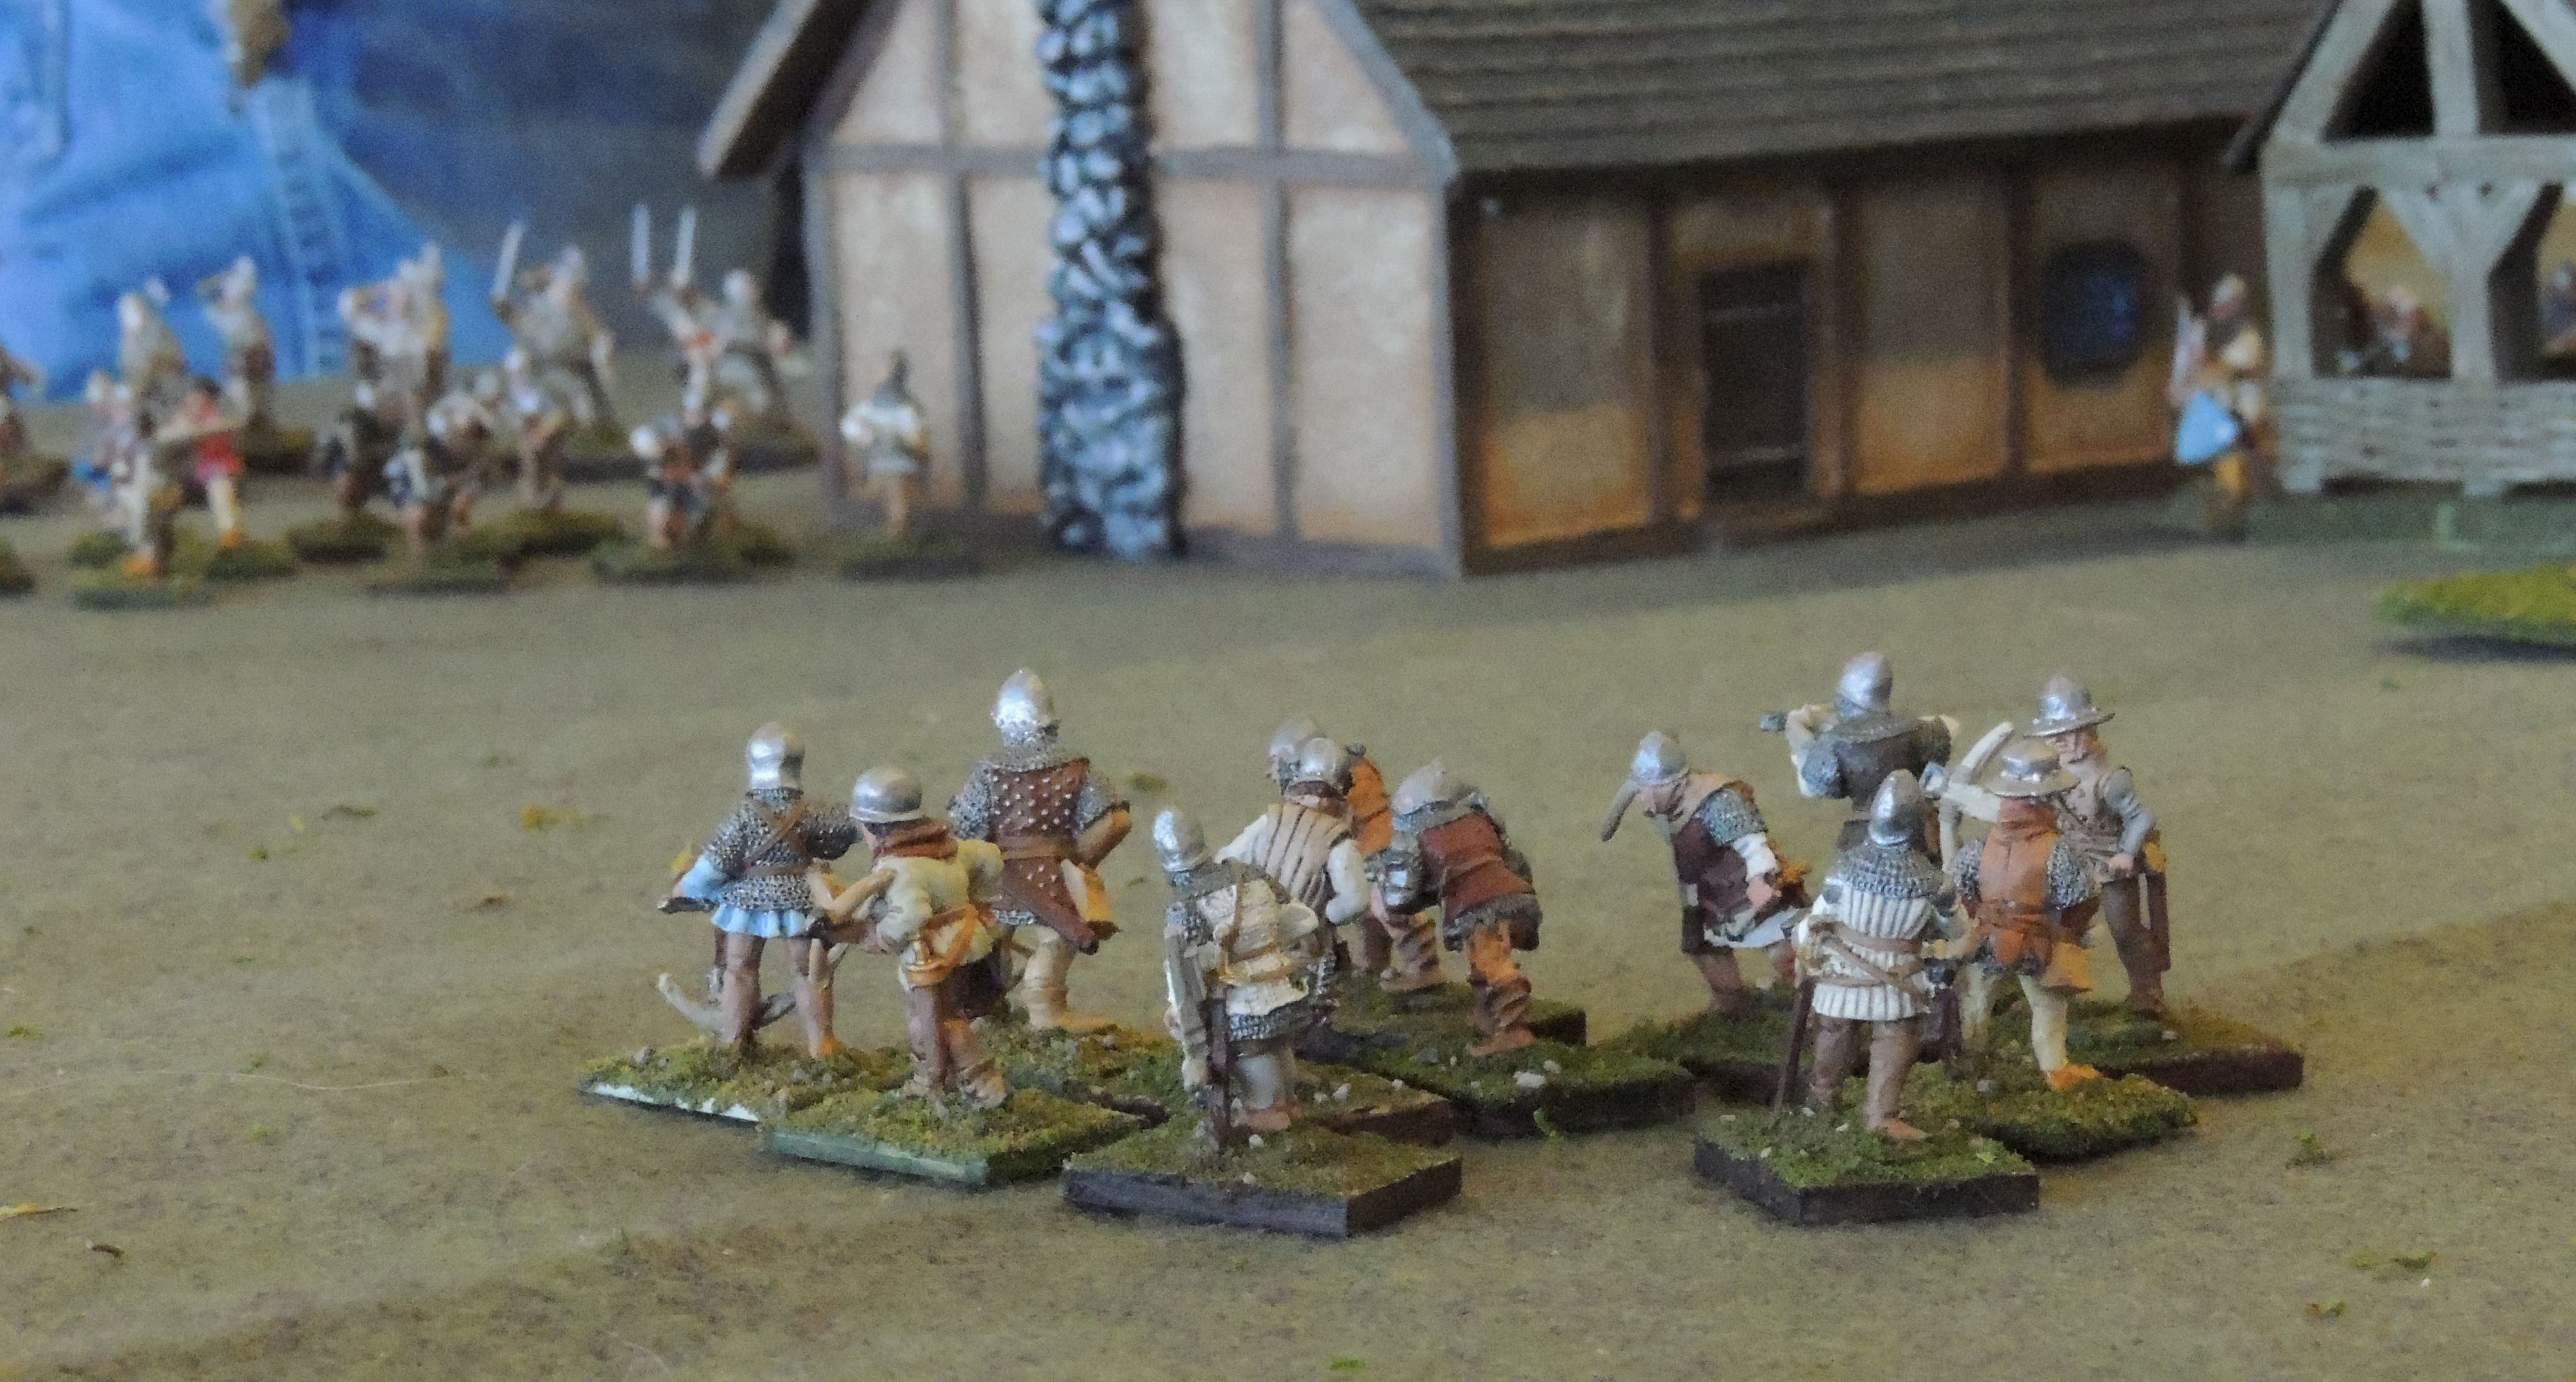
On the French left, a unit of crossbowmen huddle, unsure of what to do against the English

On the French left, a unit of crossbowmen huddle, unsure of what to do against the English

For myself, I never looked forward to running a game as much as this one.  I had my troops perfectly organized to pull out of boxes.  There was plenty of terrain-Barbs Bunker vineyards and fields, Pegasus and Miniature Building Authority buildings including a castle with a breached wall. I wrote over two thousand words worth of retinue charts and scenario notes.  I painted 24 figures worth of foot sergeants in four days. I came home exhausted, but extremely satisfied.  Thanks to all the players-Dean, Bill, Ron, Scott, James, Lawrence and Gene.  They were great to work with and were willing to take the time to debrief the game with me.  Ron pointed out the rules errors I was making-thank you.  It was just a great day.

So, we got that Camaro out of the garage and let it rip.  We drove like mad from North Bend to George, and though the WSP was out in force we didn’t get caught speeding. Petty was awesome and I  can’t wait to do it again.

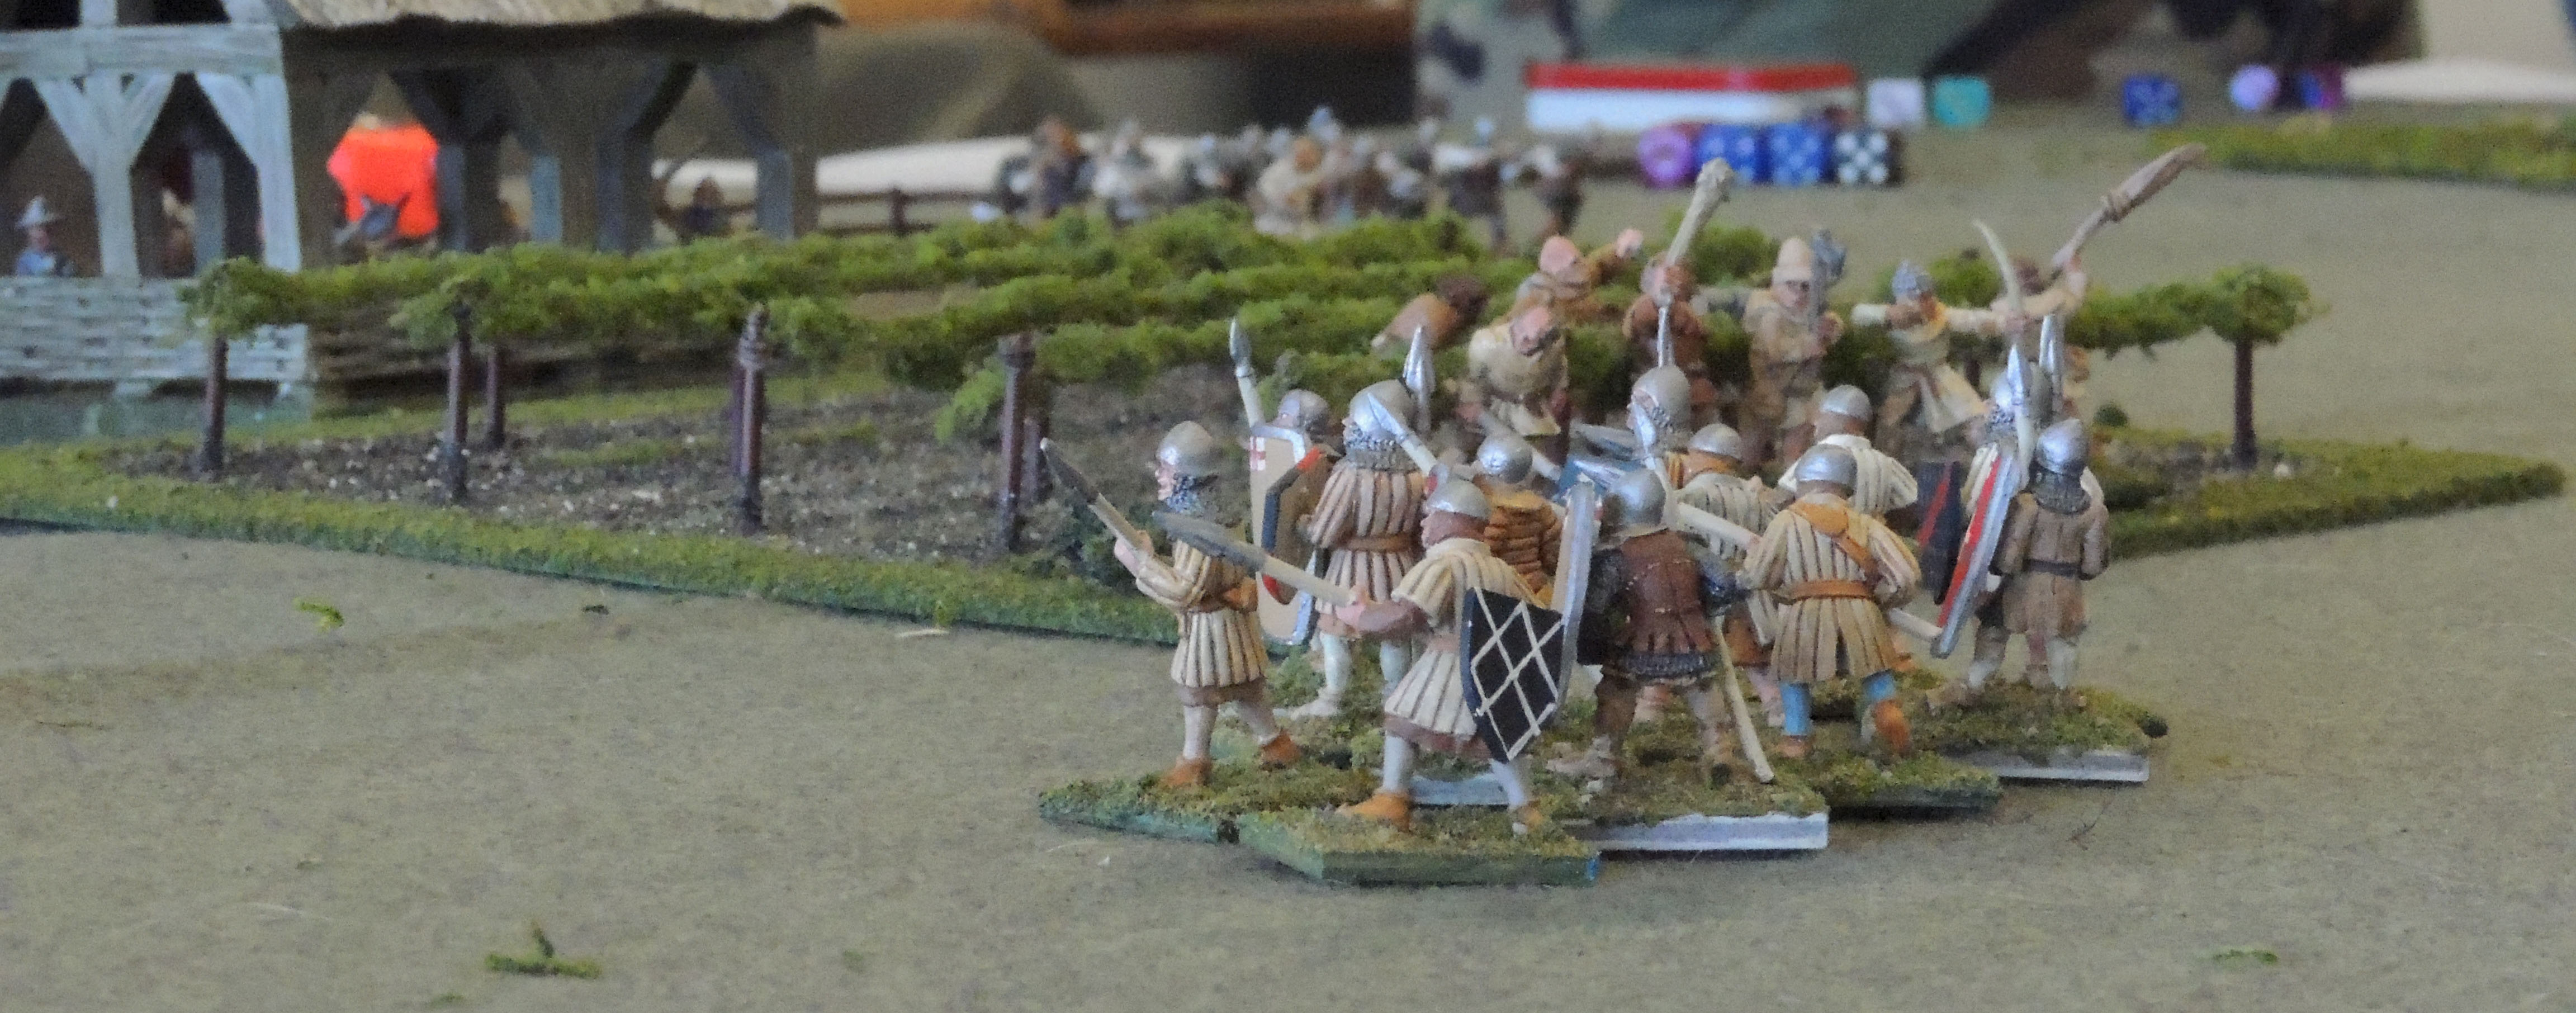
French sergeants take shelter behind the vineyards.

French sergeants take shelter behind the vineyards.

Lion Rampant Again

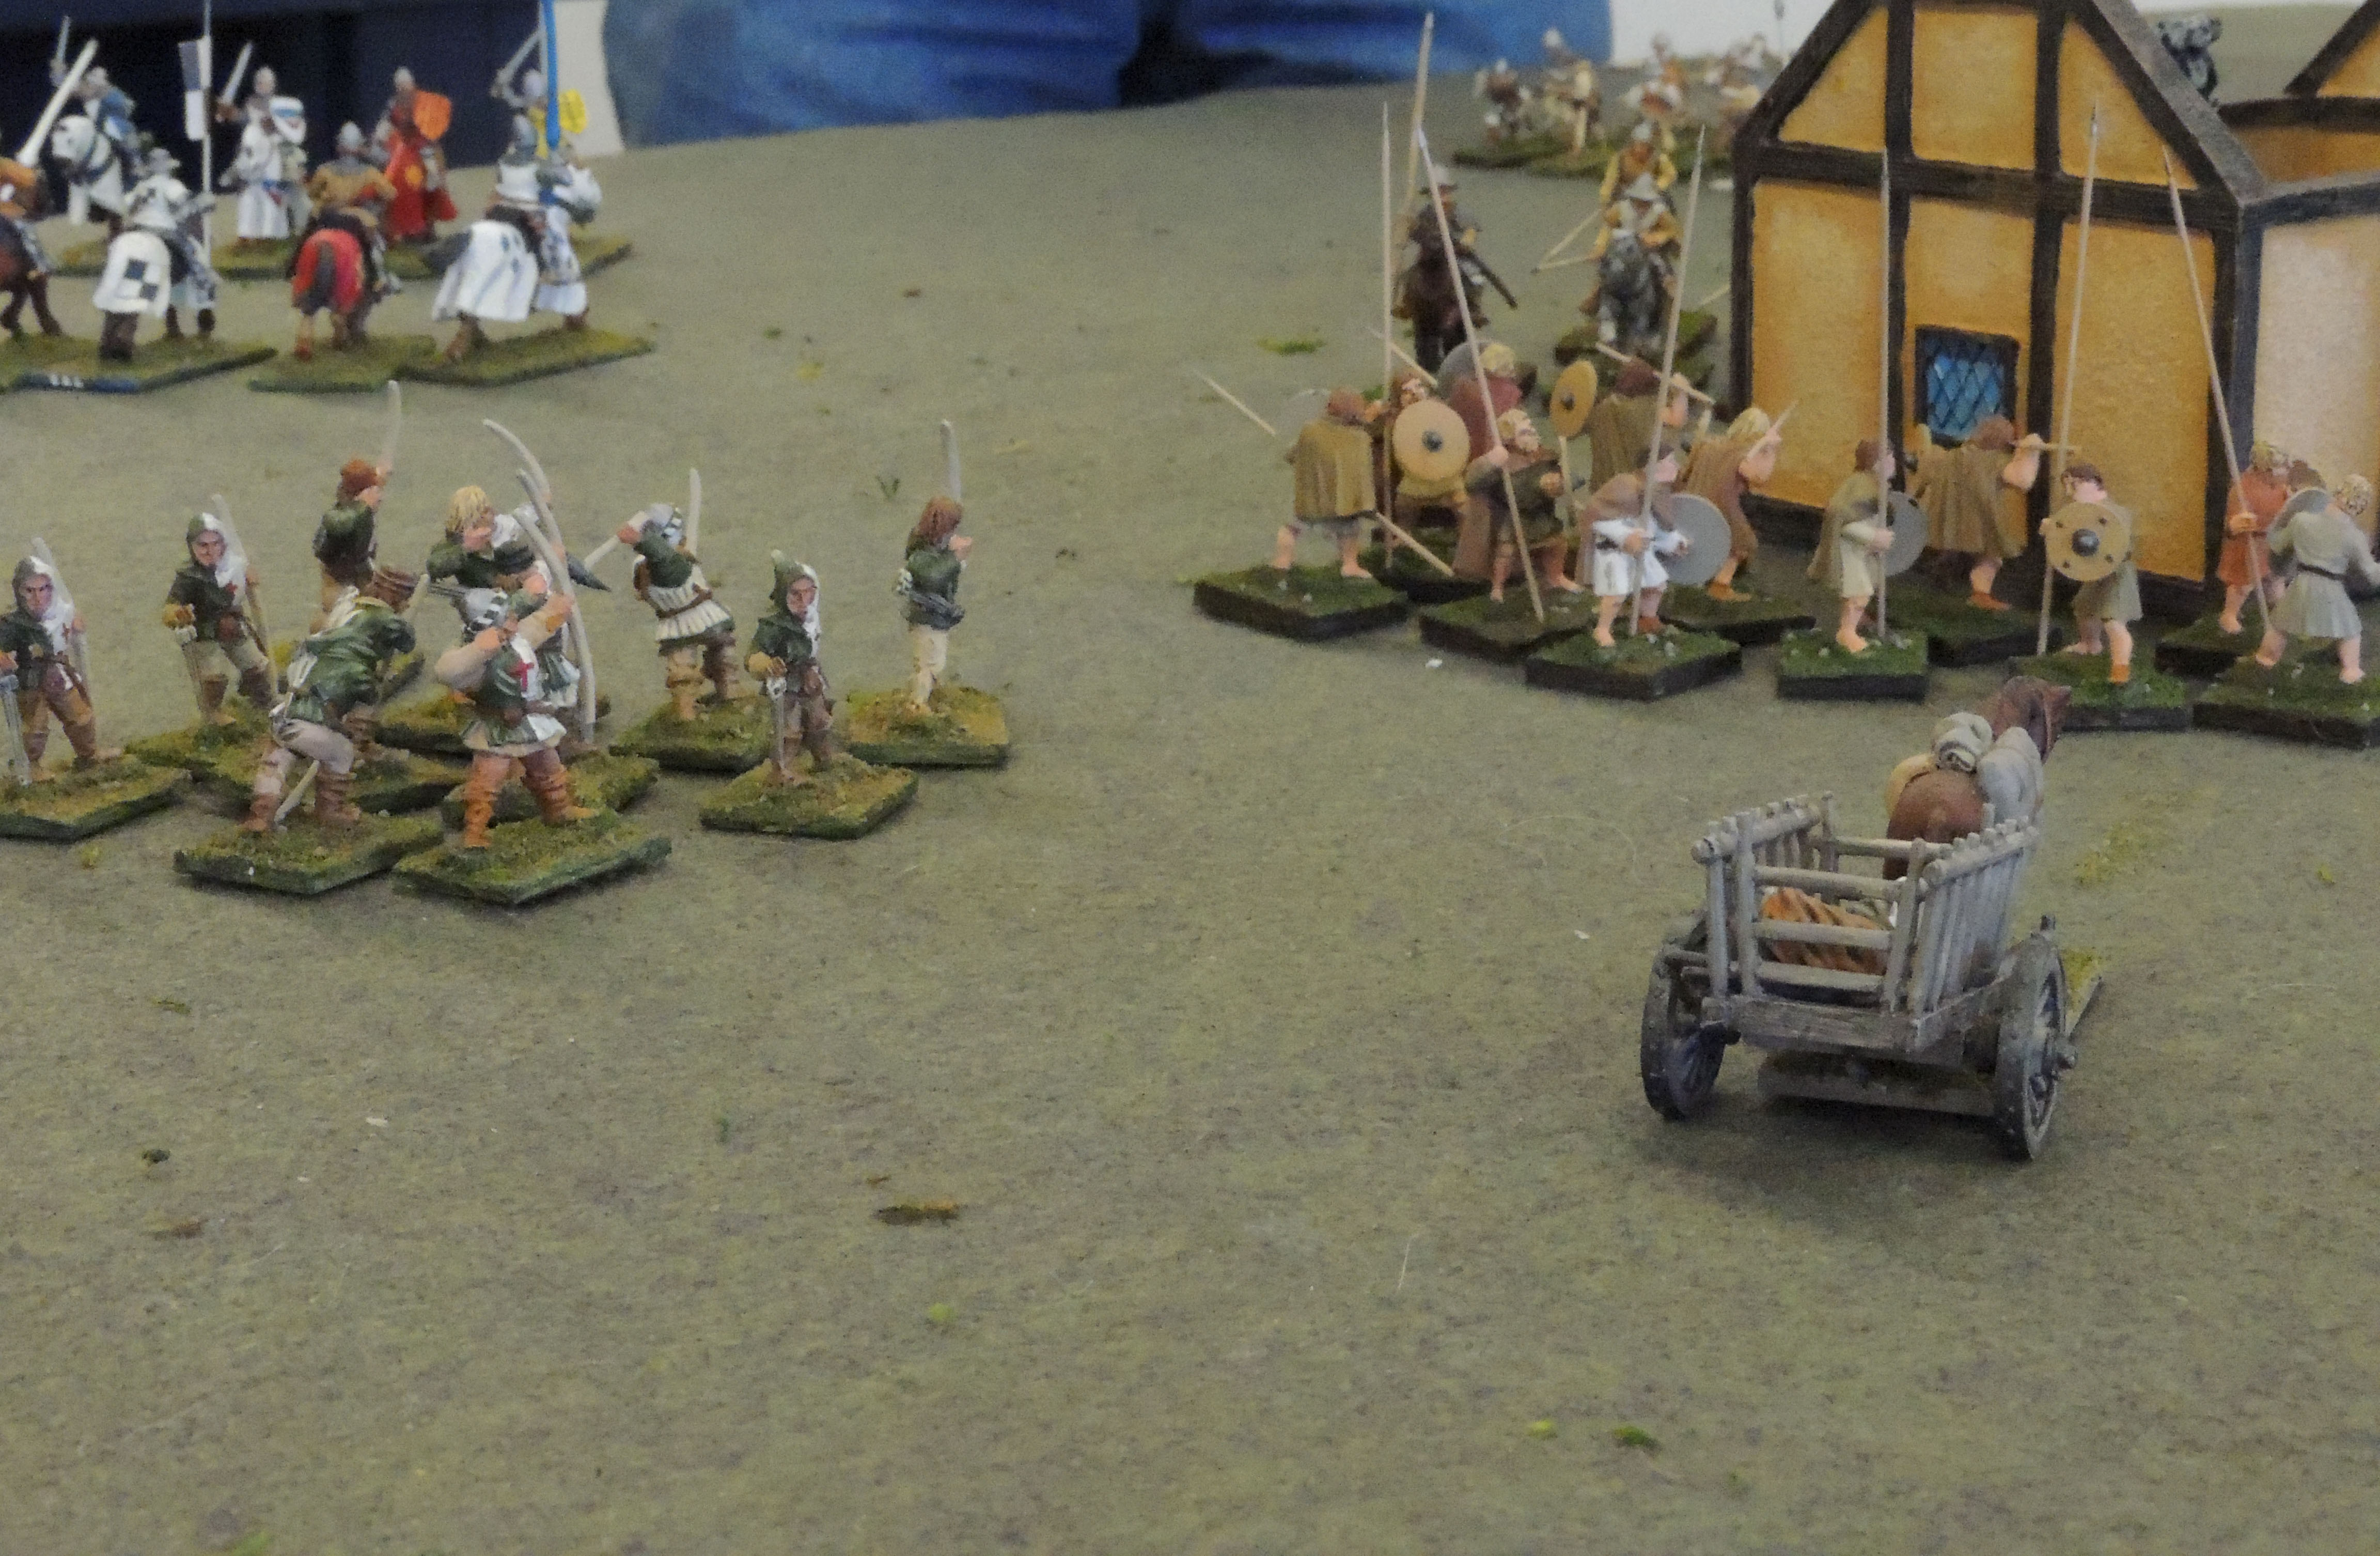
English longbowmen confront French mounted troops

English longbowmen confront French mounted troops

402In our neck of the woods (Washington state, Puget Sound region)  many gamers are very interested in Lion Rampant.  For some of us, Lion Rampant is competing with SAGA as a rules set of choice for medieval warfare.

Confession: I am not a fan of competitive, one-on-one rules sets with points-based army lists. I know many of my good friends really do enjoy that gaming environment.  I’m not one of them.  No slam on those who do, but that’s not what it’s about for me.  SAGA is that kind of game.  Lion Rampant could be, with its points-based retinues, but it doesn’t have to be, at least not from my perspective.

I’ve had the good fortune to walk through four games of LR over the past ten days.  I believe the rules can be a very capable vehicle for scenario design.  In each of the games we had multiple players in games-four players, three players, up to eight players.  The games all proceeded fairly quickly through simple scenarios finished in less than two hours, and in some cases even faster.

For those of you just picking up these rules, or trying to decide if this is the rules set for you, there are some important things you should know.

  1. These are skirmish rules.  Though author Daniel Mersey suggests they could be sort of semi-skirmish, they are intended to be 1:1 scale.  Each unit of 6 or 12 figures represents 6 or 12 guys.  They are a collection of dudes, not intending to represent a formation one would find on the battlefield at Agincourt or Tournai.
  2. Mersey uses an interesting device in the rules–a 3″ zone of control around each unit that may not be crossed by friendly or enemy units (unless you are being attacked.)  This keeps the combat unit to unit, and fairly tidy, but it does create some interesting problems. This extra 3″ footprint takes up extra space on the table, likely requiring more room than one would think at this scale. Resist the temptation to toss this requirement.  The 3″ rule is sacrosanct and gives the game real flavor and uniqueness, on the one hand, but it doesn’t complicate the simple, but clear game mechanics
  3. One would think that with such small units on the table it should be easy to throw loads of them out there. Careful. The 3″ footprint does rob lots of valuable space from the tabletop.  I would suggest two 24 point retinues on a 5′ X 4′ table. Four 24 point retinues on an 8′ X 4′ table.  Six 24 point retinues on a table at least 10′ – 12′ long. This is an important  consideration in scenario design.  Most foot units only move 6″ per turn and due to activation rolls may not move much at all in a turn. Mounted Men-at-Arms move 10″ per turn, but are fairly disdainful about moving. Missile fire extends 18″ from the shooter.  So, if you’re counting on your units covering great expanses of the table, think again. And the 3″ zone of control makes it more difficult to throw lots of units into an extended skirmish.
  4. Missile fire can be deadly.  Putting terrain on the table to break up line of sight is critical.

For my purposes, I feel like the rules work well.  In the Hundred Years War there are endless small unit battles in Gascony and Brittany over strong points and market towns. English chevauchees left many small towns in ashes, while local French commanders scratched together troops to drive off the invaders. I have an idea for a raid on town guarded by a derelict castle, though I also fear it may involve too many troops.  We’ll just have to see.

I confess the rules have really captured me. I like it that they are inexpensive.  I like it that the mechanics are easy, though there is some subtlety.  The activation roulette means that no unit alone is queen of the battlefield. Suggested retinues should be considered just that, suggestions subject to contact with history.

Starting the new year off right

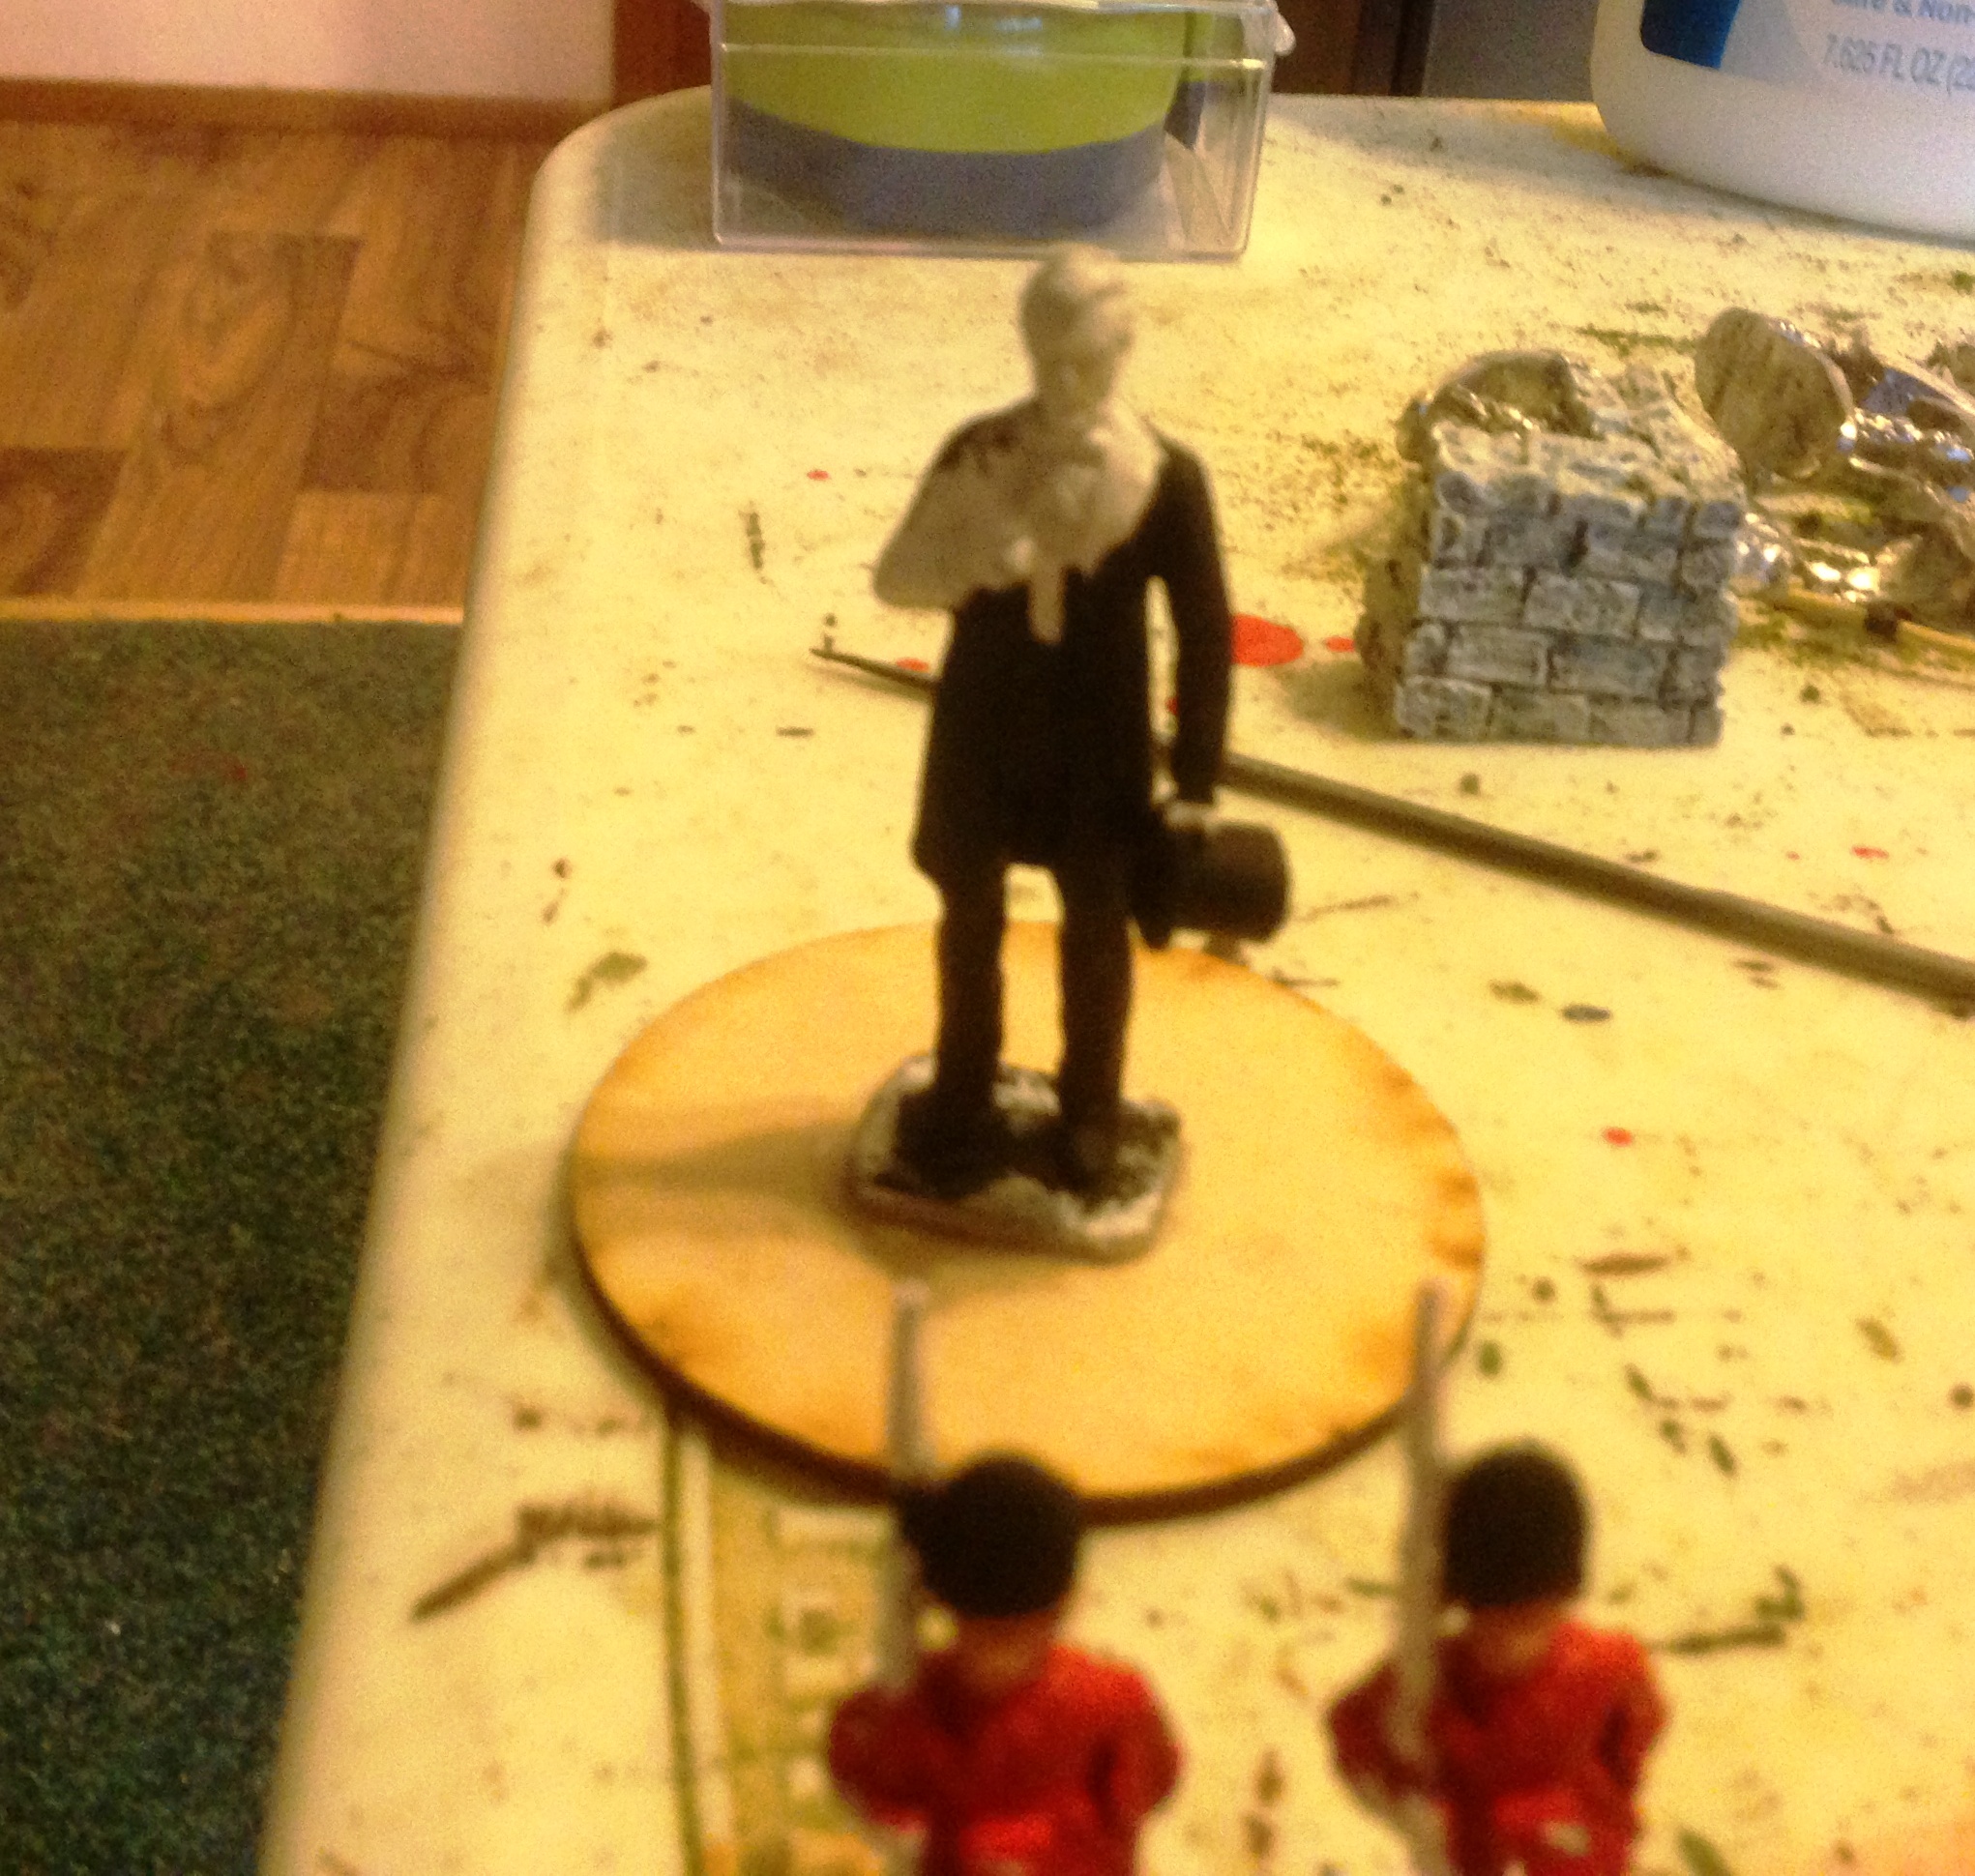
An overall glimpse at a portion (the tidy corner) of my painting table.  The nearly finished Hibernia Regiment fusiliers, the barely started Grenadiers and the 54mm Abraham Lincoln in the background.

An overall glimpse at a portion (the tidy corner) of my painting table. The nearly finished Hibernia Regiment fusiliers, the barely started Grenadiers and the 54mm Abraham Lincoln in the background.

We’re nearly two weeks into the new year, and it feels like time is racing by. Even so, I feel like I’m in one of those creative zones, when I can’t wait to paint in the evening, and on the weekends I can easily put in three or four hours a day. I’m nearly finished with the fusilier company from the Hibernia Regiment, an Irish “wild geese” unit that served in the Spanish army, and periodically made its way to America. They appear quite different from the other Spanish units because of its red coat and yellow tricorne lace. Eleven figures.

A tighter view of the Hibernia figures front

A tighter view of the Hibernia figures front

Another view of the Hibernians from the back

Another view of the Hibernians from the back

I have the Hibernia’s grenadier company next up on the painting docket, and then I’m goind to take a quick little departure from Louisiana. I’m going to paint up the 54mm Imrie Risley figure I’ve had of Abraham Lincoln for some time. I glued him to a base and primed him up. I’ve begun working with the black base coat that will be most of his attire. The challenge is to take this simply dressed figure and somehow make it come to life, either by focusing on his face, or lots of shading and highlighting. I’m not quite sure which route to take.

Imrie Risley's Abraham Lincoln.  I've only just begun working on Abe.  Expect to see a finished version and more 54's as the year goes on.

Imrie Risley’s Abraham Lincoln. I’ve only just begun working on Abe. Expect to see a finished version and more 54’s as the year goes on.

Unfortunately my excellent progress may be a bit stymied for a week as we cruise into deadline. Probably no painting Tuesday, Wednesday and Thursday. Then on Saturday Lorri and I take some time away, board the dogs and spend Saturday and Sunday in the little town of Stevenson down on the Columbia River.

Painting for fun: General Gordon’s Last Stand

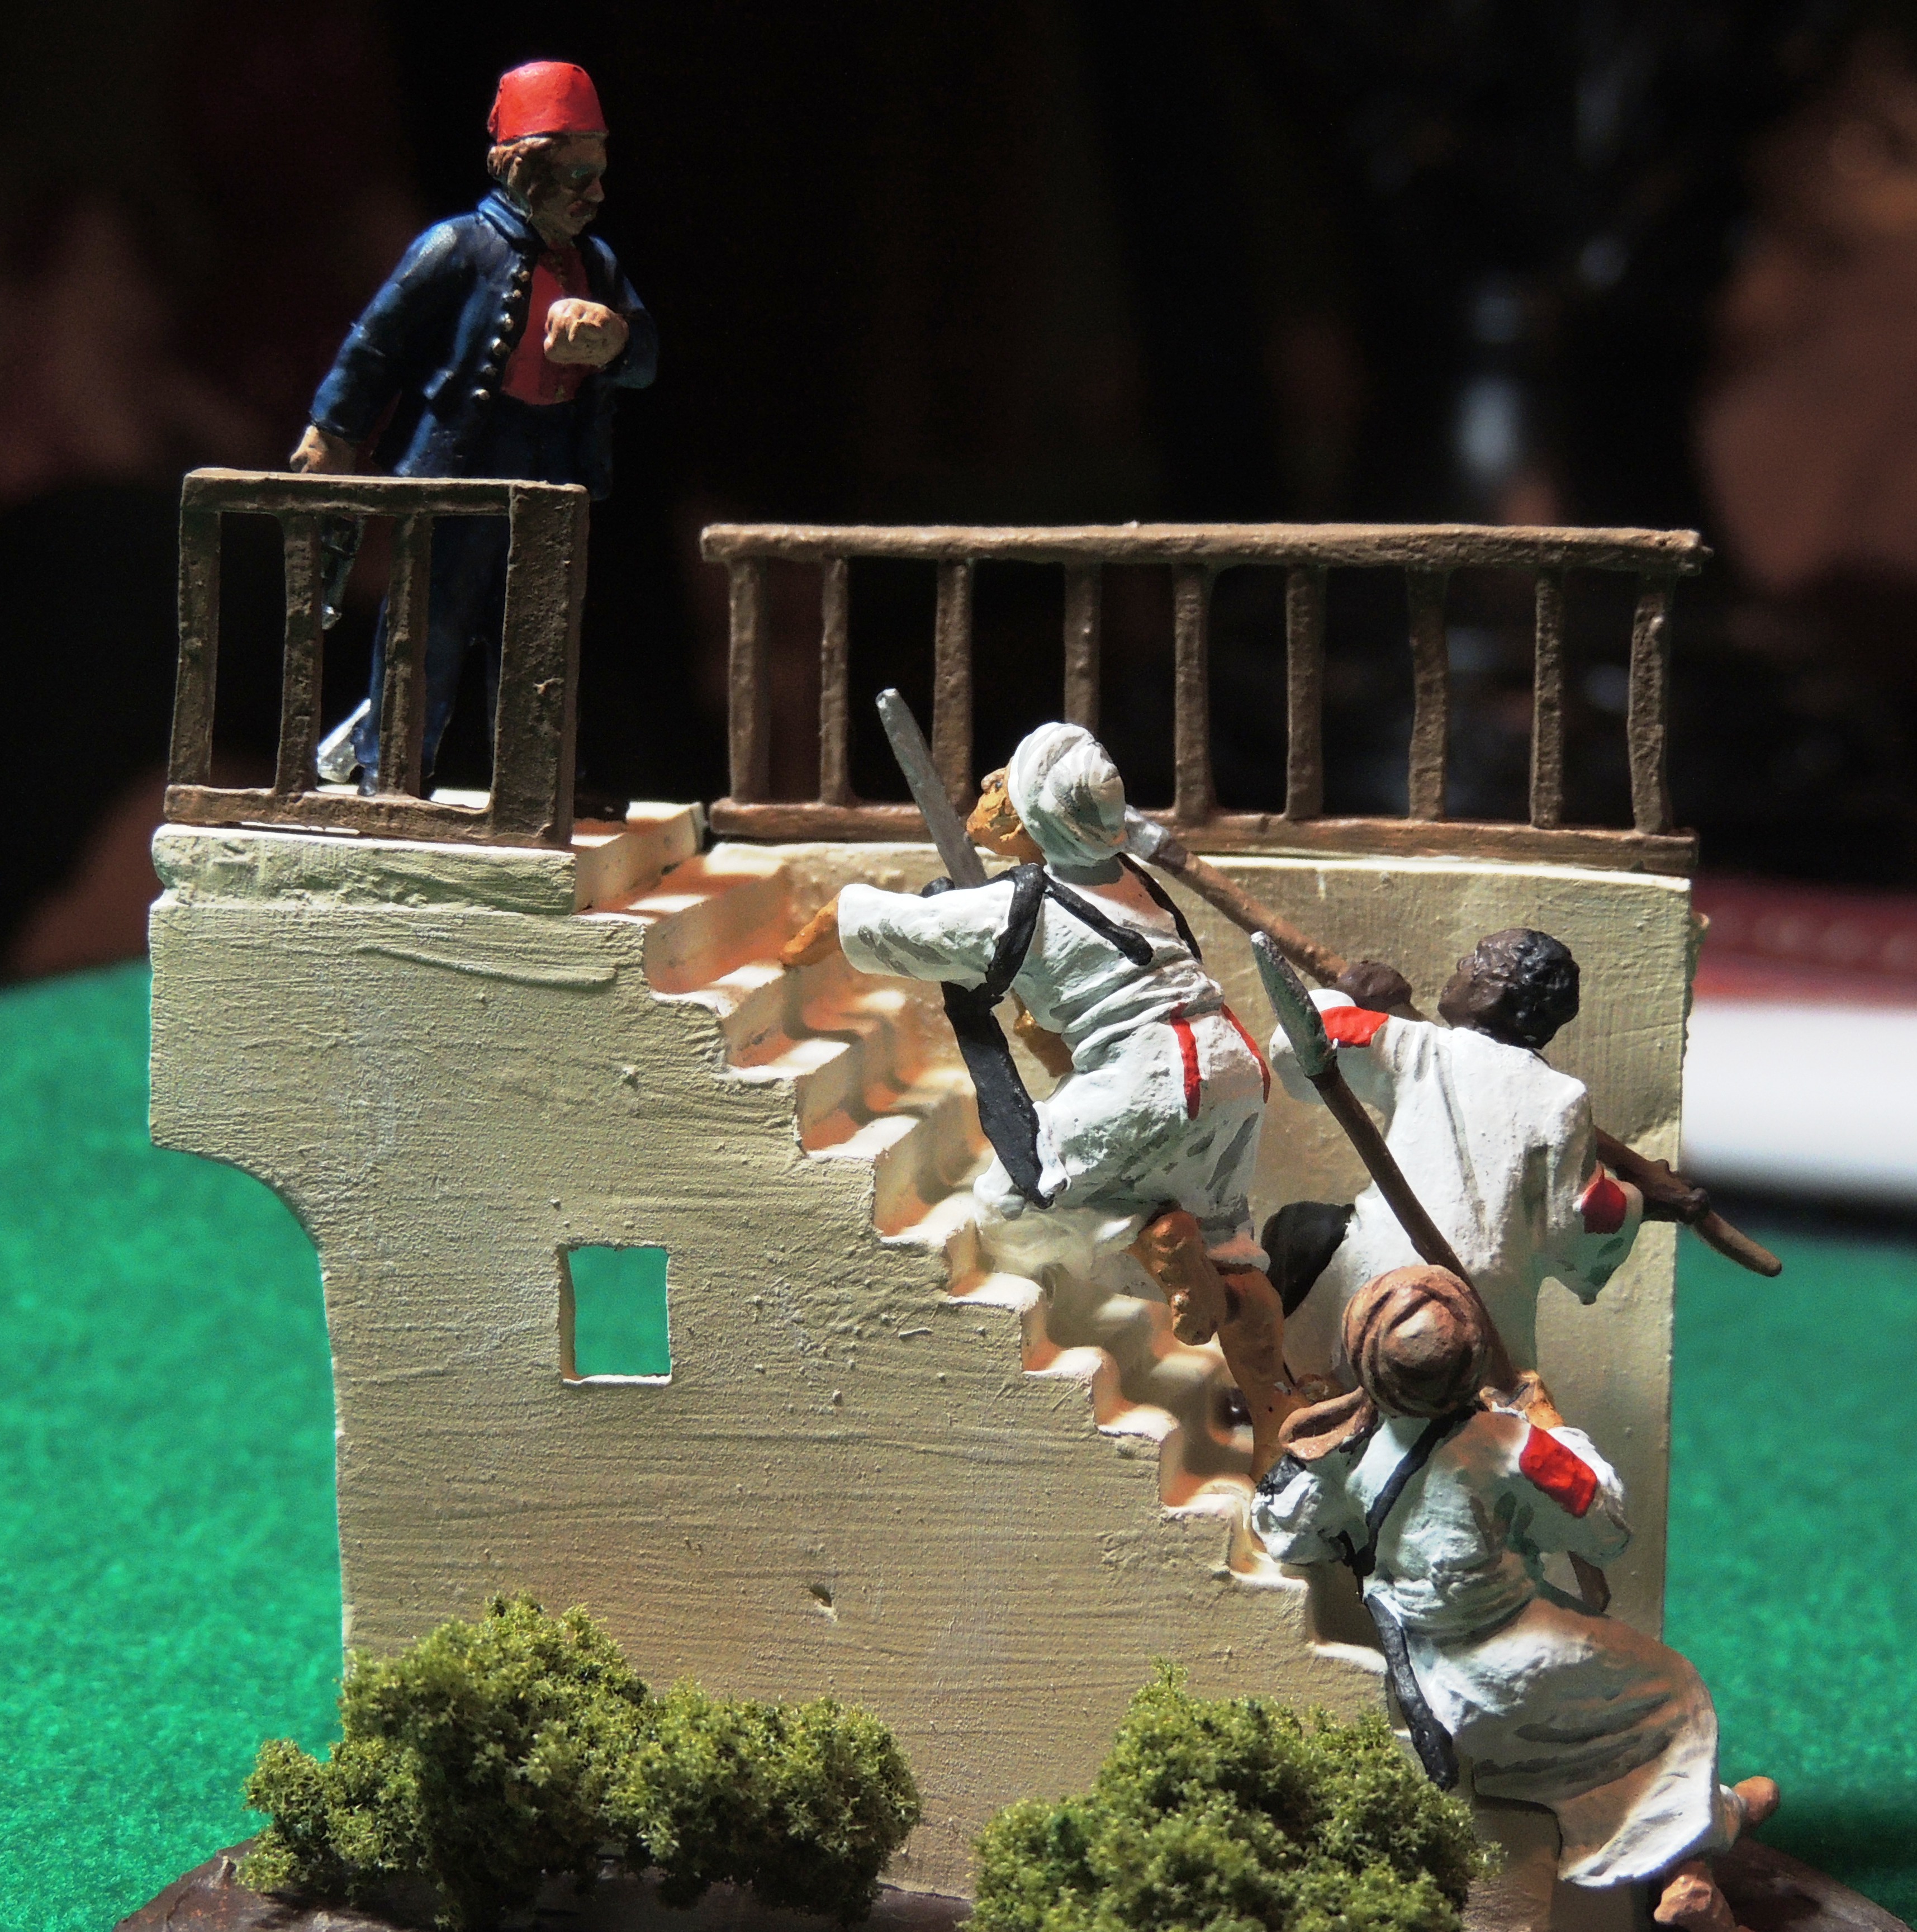
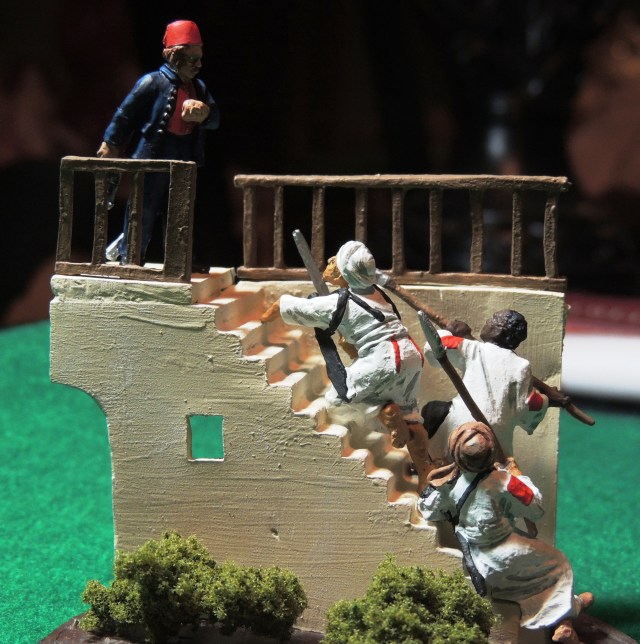
Side view of Gordon's Last Stand vignette by the Perry Brothers.  The photo was taken without flash and more accurately recreates the lighting for Joy's painting.

Side view of Gordon’s Last Stand vignette by the Perry Brothers. The photo was taken without flash and more accurately recreates the lighting for Joy’s painting.

When I was 18, and a sophomore in college, I bought Omdurman by Philip Ziegler.  I was taken by the British struggles to mount the expedition that avenged the fall of the Sudan to the Mahdist forces in 1885, and particularly the difficulty in fighting the Mahdists in 1883-1885.  As I said in an earlier post, I knew something about the conflict from the movie Khartoum with Charlton Heston and Sir Lawrence Olivier.  Before I’d read Ziegler’s book I’d read the chapter on General Charles Gordon in Lytton Strachey’s Eminent Victorians. I’d come to admire the man and his ability to work with native troops, respect their ways and accomplish great things with very little.

Gordon and the Sudan inspired one of my earliest wargaming projects.  Some of the first 25mm figures I purchased were Hinchcliffe highlanders for the 1898 campaign.  I actually paid someone to paint them as Gordon and Seaforth Highlanders, as they appeared at Omdurman.  I bought 15mm Peter Lang miniatures for the period.  In the 1980’s I put together a sizable British and Mahdist army for the period.  25mm Ral Partha figures, 25mm Minifigs, and even those Hinchliffe Highlanders made it on to the table.  We played with Lynn Bodin’s Imperialism rules.  I wonder where those figures are now?

When Alan and Michael Perry split off from Games Workshop and Foundry to begin their own ranges of historical miniatures, I became immediately interested in their Agincourt to Orleans and American Revolution ranges.  Though they also included a very nice range of miniatures for the Sudan, I swore them off.  Pretty figures, but not one of my core periods, and therefore, I chose to stay away.  But one day in perusing the lists under Sudan Extras at the Warstore, I ran across a couple of interesting items.  There was a heliograph team, and something called General Gordon’s Last Stand.
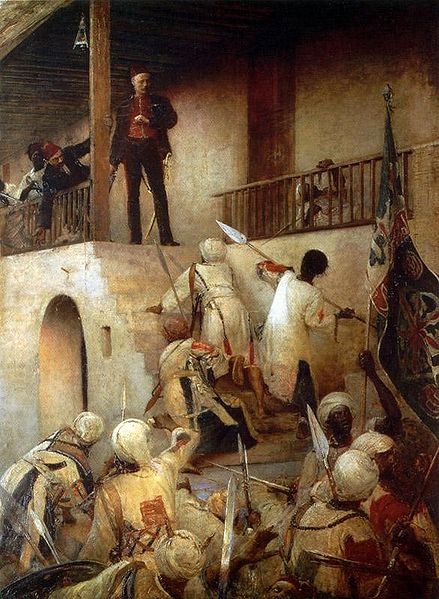
General Gordon's Last Stand by George W. Joy.

General Gordon’s Last Stand by George W. Joy.

I recognized the Last Stand.  It was a vignette based on a painting I knew well.  The painting is General Gordon’s Last Stand by George William Joy from 1893.  The painting depicts Gordon standing on the top step of his residence, pistol in hand, quieting the mob of Mahdist soldiers come to dispatch him and appears in Ziegler’s book.  This scene figures crucially in the last scenes of Khartoum.  The dervishes have overpowered the half-starved garrison and are searching for the Governor General.  They come into his residence courtyard, a bloodthirsty mob, shouting for his head.  Gordon takes his place before them, and for a moment he holds them in his quiet gaze, they are stilled, and their weapons fall to their sides.  But one man breaks the spell and hurls his spear into Gordon’s chest.  He falls, is beheaded, and is lost to the mythmakers.

I’ve owned the vignette for several years.  It’s a special order item and must come from England. It took considerably more than four weeks to get it. I decided to assemble and paint it during the Christmas break.

The vignette comes in several pieces.  The stairs of the residence comes in resin.  There are the two railings in metal.  There are four figures in metal, including Gordon and the three dervishes. You can see, in comparison to the Joy painting, the impossibility of duplicating Joy’s work while making it doable and affordable. So the vignette is basically cropped from Joy’s depiction. The painting shows many more of the Mahdist soldiers in the foreground as well as Gordon’s men in the background.

The first challenge I had was trying to figure out how to work with the pieces.  I decided to mount the whole business on a circular Litko base 75mm in diameter.  This ended up being a bit too large, but workable.  Before fixing the stair piece to the base, I coated the disk with Liquitex modeling paste.  It’s an acrylic material I believed would bond quickly to the resin staircase. I was right.  The staircase itself required some trimming, easily done with a sharp X-acto knife.

While giving some time for this to dry (acrylic materials dry quite quickly,) I had some decisions to make about further assembly and priming.  The top of the staircase, a metal piece required gluing.  Despite some handy guides in the piece, it didn’t fit properly and required some trimming and puttying to get a seamless bond.  I also decided to trim and glue the General Gordon figure into his position on the staircase before priming.  There are pegs for his location that fit pretty accurately.  Done and done. The remaining figures were posed a bit of a quandary for me. The three Mahdists had to fit together into extremely tight spaces on the stairs. It was going to take some doing. I assembled them and hand-primed them using Liquitex Gesso.

One of the problems I knew I was going to have was reproducing the feeling of Joy’s work.  The painting is very dark.  Gordon is dark and backlit by light.  The Dervishes pop into the painting because of their white jibbahs, and I knew I would not have the light on dark feeling working for me. So, I did the best I could.

I started painting the staircase with Ceramcoat Ivory, which gives it a slightly yellow color, and dry brushed it with antique white.  Not sure it makes a big difference, but there is lightening in places.  After that I began painting Gordon.  He appears almost black with a red fez and red shirt in the painting.  I painted trousers and jacket with Vallejo Dark Prussian Blue.  The fez was painted Vallejo Flat Red, and the shirt I painted Vallejo Vermillion.  I highlighted the jacket and trousers with a mix of the DPB and light gray.  This worked better than the Vallejo Prussian Blue or mixing the DPB with white.  The tonal differences are there, but not as stark.  I used Reaper Tanned Flesh for his skin tones, and Ceramcoat Antique Brown for his hair, sideburns and moustache. I think I did manage to get his eyeballs in there with some blue-gray.

While I was waiting in between bouts of painting Gordon I primed the three Dervish figures.  I also painted the long railing and glued to its place on the wall. The railings I painted Ceramcoat Territorial Beige, which is a nice medium brown color.

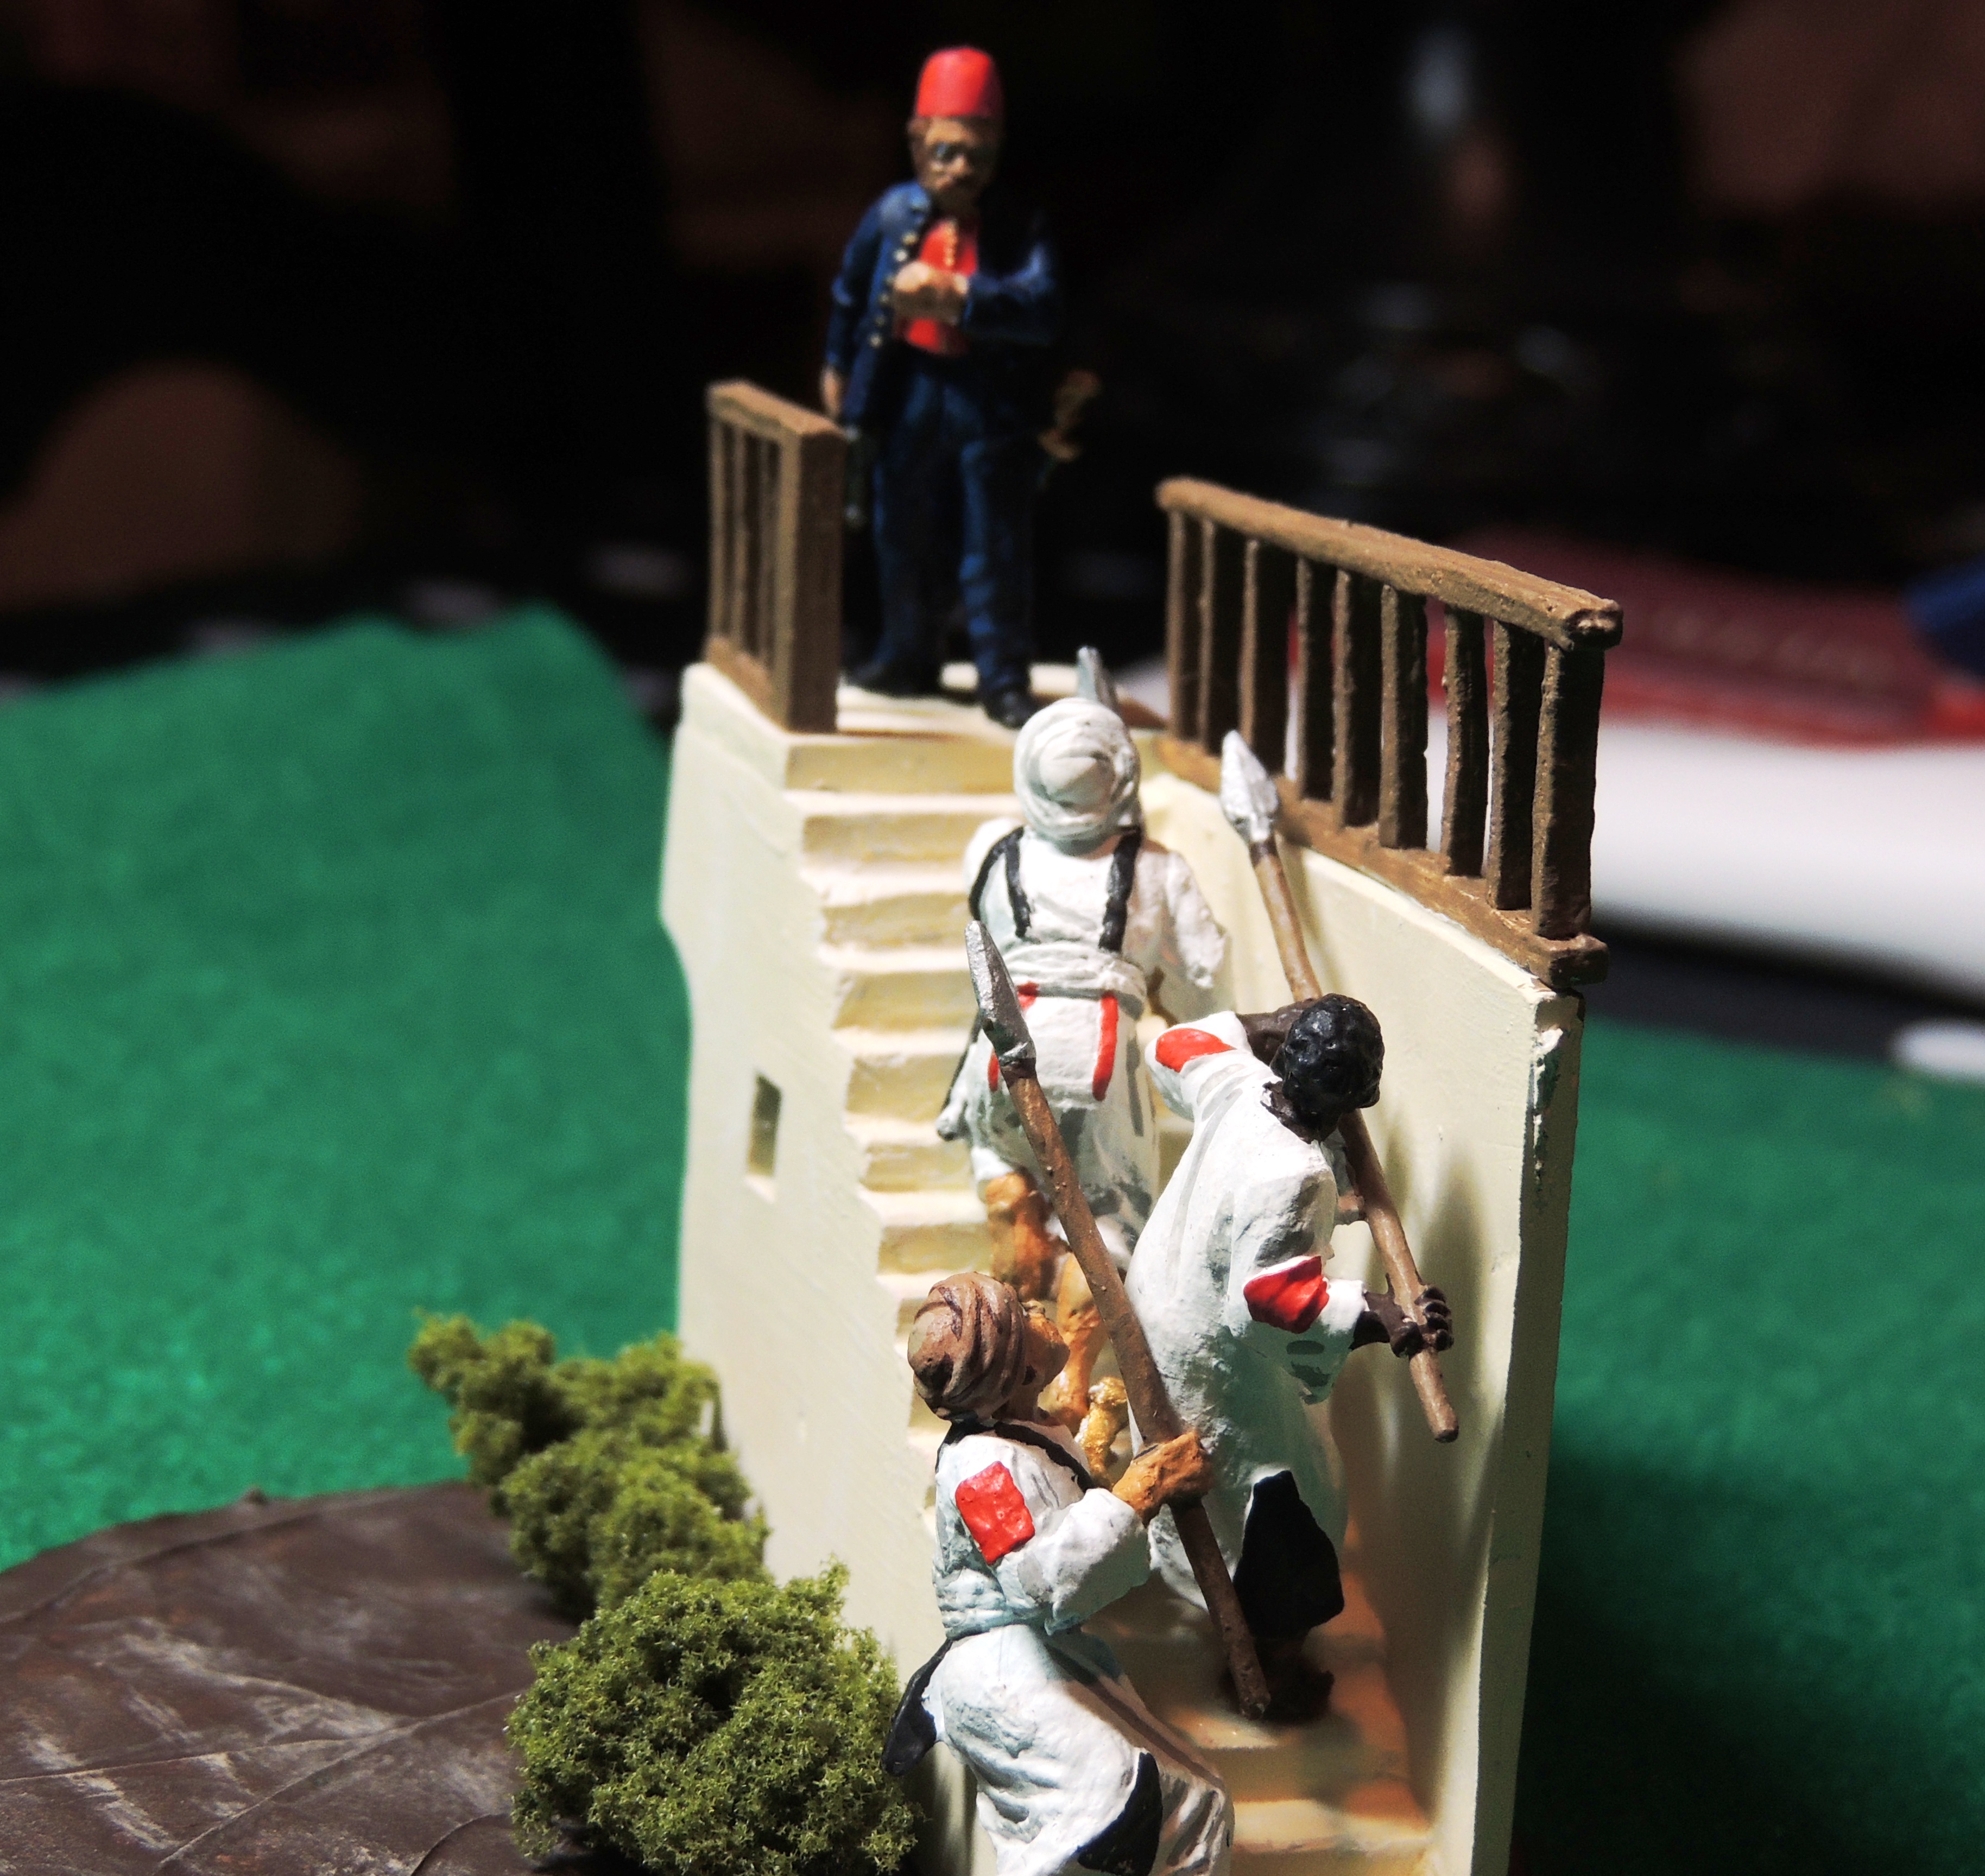
The three Mahdist warriors are tricky.  The figures themselves are fairly easy.  They wear white jibbahs (a loose garment made from coarse cotton cloth, covered with patches,) and two wear turbans.  The positioning of the soldiers on the staircase is critical.  All three of the figures have pegs to help position them in holes cast into the staircase, but the position of the holes are not correct.  The figures have no bases, so holding them properly to paint them can be tricky.  So these are the complications in working with them.  Having said that, they are quite nice and relatively easy to paint.

I chose the standing spearman to paint first.  In the painting, his back is to the illustrator and he is closest to the wall.  His position is critical and he should be glued first on to the staircase.  He is the only black warrior.  As I stated earlier, I primed all the figures with Liquitex Gesso, which is a white chalk-like material.  Then I went over the jibbah with Ceramcoat White, two coats. Next, I painted the flesh using Ceramcoat Burnt Umber, which is a wonderfully rich dark brown and highlighted with Spice Brown.  I used black for the hair, which is probably a little shorter than it should be and dry brushed it with Ceramcoat Charcoal.  Though historically the jibbah patches could be quite bright and multi-colored, those in the painting are limited to red and black.  I used vermillion for the red patches for its brightness. It’s important to get this figure first.  The two semi-prone figures on the staircase won’t fit the narrow area properly if this figure takes more than the allotted space.

The remaining dervishes are Arab and I used Vallejo Medium Skin Tone for their flesh.  No beards and their faces are sort of hidden from view.  The swordsman is closest to Gordon and the elbow peg fits into the notch in the staircase.  Nothing else special to mention.  With all three dervish figures, I used a light gray paint to show creases and the outlines of the cotton belting.  I probably could have used a lighter color, but I wanted it to be clearly visible from a distance.  The vignette will be in a display case, and I would like to be seen without being handled. The final figure, the prone spearman was a little trickier.  The contours of the steps are built into his body, and there is a peg on his elbow.  No way does that peg fit into the staircase notch provided.  In fact the painting shows this figure at the foot of the staircase, so I ended up cutting the peg off his arm.  After doing this the figure fit fine.
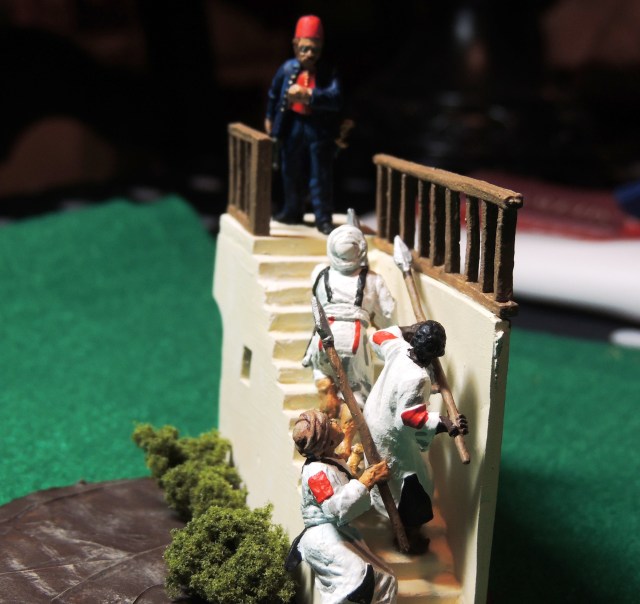
A second view of Gordon's Last Stand.  The positioning of the Mahdist warriors on the stairway can be tricky.

A second view of Gordon’s Last Stand. The positioning of the Mahdist warriors on the stairway can be tricky.

I’ll close with this.  I’m an out-of-the-box kind of miniaturist.  I tend not to plan ahead and don’t like to go to a lot of extra trouble.  I think the vignette as I’ve approached it works fine.  The Joy painting shows many Mahdist soldiers in the foreground and it certainly would look great with a few of the Perry Nile Swordsmen and Spearmen to fill the space.  Not what I need to do at this time, but an interesting idea.

General Gordon’s Last Stand was a different kind of painting experience for me.  It was a pleasure to work on and I enjoyed it very much.  Recommended.
2013, the Year in Review

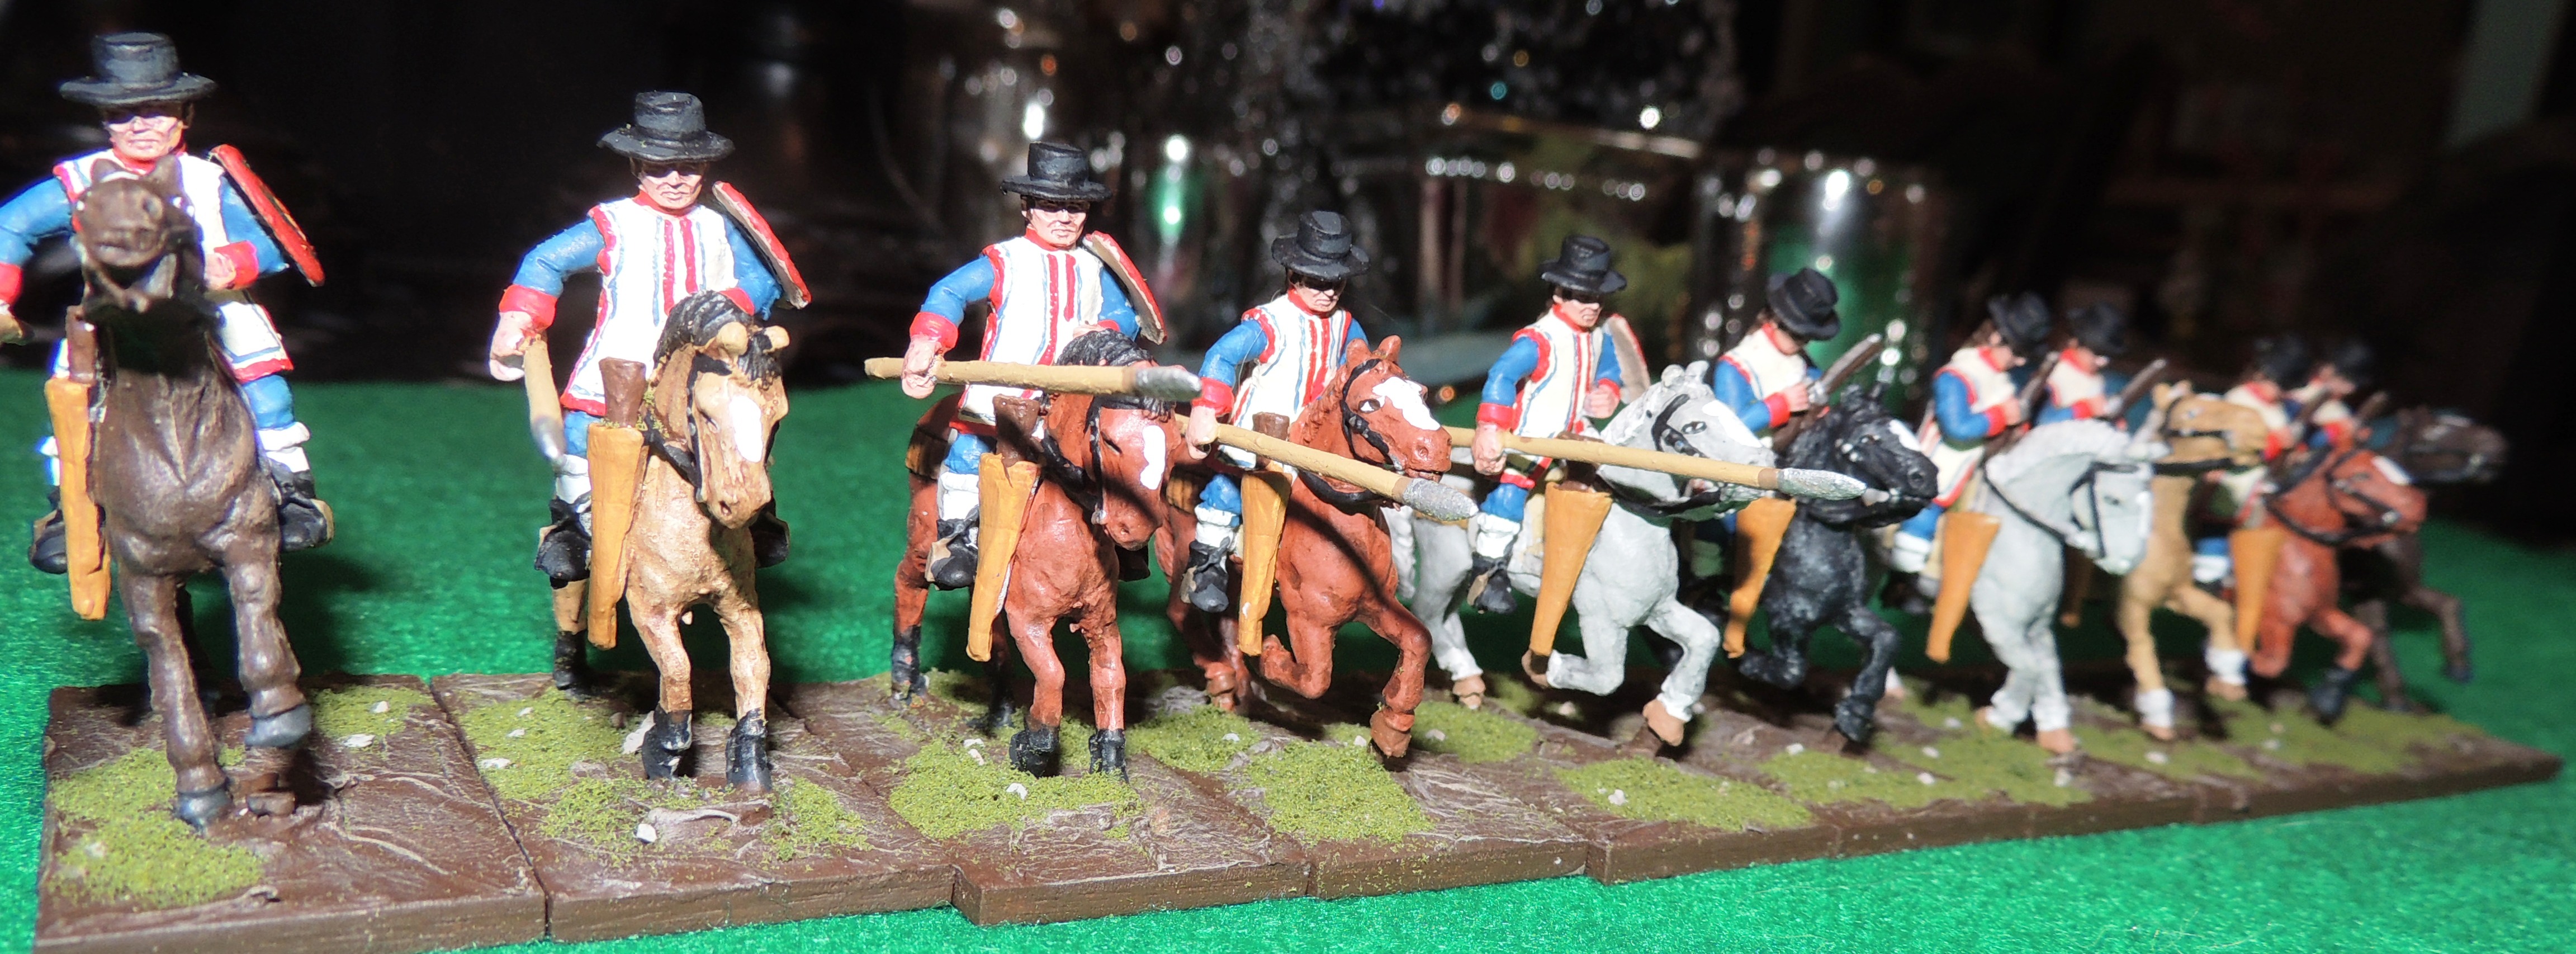
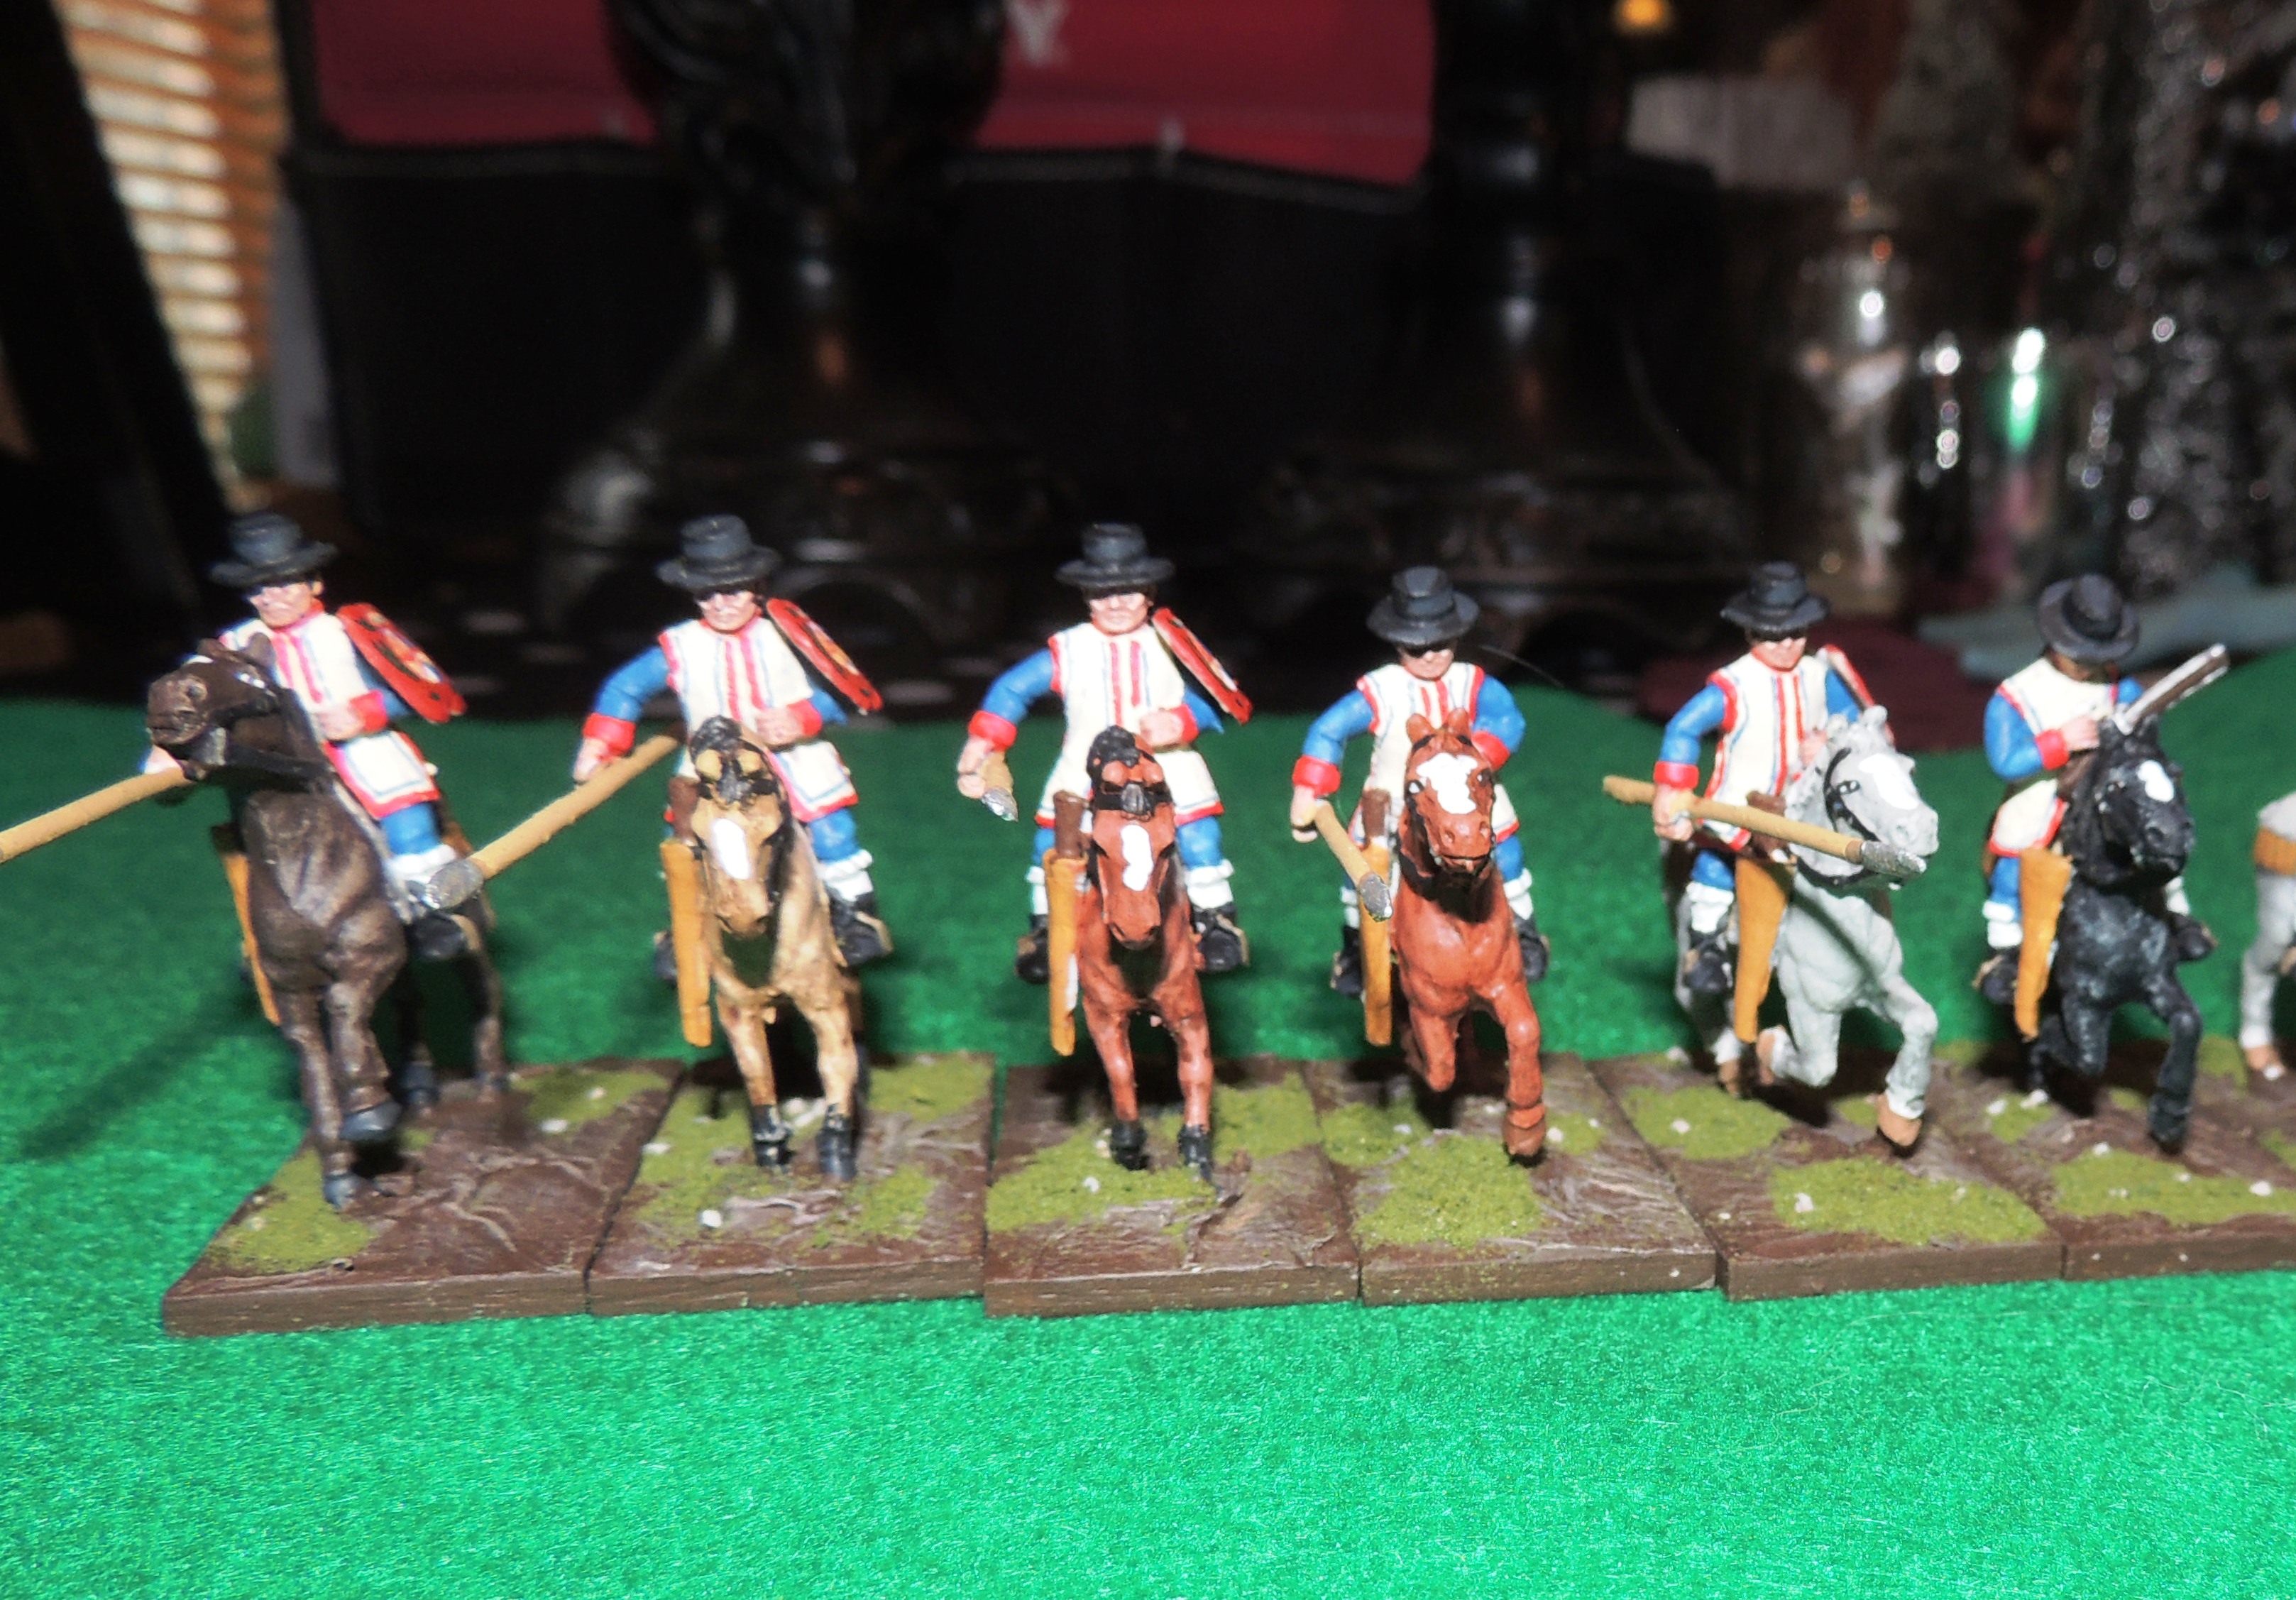
London War Room Cuera mounted Spanish militia.  Used on the frontier mainly to fight Comanches and Apaches, they are a large mounted element in my Louisiana project

London War Room Cuera mounted Spanish militia. Used on the frontier mainly to fight Comanches and Apaches, they are a large mounted element in my Louisiana project

It’s been a different year for me.  I tend to be fairly reclusive and hide in my house up on the hill.  Well, that didn’t change, but even so it’s been an interesting year.

My most important measure of the year is always what did I get done vs. what did I buy.  Normally I’m a pretty careful purchaser of lead. In years past I accumulated big piles of lead against future projects.  Bladensburg is an example of this.  I bought four boxes of Victrix figures three years ago, and only just finished almost all of them.  I have more painted Hundred Years War figures than any of other era with about 700 figures painted.  But I have at least that many unpainted. So, as with many of my friends and miniature wargaming colleagues, I’m a figure whore.  I’ve been better over the years.

I have painting goals of 400-600 figures per year.  These get harder to reach every year.  I tend to spend a little less time painting each year.  In years past I’d guess I painted an hour and half a night 320 nights per year. A bit longer on the weekends.  I would guess I’m down to about 250 days of painting per year.  Why?  My work schedule-newspaper deadline nights makes it tougher.  I have more fatigue–I don’t sleep particularly well many nights so I’m just too tired to paint.  Some nights I’ll just plop myself down in a chair and read.  But there are times when I really, really enjoy what I’m painting and I’ll paint until I’m just too tired to go on.  7:00-9:00 p.m. is my painting prime time, but I often am all in by about 8:30. I’ll have the Mariners on, unless I’m really frustrated with them, or the season is over, or be watching something on Netflix and just paint away.

I didn’t keep up with my painting log this year.  Tried, but just fell off the wagon.  My guess, however is that I didn’t meet my goals.  I believe I finished the year with about 350 painted figures.  There are a couple of reasons for that.  One is the fewer hours devoted to painting.  Another is that I only paint 28mm figures now.  No more 15’s, so no more cheapies.  I count a figure as a figure.  No bonuses for mounted figures, no bonus for extra size or extra effort. A tank, a 1/285 airplane, a cannon model, a terrain piece are all equal to a figure. So I fell short of my goal.

I’m going to keep my painting goal for 2014 right at 400.  I’d like to think my painting can be equal to about one figure per day. I fully expect my work will be mostly 28mm figures, but I may reinvigorate my DBA projects and try to at least paint a few of the six or seven armies I have.  Most of all my time will be spent working on my Louisiana Project.  I probably have about 200 or so figures left to paint.  I find them pretty fun to do, and they paint up fairly quickly, even the mounted figures.  However, I don’t have a deadline with them.  They don’t have to be done until they’re done.  It will allow me to drag something else out to work on, whether those are my Irish Civil War figures, some AWI units, my 1/600 ACW ships, or something else. My Enfilade obligations are largely painted, though I still have a bit more fiddling to do for Bladensburg.

Cuera were multi-armed with lance, shield, carbine and pistols.  So burdened, they were often unable to keep up with their more lightly armed enemies.

Cuera were multi-armed with lance, shield, carbine and pistols. So burdened, they were often unable to keep up with their more lightly armed enemies.

Two items I definitely want to work on aren’t particularly wargame related.  A couple years ago I bought the Perry “Death of Gordon” vignette from their Sudan range.  I love the movie Khartoum and admired the G.W. Joy painting the vignette is based on.  It is something a little bit different to work on, and I’m preparing it on my work table now.  The other item I really want to paint is a 54mm Imrie-Risley figure of Abraham Lincoln I’ve had for quite some time. I actually a lot of the “big boys” stowed away for quite some time, and some day I hope to paint them in my dotage.  I’m an admirer of Lincoln.  He is my favorite president, both for his principles and his ability to work within a greater understanding of what was needed to get things done.  Because Lincoln dressed very simply, usually in black, the challenge will be to bring life to the figure.

Something I didn’t do a great job of is managing my buying this year.  I was pretty good until August.  I earned some extra money for my work at J-Camp, and I promptly started spending like a drunken sailor.  Figures for the Louisiana project, the Perry Volunteers of Ireland, some War of 1812 Americans, command figures for the British for Bladensburg, and more I can’t even remember.  My goal is to at least break even with figure purchases-no more figures purchased than painted.  I don’t know if I did that this year.  I purchased some figures for Bladensburg, but many were for sheer spec, and I don’t like to do that.  My purchases should be for “just in time” production purposes and I feel like I failed.

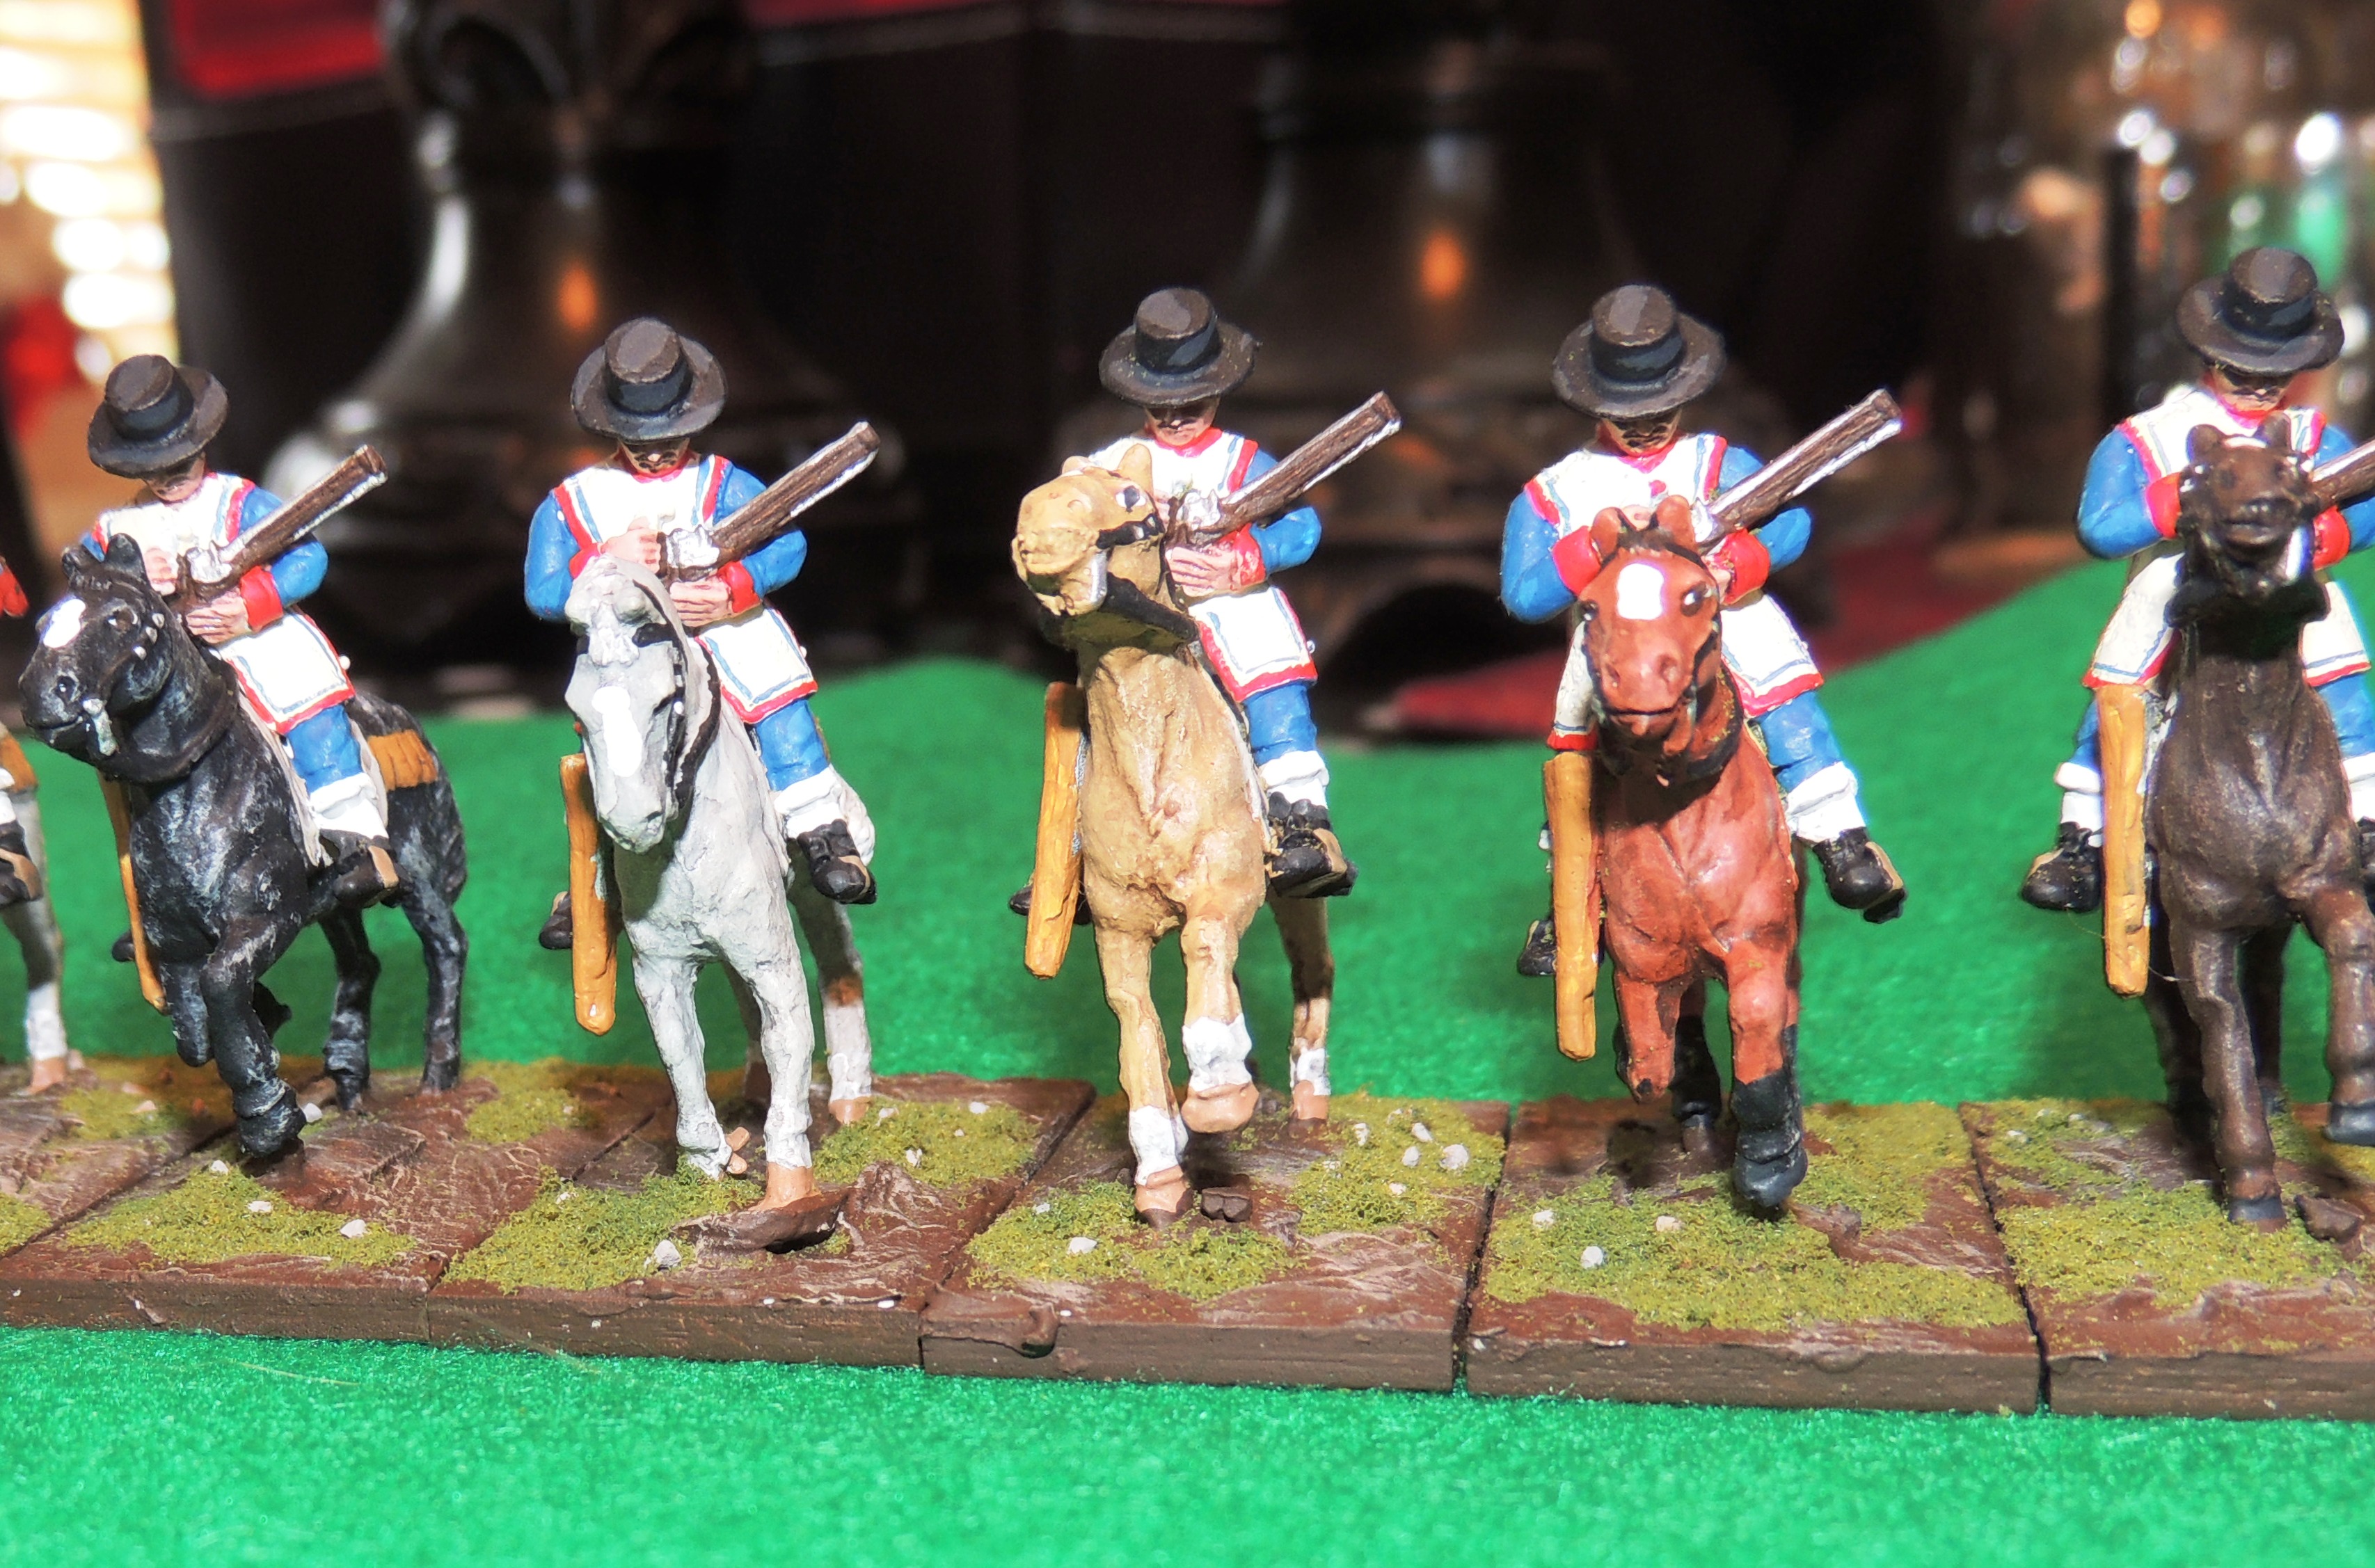
These figures are armed with carbine or escopeta.  These figures are a bit crude, but highly paintable.  I really enjoyed working on them.

These figures are armed with carbine or escopeta. These figures are a bit crude, but highly paintable. I really enjoyed working on them.

I have a couple of New Years resolutions.  The first is to set some painting goals.  I would really like to finish all of my Louisiana figures.  There’s not really a deadline on this.  I’d like to run a game at Enfilade, but honestly I probably already have enough figures to do it now.  Realistically I’d like to have everything done by Drumbeat in September. I have nearly all the figures to do this.  I think I need a few more of the mounted Cuera militia, and a few more foot officers.   I think this also leaves me some time to pick away at some other painting along the way.  I have an AWI unit or two I’d like to paint.  Maybe some of my Irish Civil War figures.  Ships.  Planes.  My dance card is wide open.

My second resolution regards game play.  I don’t do nearly enough.  Mostly it’s my choice, so I am putting my choices out on right now. I want to play at the Game Matrix DBA nights twice per month.  My hope is I can morph that into a bit more than DBA, focusing on DBX gaming.  I’d love to, for example, play Sluys again.  In addition I’d like to commit to playing on the NHMGS game days the third Saturday of the month.  These are absolute musts for a couple of reasons.  First, I need to get off my damned hill and get with my gamer friends.  Don’t know why I’ve been so reclusive.  I also have way too much time and energy invested in my projects to not be playing with my figures.  I know I can do better.  It’s as though I’ve just become a bit of a hermit.

In any case, 2014 is shaping up to be a good year, and I’m looking forward to it.

Counting down to the end of the year: A look ahead

With the Bladensburg project behind me, I’ve been working on the Spanish-American Project.  To make it easy, lets just call it the Louisiana War.  I’ve managed to acquire quite a few figures for this project, and I see myself putting most of 2014 working on them.  I’m not quite sure how many figures I have, but I think when it’s all over it will be something like this:

Spanish Forces

6 X 10 Spanish regular infantry units

2 X 12 Spanish grenadier units

3 X 10 Spanish dismounted militia units

1 X 10 Spanish colonial dragoon units

3 X 10 Spanish mounted militia units

1 X 10 Mexican Hussar unit

2 X 10 mounted Comanche warriors (Spanish allies)

2 X 10 dismounted Comanche warriors (Spanish allies)

12 X 10 Chickasaw warriors

4 sections Spanish light artillery

2 sections Spanish heavy artillery

This is a lot of stuff, and quite a bit of it is painted, but very little, like none, of the Spanish horse is ready. The units provide the maximum flexibility for scenario making.  Some would not be combined.  For example, the Chickasaw would not be combined with the militia or the Comanches. In any case, there is plenty here to develop some scenarios.  Spanish uniforms remain nominally the same for the entire period, except for the Mexican Hussars.  It’s unclear this unit was ever raised to replace the frontier militia or Cuera soldiers.  It was suggested, but it isn’t clear the proposal was ever adopted before Mexico gained her independence.

Americans

12 X 12 Regular Infantry

8 X 10 dismounted militia (included rifle armed)

2 X 10 U.S. Dragoons

3 X 10 mounted militia rifles

4 sections light artillery.

Americans are pretty much same-same regardless of when or where they fight.  There are some serious changes that occur throughout this period 1797-1810.  After the Treaty of Greenville that ends the Indian campaign in the Northwest Territories, the army economizes.  The light infantry and light battalions go away.  The uniforms stay roughly the same for the regular infantry throughout the period, keeping red facings only, and the colorful designations of the sub-legions going away.  The army organizes the infantry into three regiments, downsized to two during the Jefferson administration (1801).  The light dragoons likewise retain their colors until Secretary of War Alexander Hamilton designs them a new uniform in 1797.  Their uniforms, issued in 1798, are green.  Green.  GREEN. With black facings and yellow lace.  Go figure.  They retain these uniforms until Jefferson disbands the dragoons altogether in 1801.  Rifle units are re-introduced to the army in the latter part of this period, but their uniforms are odd, so I’ll likely avoid them.

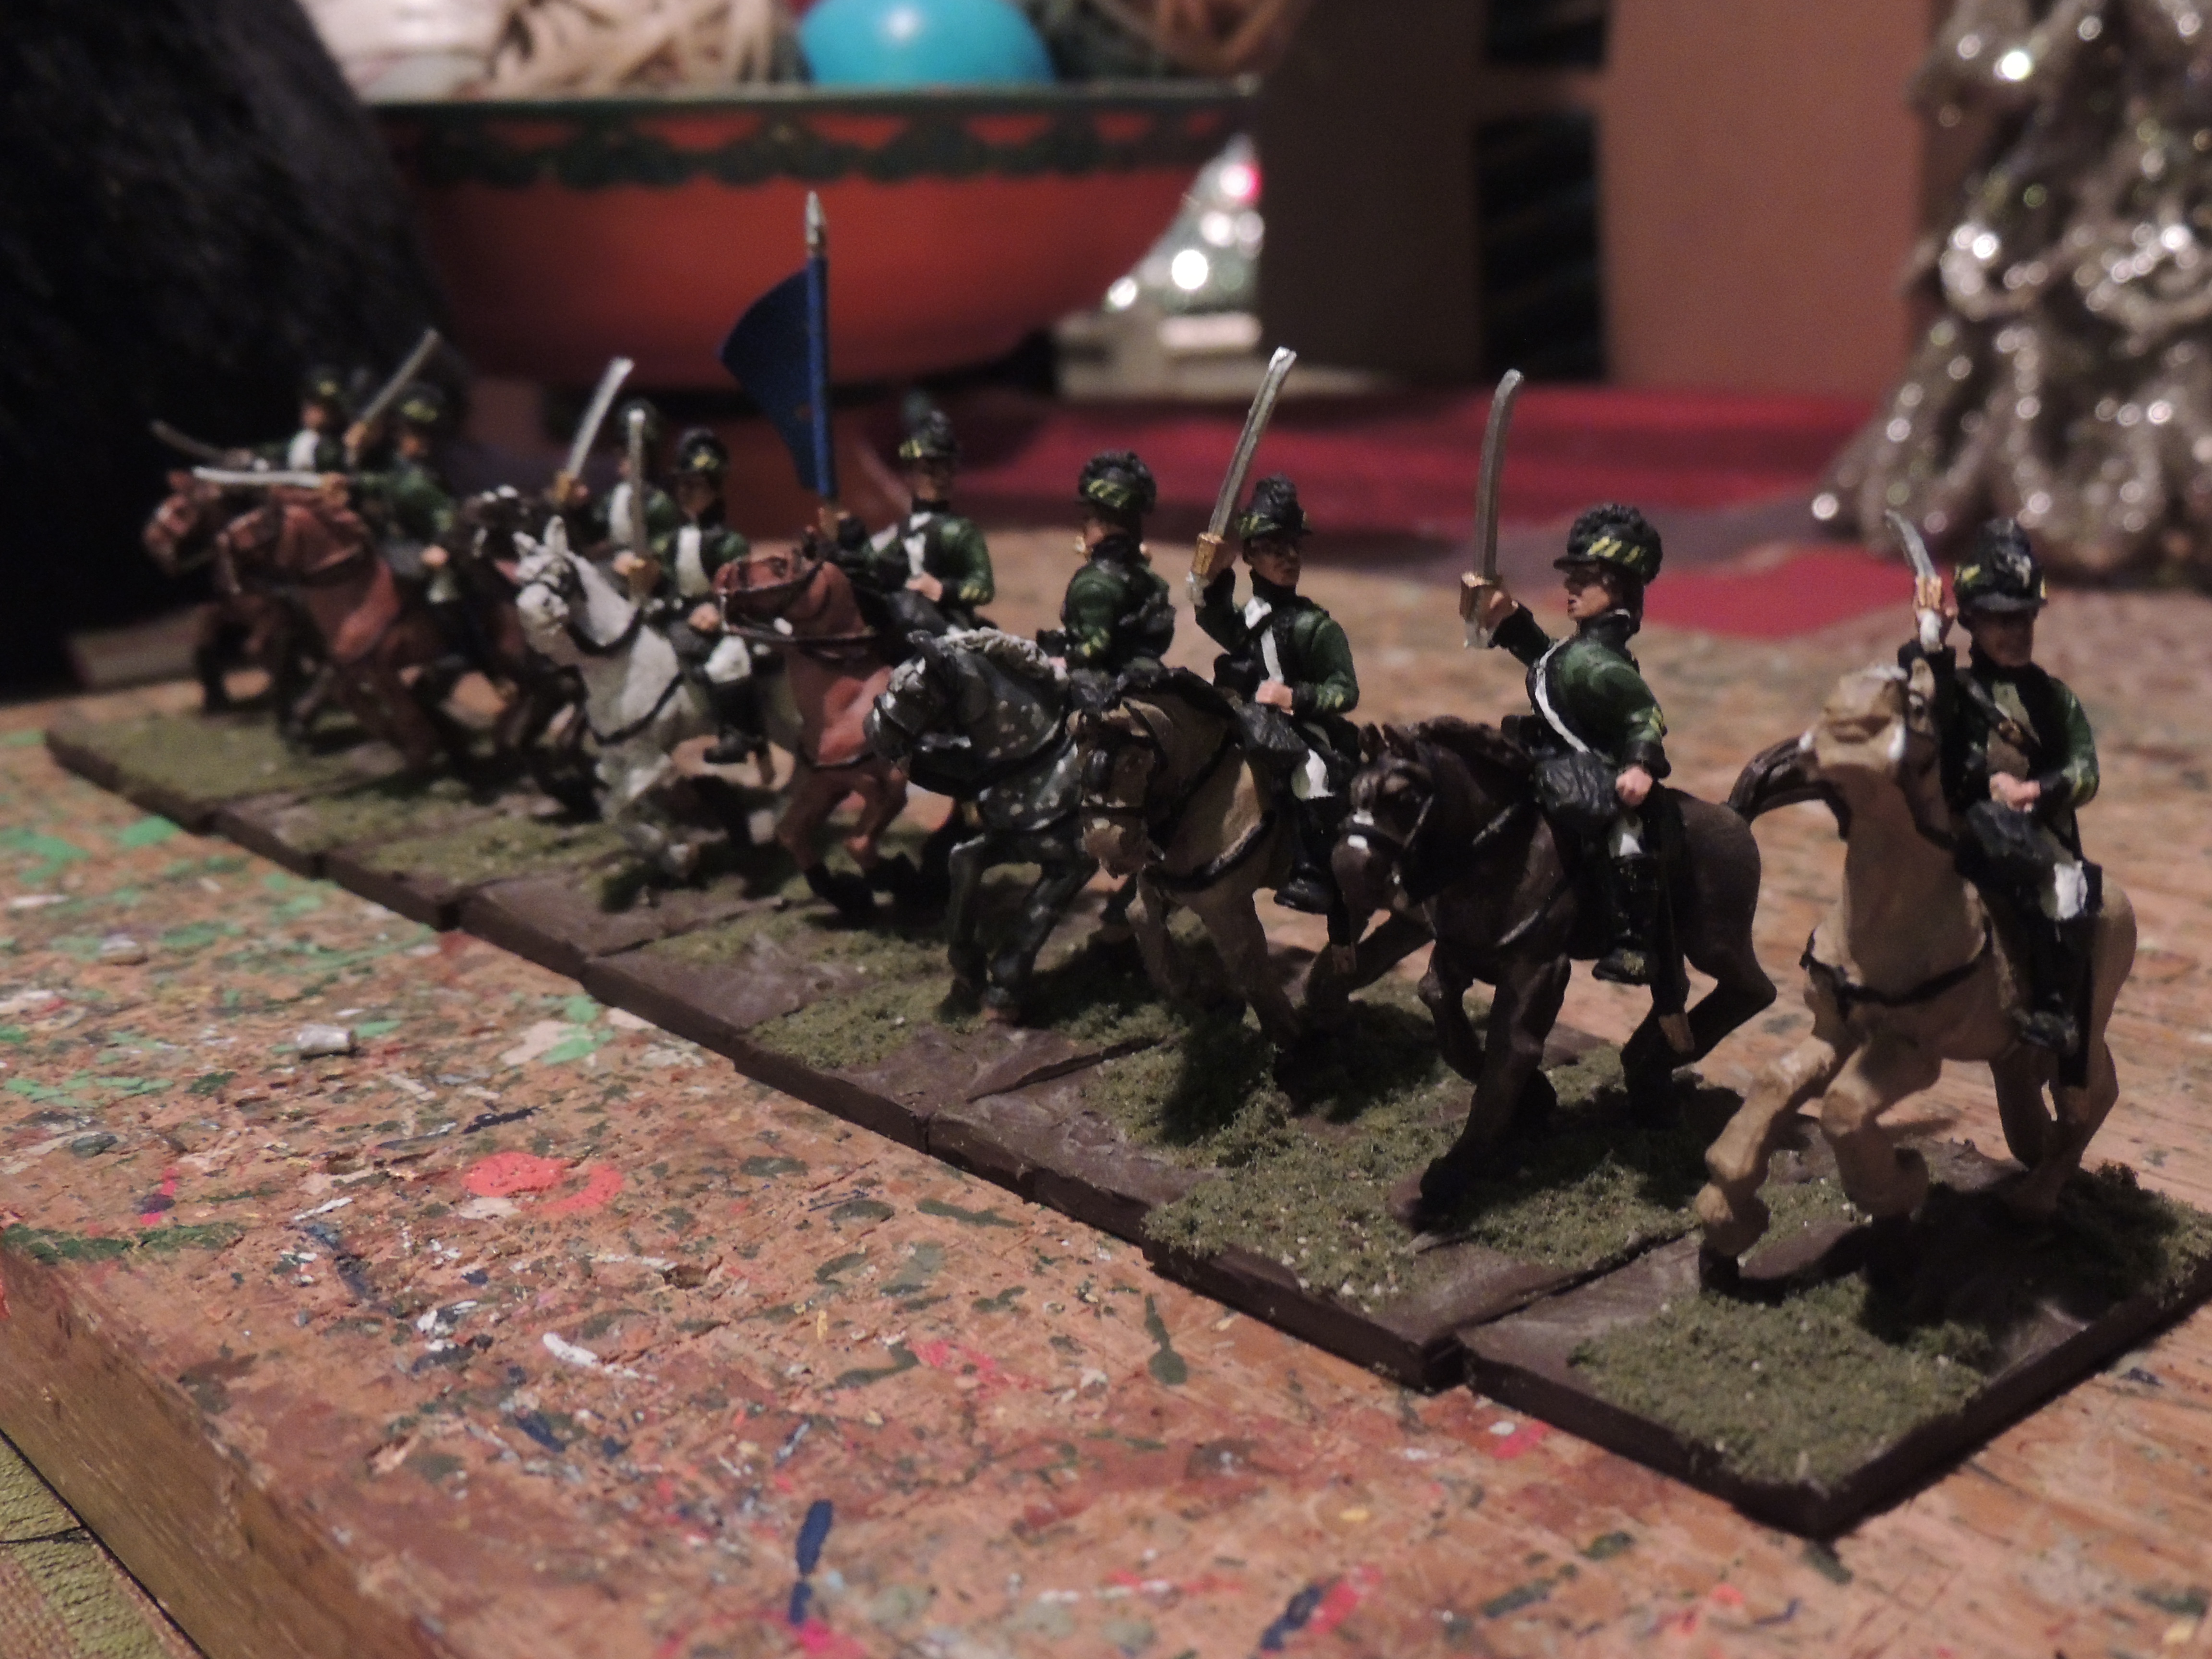
I’ve included some photos of some of my newly painted units. Dragoons and the Luisiana Regt 108These are the green-coated American dragoons I mentioned.  the lighting for these photos was poor, so I apologize for their darkness.  The are the Wayne’s Legion dragoons by Old Glory.  They do quite nicely.  I used German Luftwaffe Camo Green as the base color.  It’s a lighter green than the picture shows.  The flag is all hokum.  Nobody knows what a U.S. dragoon flag looks for this period.  The earliest recorded U.S. cavalry flag following the Revolution is for a militia dragoon flag in 1819, and seems unlike most other cavalry flags. Thankfully you can’t see it in the dark.  I went with a mid blue flag with scroll work similar to War of 1812 infantry battalions in red.  It’s possible I’m just wasting my time doing a flag at all, but one of the figures does carry a pole for a flag. I actually really like the way these turned out.

Dragoons and the Luisiana Regt 110Dragoons and the Luisiana Regt 112

These two units represent the grenadier company and a fusilier company from the Luisiana Regiment.  This was a trained, disciplined militia unit raised in the New World.  They are RSM figures cast under license by the Dayton Painting Consortium.  They are simple, straightforward units, as most Spanish units are.  They tend to be white, usually with colored facings, waistcoats and trousers.  The Spanish militia in North America were chronically understrength.  My regiment will consist of four companies including a grenadier company that is a bit larger than the fusiliers.  The Lusianans are now complete.  The next regiment will be a mix of two companies from the Irish Hibernian Regiment in their red regimentals and two companies from another militia unit.

I’ve primed my first mounted militia unit.  I plan to complete it during the Christmas break. I’ll post photos when I’m finished.