Figure Review: Fife and Drum AWI British Guards

This Christmas my wife and I are trying something a little bit different with our gift-buying, including allowing each of us to buy a gift for ourselves that will be wrapped and put under the tree. I opted for figures. So I put together an order for some British Guards from Fife and Drum Miniatures.

There is something magical about Fife and Drum. I don’t know a ton about them, except they were conceived from the prominent war gaming mind of Jim Purkey of Lake Forest, Il. You may know him as Altefritz on TMP. He’s always offered considerable knowledge of 18th century military matters including the 7 Years War and the American Revolution. I became aware of the Fife and Drum range when he launched a highly successful Kickstarter campaign to fund his range of Hessians for AWI.
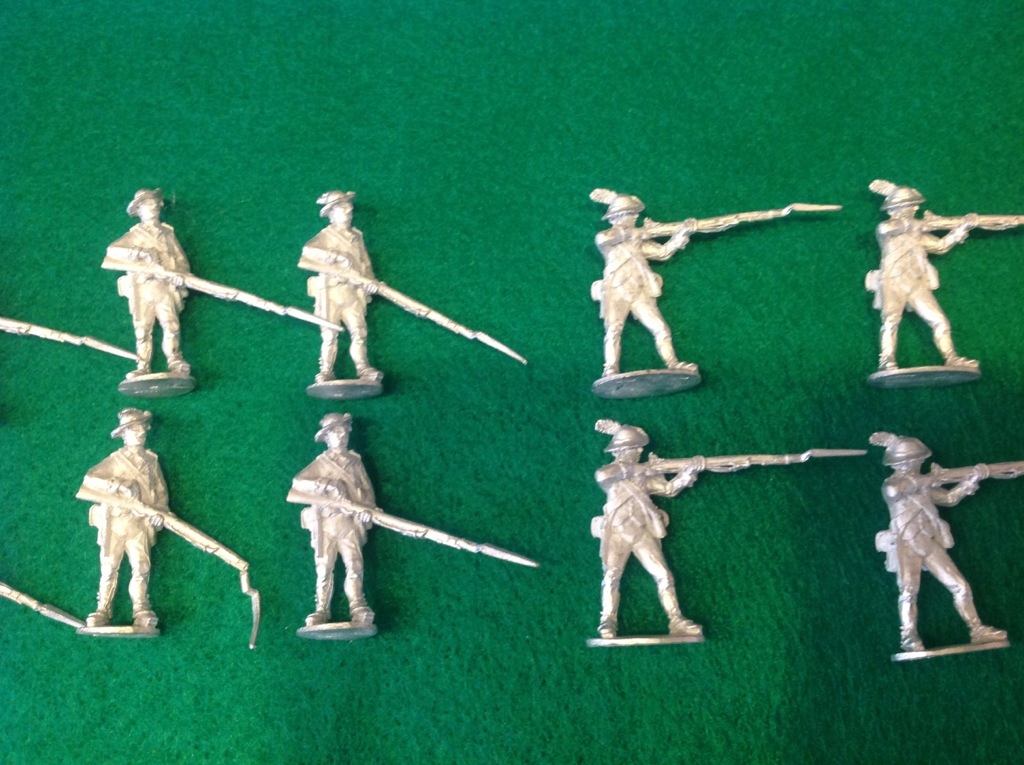
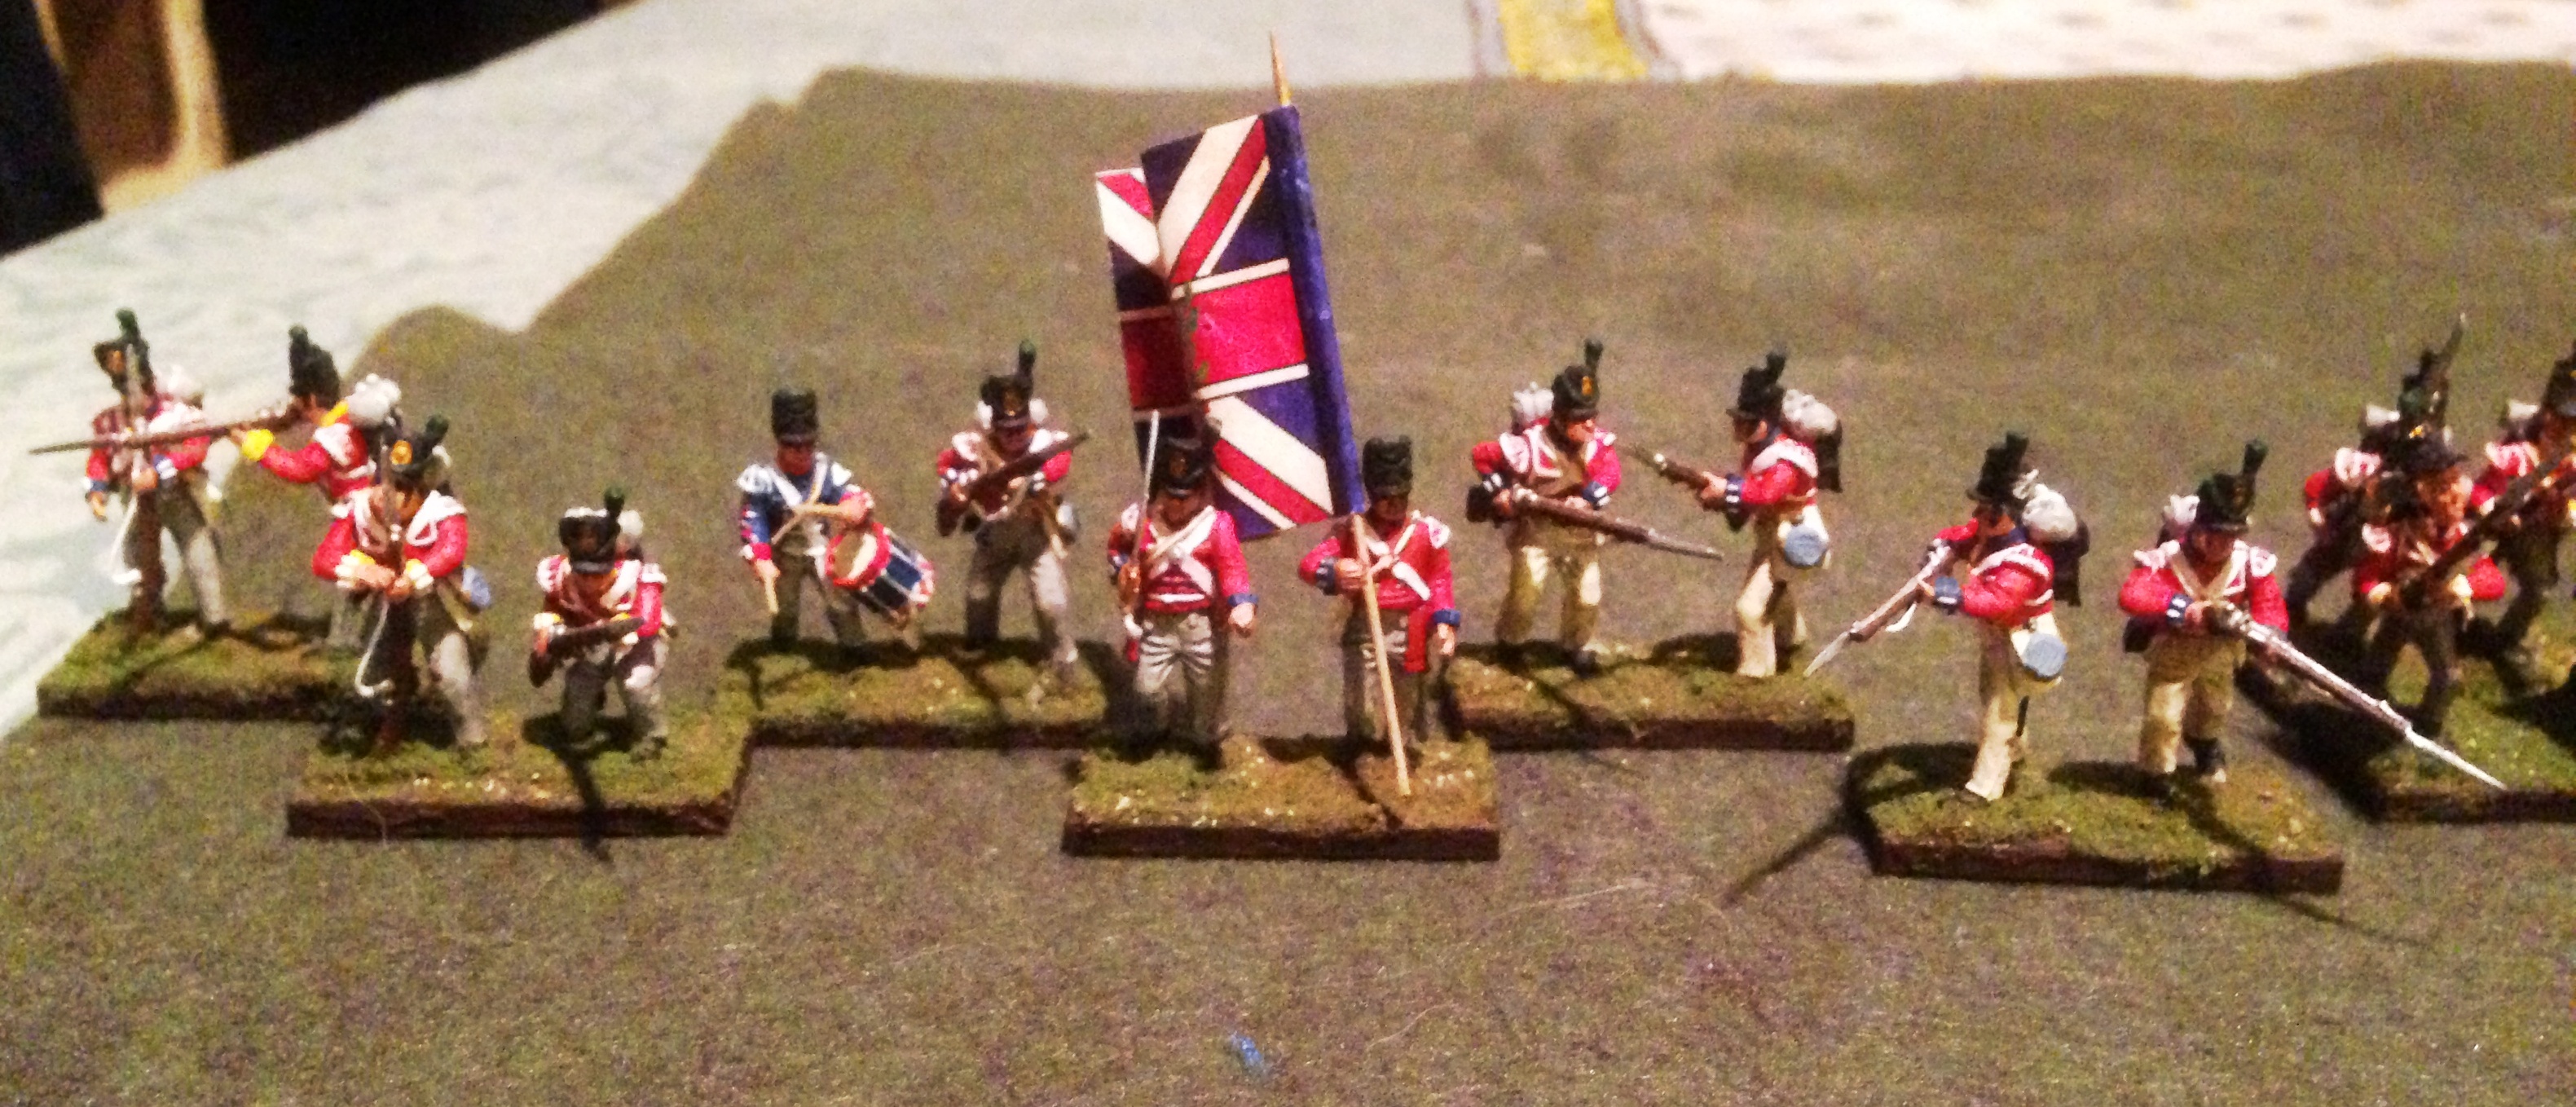
20131208-063318.jpg
Line companies, including one fairly mangled bayonet.  But, I think I can fix it.
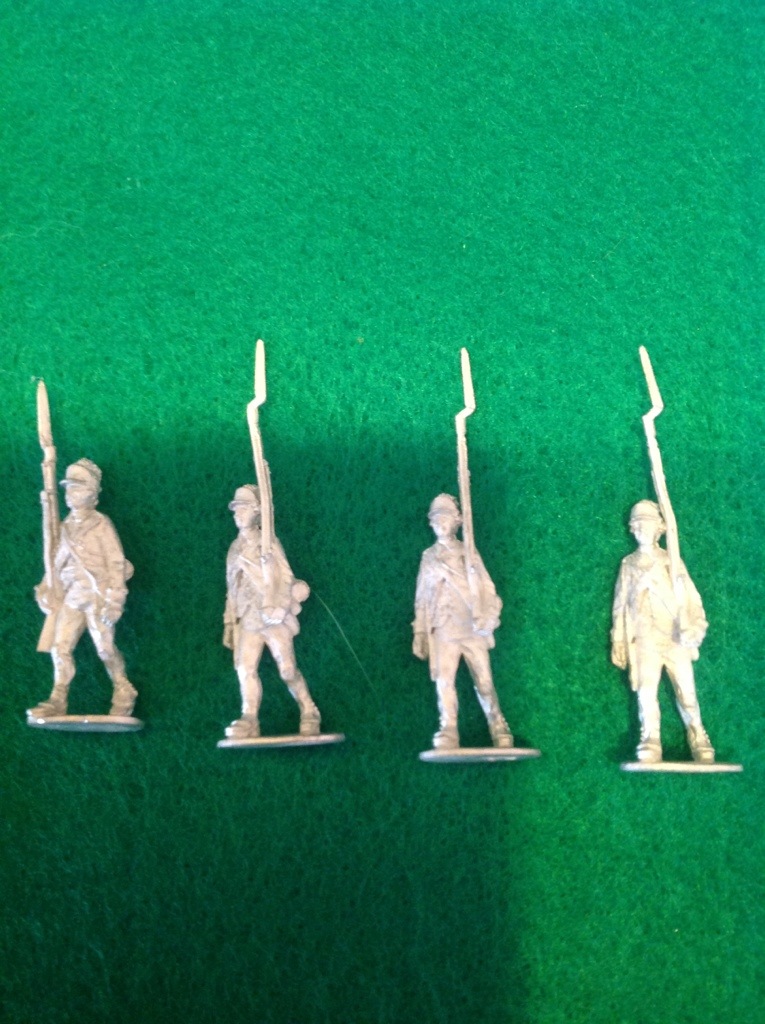
20131208-063406.jpg

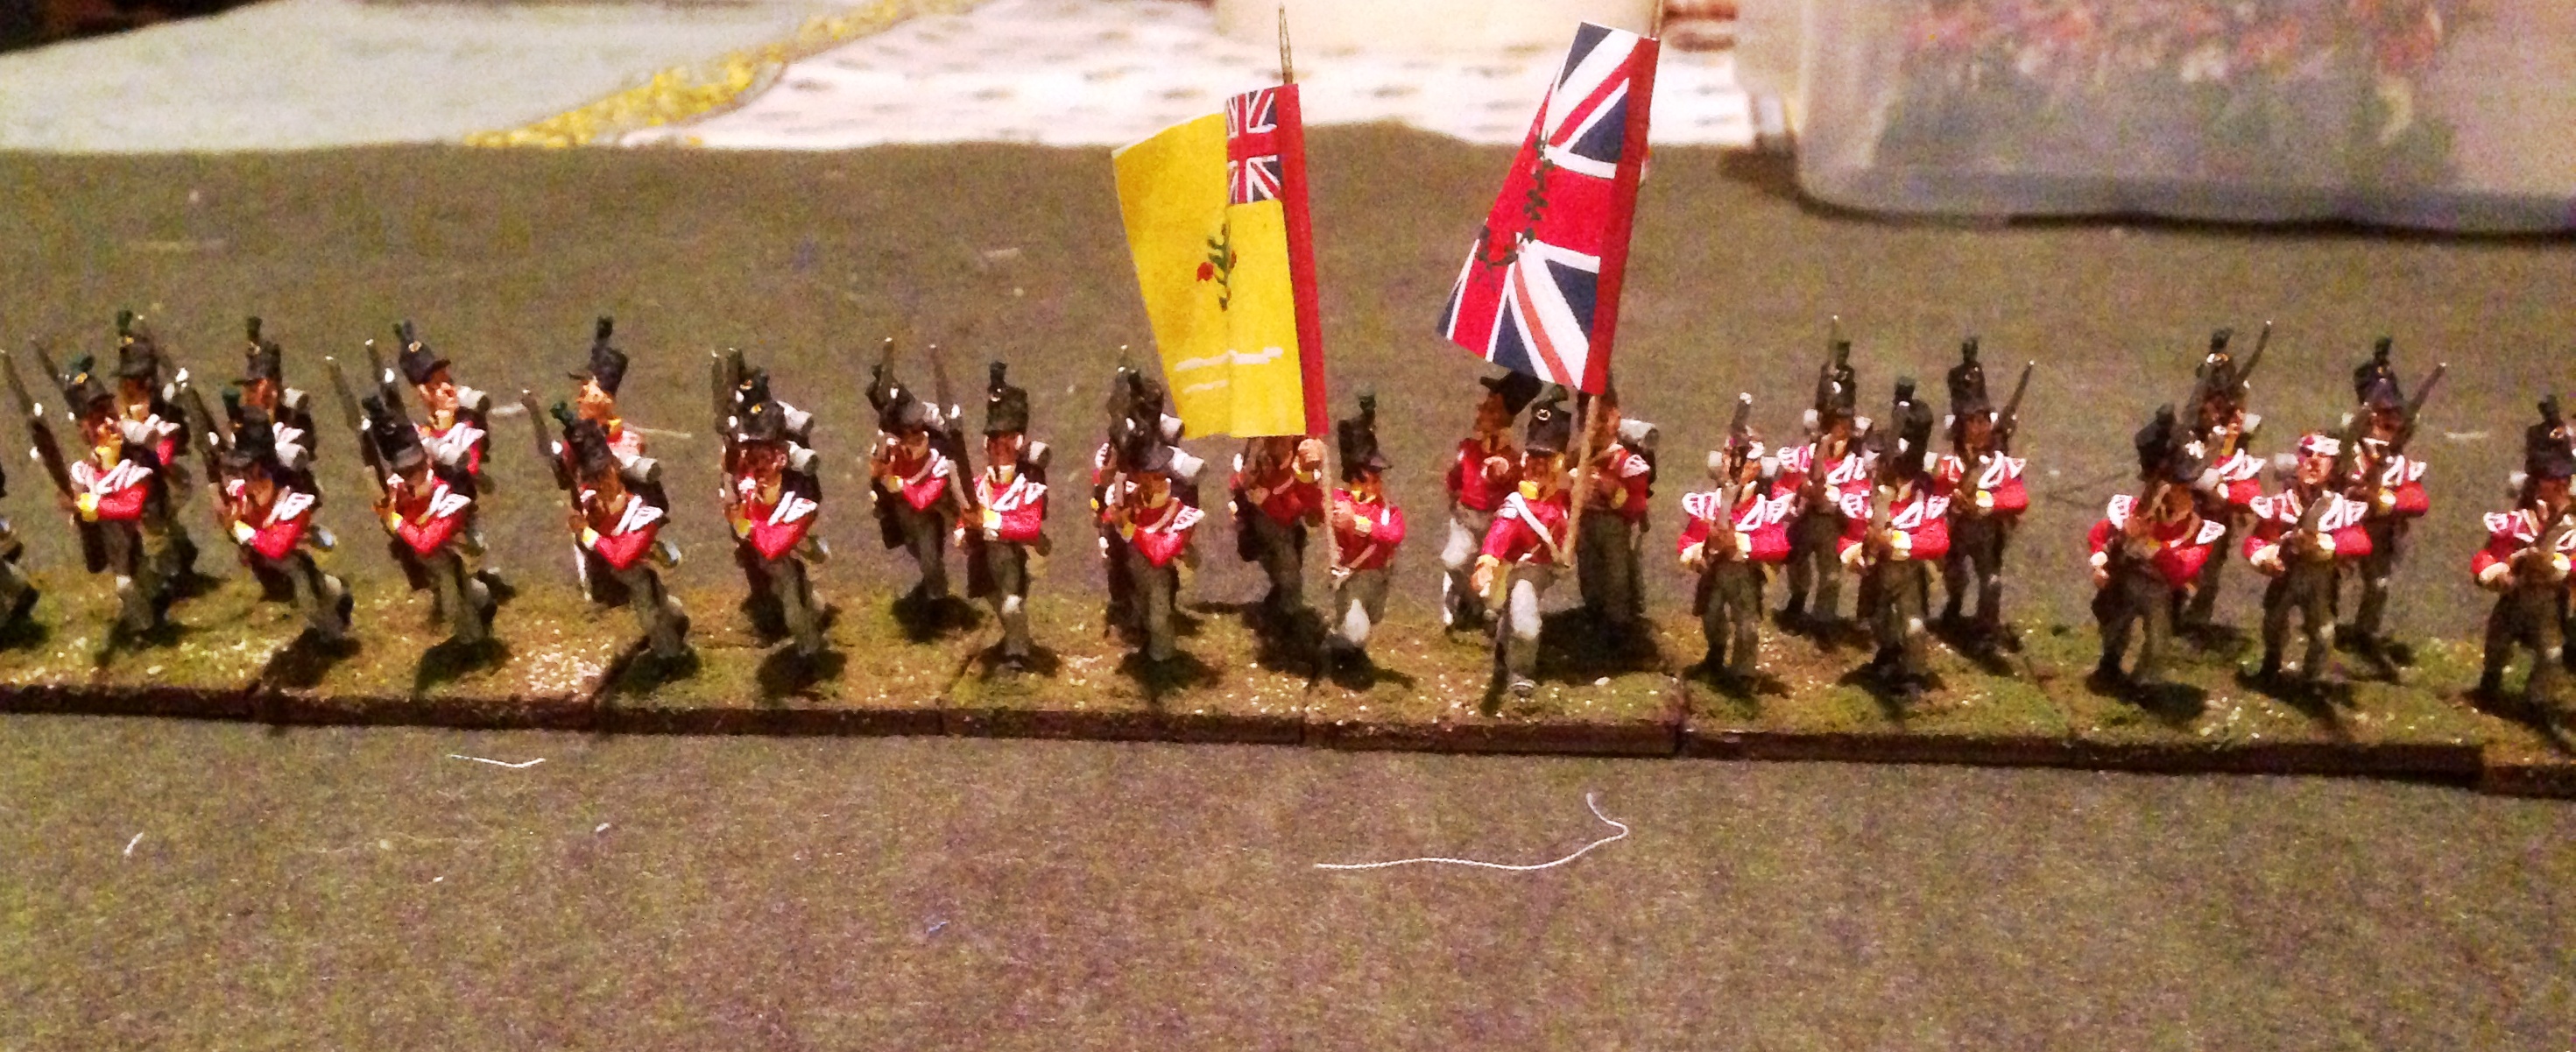
Guards light infantry company, including an NCO figure.

I have units from many different manufacturers in my AWI collection, but I chose Fife and Drum for a couple of reasons. First, I know Jim chose to depict his figures in the non-traditional cut down uniforms adopted for the 1777 campaigns for Philadelphia and Saratoga. These and the slouch hats replacing the tricornes work well for the South, 1779-81. Second, I admired his work assembling this range, seemingly from scratch, and I wanted to support his effort.

I need the Guards for Guilford Courthouse and Weitzel’s Mill. Two battalions of 24 figures each was their game strength. I ordered the first battalion. Unlike any other range, Fife and Drum offers flank companies specifically for the Guards. Because these companies were active at places like Weitzel’s Mill, it’s nice to have unique figures with their peaked caps and horsehair crests. Though the Guards are offered in several positions, I chose the firing line. These come with figures priming their muskets, and figures firing. The command figures are a bit problematic with the officer shouldering a musket and the drummer in the Guards range. I had to add the standard bearers from the line infantry.

I really like the detail on these figures. It’s quite good, but not over-done. The simplicity of the uniforms should make them easy to paint. The faces will be hidden by the large hats. Posing is pretty simple, without a variety of head and arm positions. These figures will look very uniform on multiple figure bases, which is quite a nice departure from the Victrix Napoleonics I’ve been working on.
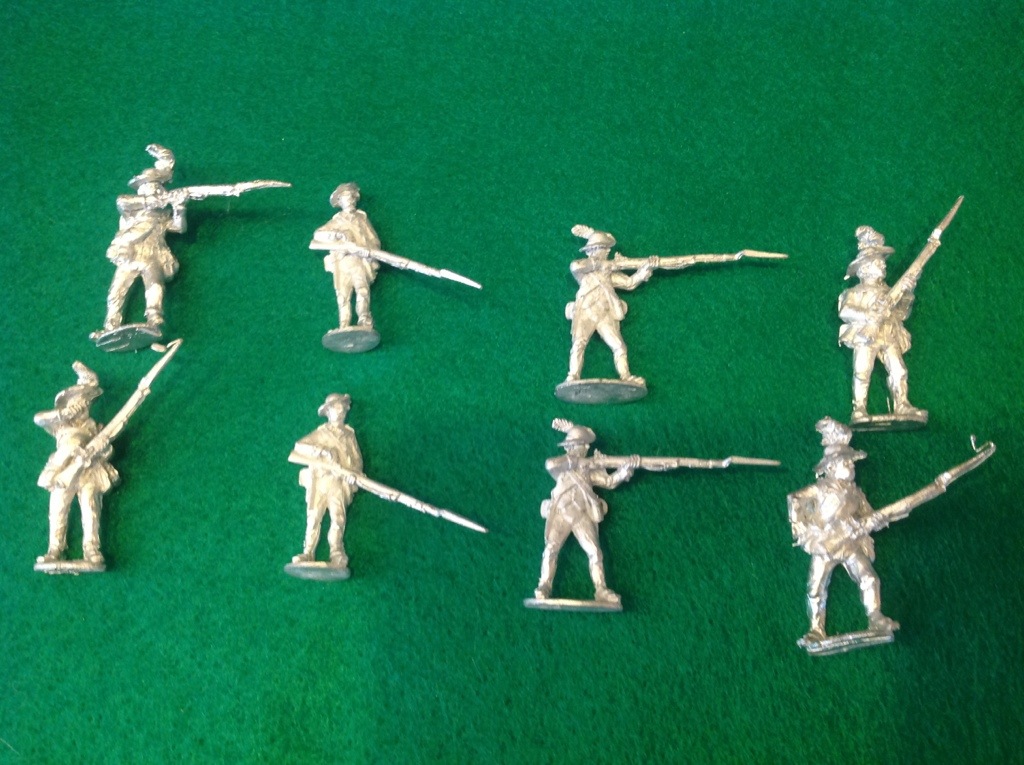
20131208-065703.jpg

Comparison between Fife and Drum figures and Perry miniatures from the same period.  You can see they are about the same height but the Perry figures are beefier.
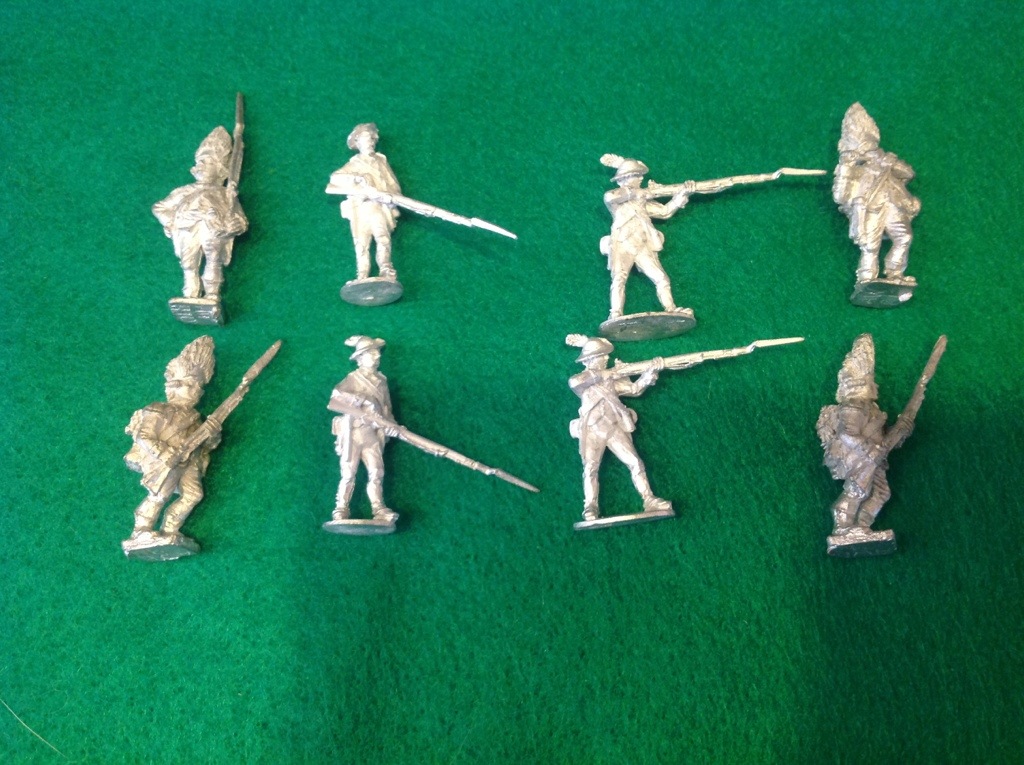
20131208-065729.jpg

A comparison of Fife and Drum figures and Front Rank grenadiers.  Yep, the Front Rank guys are big.  Bill Stewart always called them corn-fed.

If the Fife and Drum range has a flaw, it is in their size. I have figures from Perry, Old Glory, and Front Rank in my collection, and they aren’t going to match well with any of them. It won’t deter me from using them, or ordering a second Guards battalion, but it’s important to acknowledge the difference. The Fife and Drum figures are 28mm tall, but their physiques are pretty slight. Compared to the Perry 23rd Regt. figures in the first comparison photo, they seem fairly small. The second picture compares the F and D guardsmen with the Front Rank grenadiers. We’ve always considered them robust, compared to the other ranges.

I’ll close with a shout out for the customer service I received. I e-mailed Jim on Black Friday about my order. He responded within an hour or so. I sent him my payment that evening, and he had my figures out to me on Saturday. They arrived by US Mail on Wednesday. I live in Washington State, so a pretty painless experience. Shipping was only $4.

Very nice figures and superb service. If you can live with the size differential between manufacturers or if you are entering this period, I would easily recommend this range of miniatures. Cost per figure is $2, about the same as Perry.
A Break From the War of 1812


Lights at BladensburgI did it.  All the figures for Bladensburg are done.  I’m freeeeeeeeeee!!!!!

What does it mean?  Project done.  Really, that’s very cool.  I live for projects and when I finish one it’s very exciting because  I can move on to something else.  The real challenge is to stay focused on something long enough to finish it.  Since May, all I’ve painted is 28mm War of 1812.  I’ve completed three American units and four British units, totaling about 225 figures. It’s time to move on. I hoped to have these done by the end of October, and look it’s Halloween.

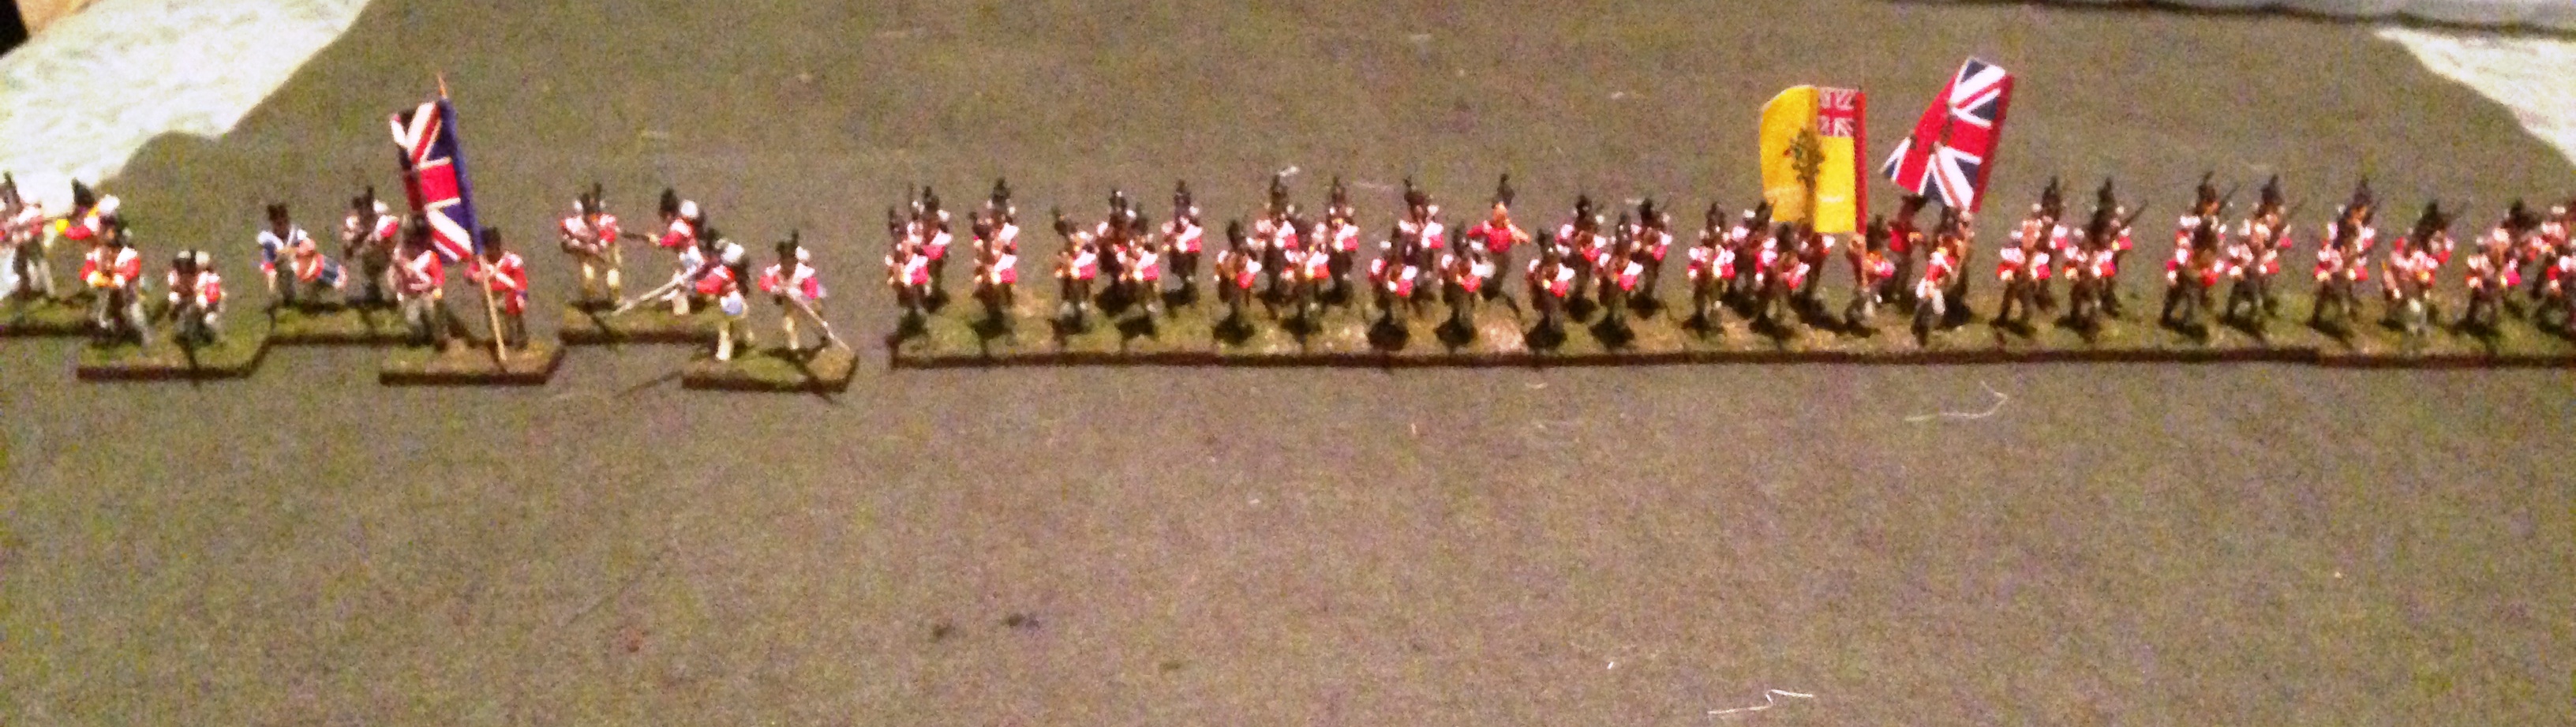
The 85th Regiment is 48 figures, twelve stands.  If I was to extend out the 24 half bases, it would be 36 inches wide.  These are Old Glory figures, traditional, metal 28's

The 85th Regiment is 48 figures, twelve stands. If I was to extend out the 24 half bases, it would be 36 inches wide. These are Old Glory figures, traditional, metal 28’s

I’m probably not going to be quite so disciplined moving forward.  I have some Hundred Years War figures I’m working on, as well as some 28mm Spanish for my War with Spain project.  I have a dozen French knights primed and about half finished.  They’ll contribute to the vanguard division at Poitiers.  I also have the remaining 25 or so figures remaining to paint for the Louisiana Regiment for the Spaniards, and I hope to be done with them in November.

This small unit of converged light infantry is composed of Victrix figures.  They were much easier to work with on the smaller bases.  They actually look kinda nice.

This small unit of converged light infantry is composed of Victrix figures. They were much easier to work with on the smaller bases. They actually look kinda nice.

My goal is to continue working on both these projects until Christmas break.  Sounds like a long time but November 1st is Friday.  Not such a long time.  Then I’ll have to go back to Bladensburg as I ready some terrain pieces and begin play testing.

November is going to be an important gaming month for me.  This weekend, November 2nd is our annual visit to the Museum of Flight.  We won’t be under the SR-71 this year due to a scheduling glitch.  We’re going to be in the Space Center, near the Space Shuttle simulator.  Should be fun.  I’ll be running air racing in the morning and then bombing the Tirpitz in the afternoon with Dave Schueler.

Two weeks later we’re at the Flying Heritage Center in Everett. We reached an agreement with that air museum to host at least one event in their unique space.  I’ll post pictures from both events as we work through them.

Bladensburg and the myth of the rockets

The Battle of Bladensburg was fought under a blazing sun on August 24, 1814. It was a river port town on the East Branch of Potomac River and lies in a valley between two commanding heights to the north and south.  I had the good fortune to visit Bladensburg twice, in 2004 and again in 2012.  It is still a quiet Maryland town that’s seen better days just outside the District of Columbia.  But in 1814 it was a bustling commercial town with warehouses alongside the river trading tobacco, like many other river towns in the Tidewater region.

By the end of of August 1814, many of the waterborne defenses to Washington and Baltimore were gone.  Joshua Barney’s fleet of row gunboats were in ashes.  The naval and land forces commanded by Rear Admiral Cockburn and Major General Robert Ross determined to capture Washington and inflict a humiliating defeat on President James Madison’s government.

Writers across two centuries have spilled many words about the battle that became known as the Bladensburg Races–to denote the speed American militia displayed in departing the battlefield.  My first exposure to this humiliating American defeat came when, as a boy, I read Robert Leckie’s Wars of America, volume 1.  In that book, the journalist historian noted that the American militia were overcome with fear when British rocket troops fired their unreliable missiles at the American defenders and simply fled.  Leckie noted that not even the Zulus at Insandlwana showed more than contempt for these primitive projectiles.

Down through the ages we’ve bought into the notion that the Americans, despite their superior numbers and defensive dispositions, were driven off by a bunch of over-sized skyrockets. Wrong.  Though the Americans held highly defensible ground, their poor dispositions and their lack of training combined with superb British qualities of fire and movement  to doomed the American defense and the nation’s capital. Rocket fire was just a marachino cherry on the sundae.

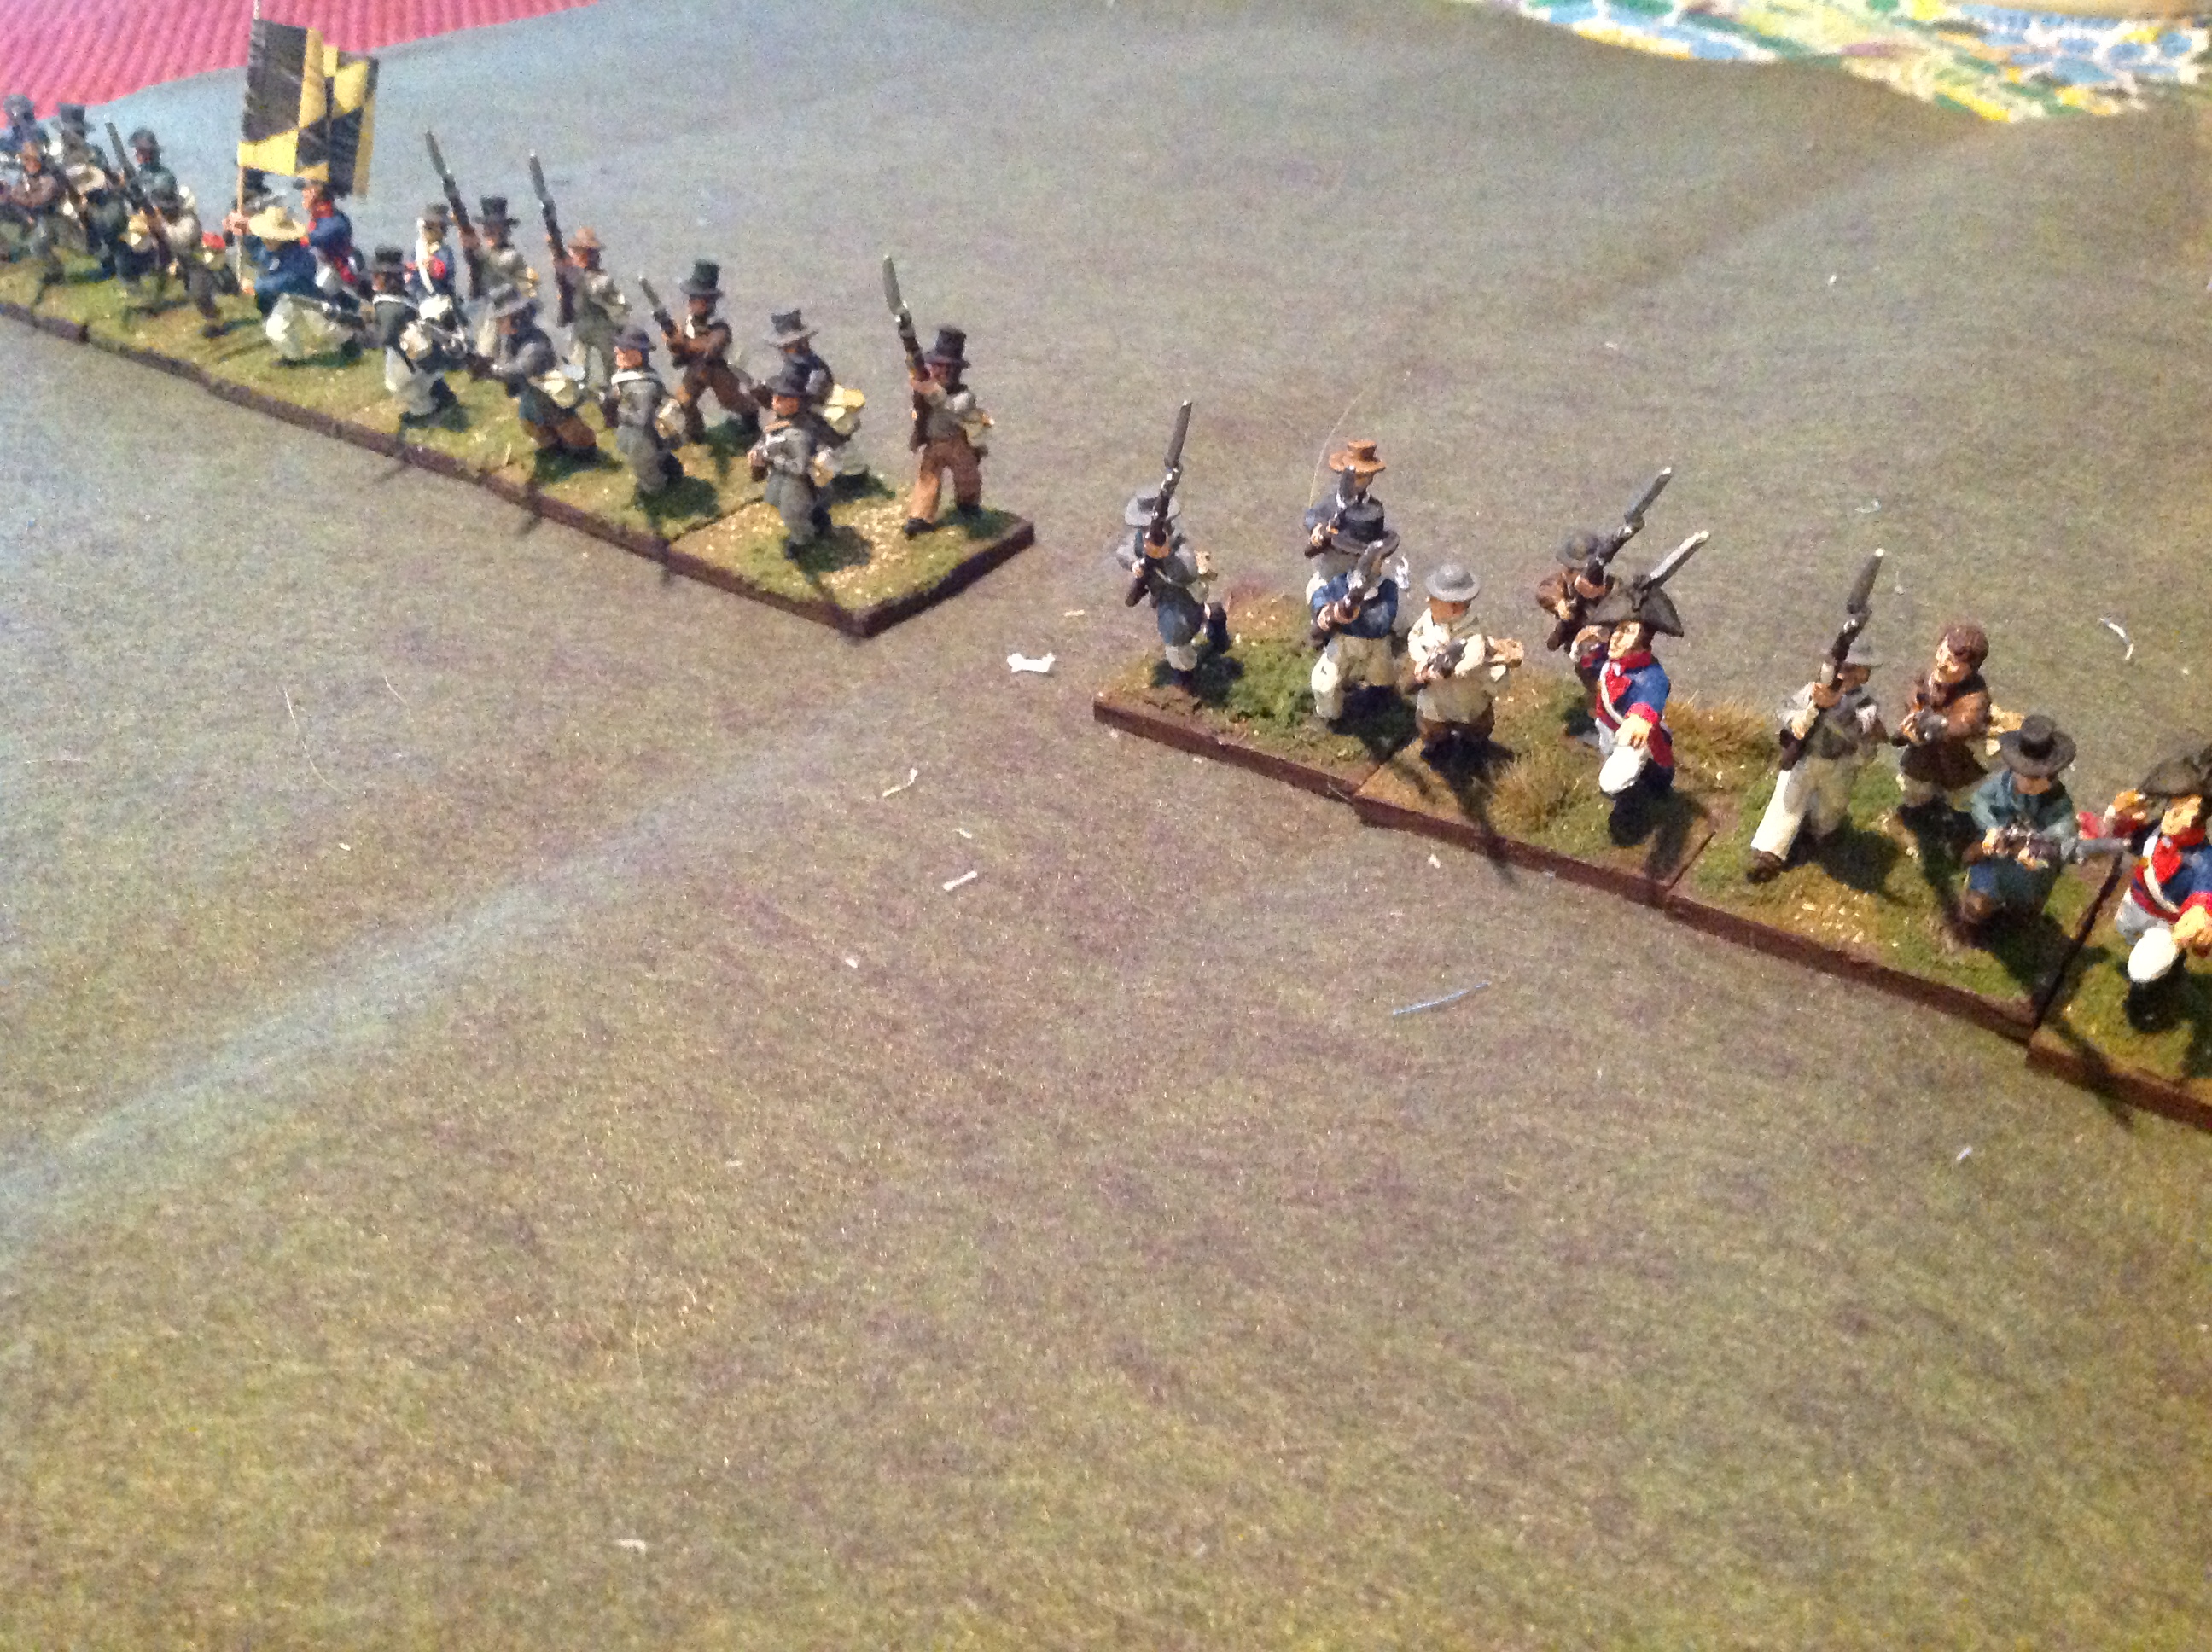
Ragan's and Schutz's regiments of Maryland militia.  That they are un-uniformed represents their general lack of preparedness for action.

Ragan’s and Schutz’s regiments of Maryland militia. That they are un-uniformed represents their general lack of preparedness for action.

First, let’s take a look at the numbers involved in the battle. The Americans numbered some 7, 000 troops, while the British totaled about 4,400.  In addition, the Americans had 18 guns on the battlefield from 6- to 18 pounds, the British had only three light guns that arrived late, plus the 60 or so inaccurate rocket launchers. In game terms the differences become more stark.  The Americans have 72 stands of infantry and 10 sections of artillery.  The British have considerably fewer troops and guns: 54 bases and one section of artillery, plus three sections of rockets.

However, when we break down the armies in terms of quality a vast difference appears between the British and Americans:

Rating/Quality      British bases     American Bases

Elite                        18                        0

Veteran                  35                       9

Trained                    3                       15

Raw                          0                       48

With the exception of Barney’s naval guns, all the American artillery is raw.  Raw troops, infantry or artillery, are likely to shoot poorly, move more slowly and panic under stress. Elite and veteran units are more likely to move faster, accept casualties and shoot better. Add to this, the high quality of the British commanders, the poor quality of the American commanders and the British are much better disposed to move quickly under fire and take advantage of poor American troops.

Though the Americans outnumbered and outgunned the Brits, it’s instructive to examine the battlefield and the American positions.

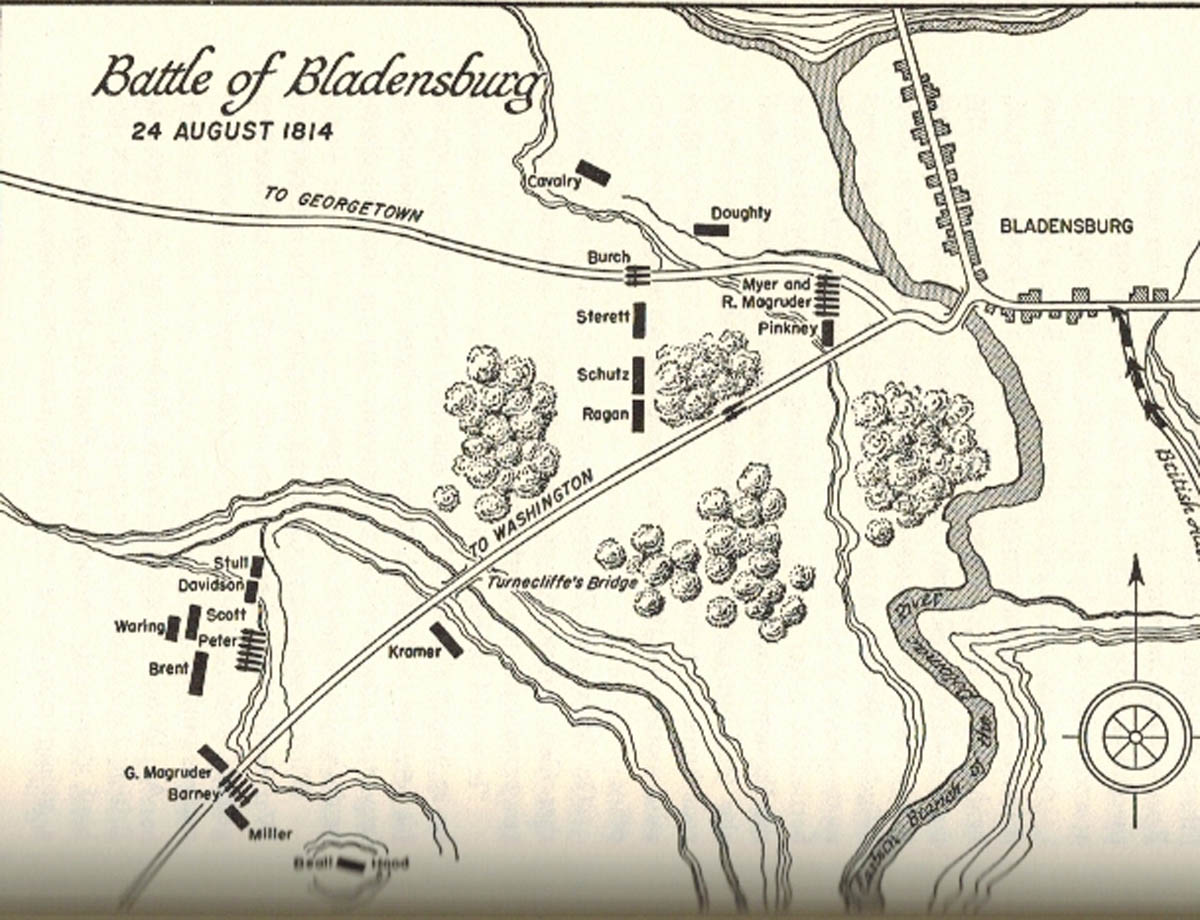
The battlefield is pie-shaped, with the Americans fighting in depth.  The British enter the field across a bridge at the apex of the pie.

A re-run of the Muller map clearly shows the Americans’ position.  The Light Brigade marched straight up the Washington Road, while Brooks’ Brigade works around the American left flank.  Though Barney’s third line inflicted casualties on Thornton’s advance across Turncliffe’s Bridge, they were doomed when Brook’s advanced against his flank from the Georgetown Road.

The American defense is divided between three non-supporting positions.  Facing the bridge over the East Branch are Pinkney’s three stands of raw militia riflemen and three sections of 6-lb artillery behind a poorly constructed earthwork.  Directly behind them, out of supporting musket range is Stansbury’s Maryland militia 23 stand of mostly raw troops and two stands of raw artillery.

The British had to cross a narrow bridge over the East Branch of the river and go through or around the Americans.  However, there were 37 stands of high quality troops to oppose them.  Historically, the light brigade attacked and was driven into the town by heavy fire.  However, when Brooks’ brigade came up in support, they recrossed the bridge and formed skirmish order while Brooks’ brigade moved quickly around the American left flank to the Georgetown Road.  Outflanked and outnumbered, and probably peppered by the annoying rockets, the raw American troops bolted, running away down the Georgetown Road.

It’s unlikely the British even saw the American third line forming on the hillside south of Stansbury’s position.  Eventually Winder would assemble his best troops, Barney’s flotillamen and Miller’s Marines along with semi-trained regulars and raw militia on the high ground blocking the Washington Road.  The Americans 37 stands, mostly raw troops and five sections of artillery held back the Light Brigade for a time, but were flanked out of their positions by Brooks swinging around their left from the Georgetown Road.

American defenses crumbled, despite stubborn resistance by Barney’s troops, and the Americans retreated down the Washington Road.  The road to the capital was wide open.

The British won the Battle of Bladensburg, but the rockets played a very minor role.  The Americans lost because their troops were of generally poor quality, and their disposition was such that their opponents were  were able to fight the Americans in small packets that gave the British qualitative and quantitative superiority against each of the three American lines.