I’ve written a lot about how I’m project oriented and that one of my few strengths is the ability to persevere, to stick to it until a project is completed. This year it’s been a bit different, I’ve been able to stick to it until I’m heartily sick of it, do something else and come back to it.
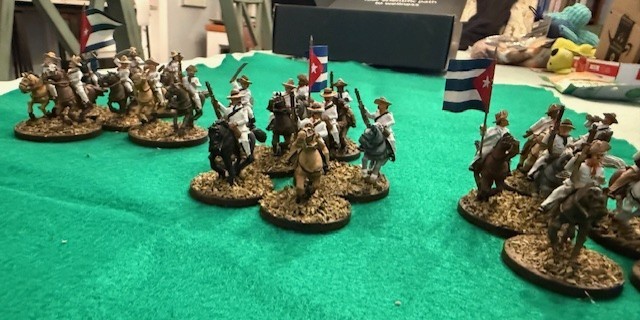
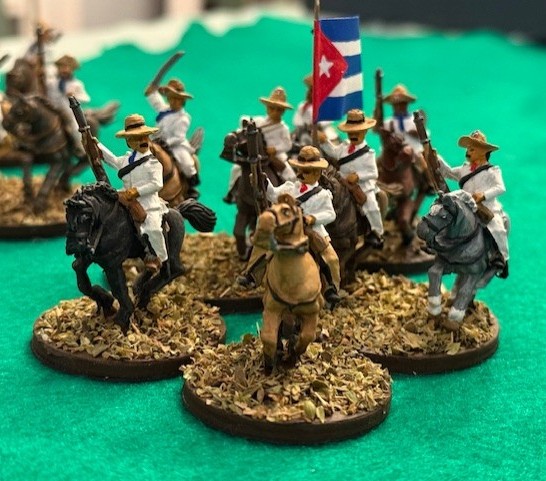
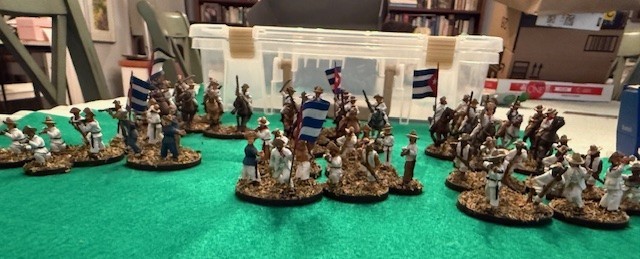
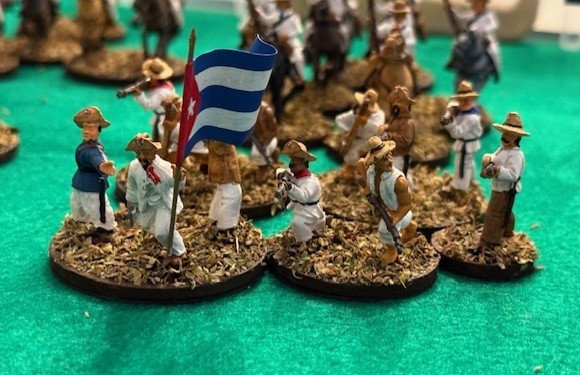
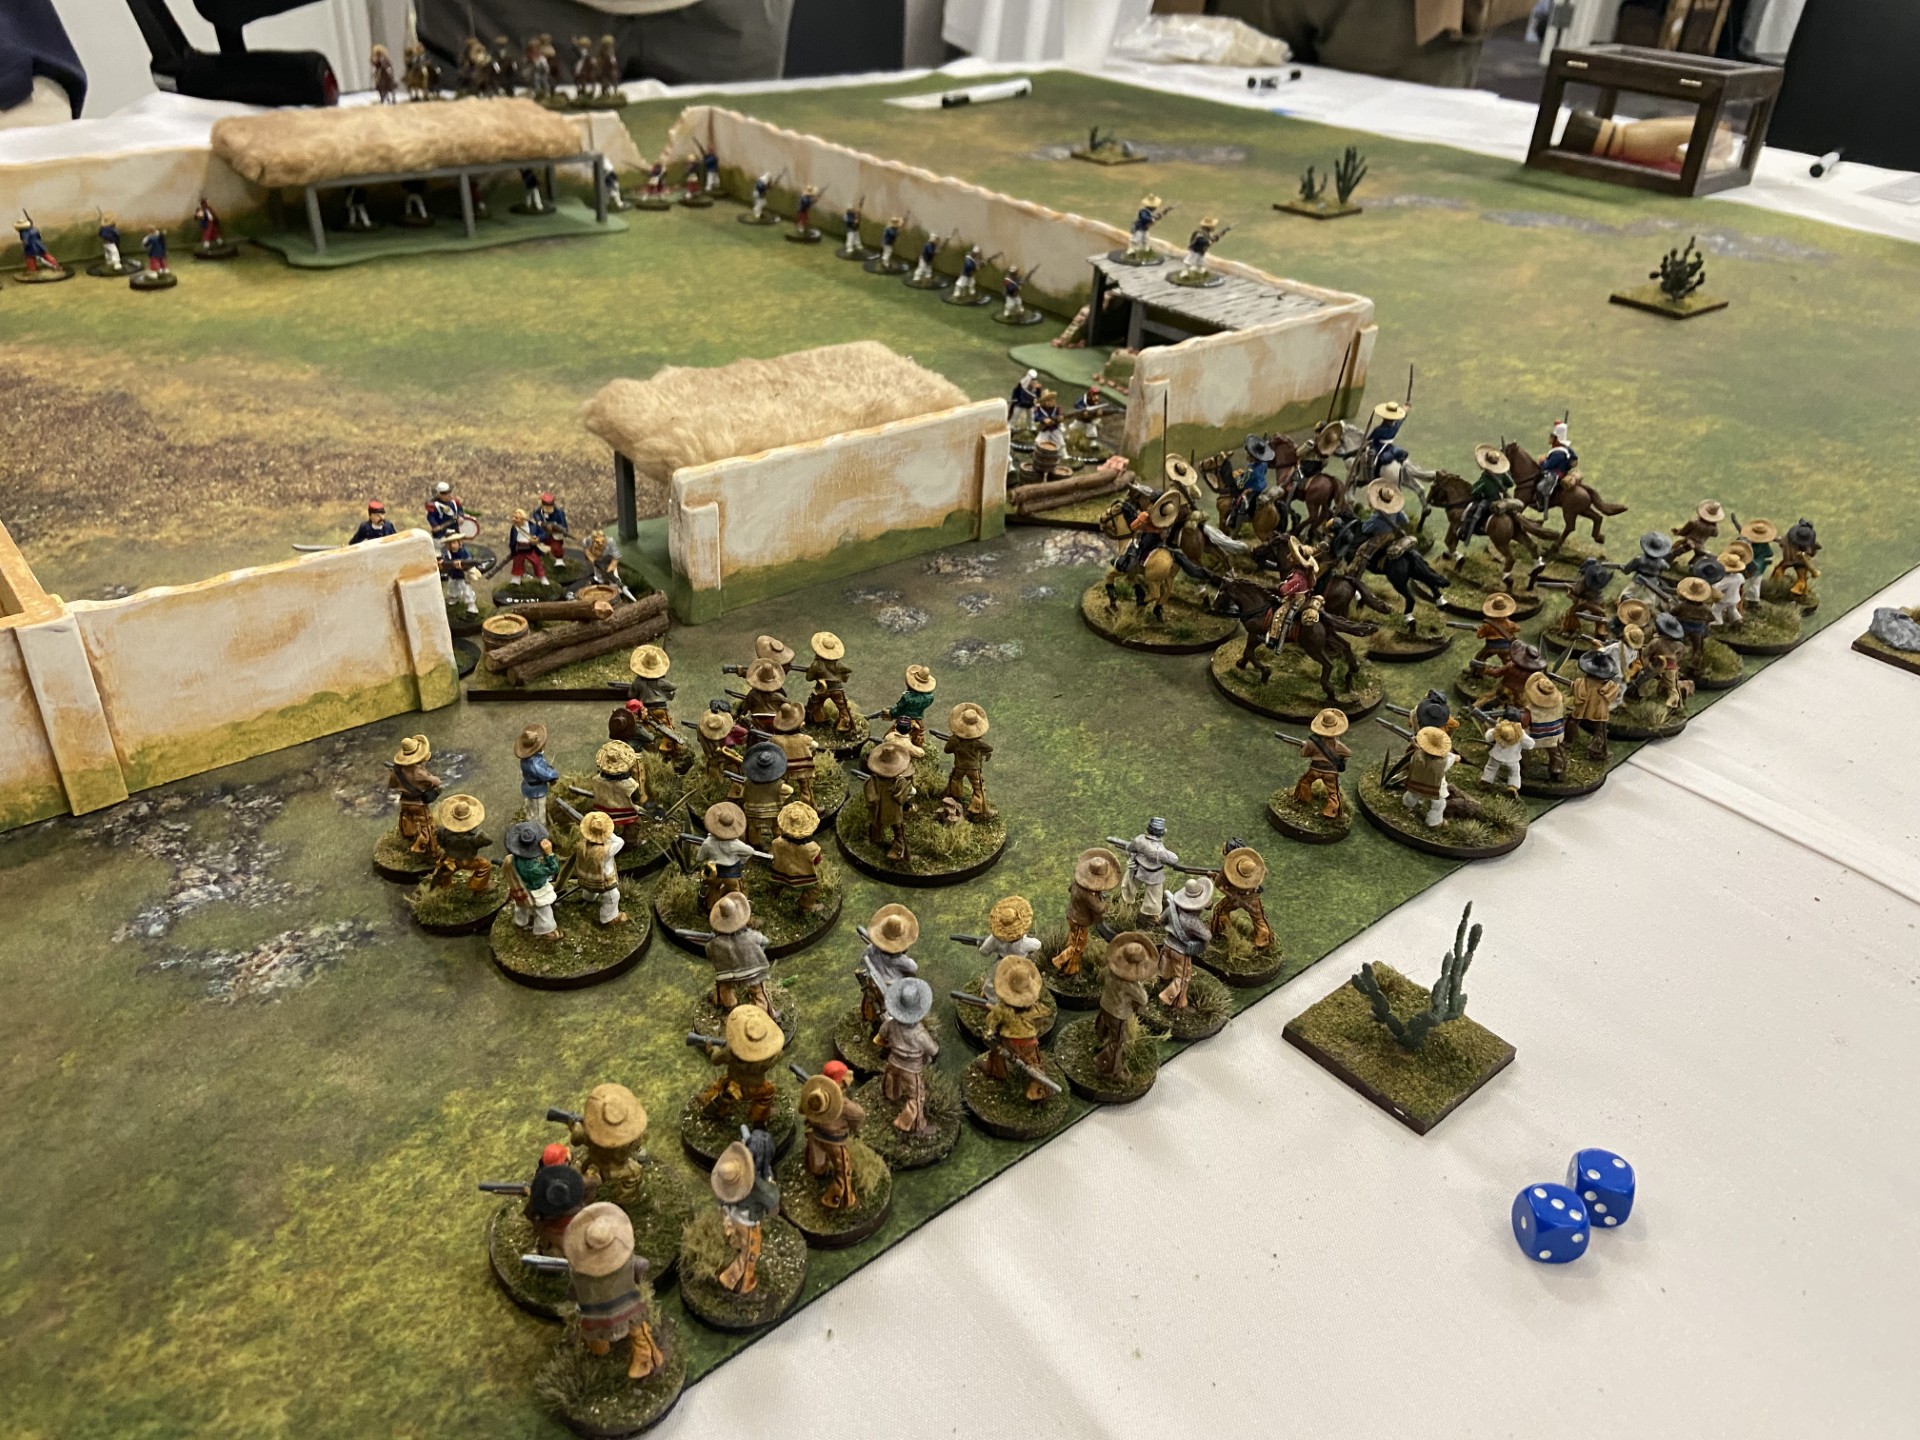
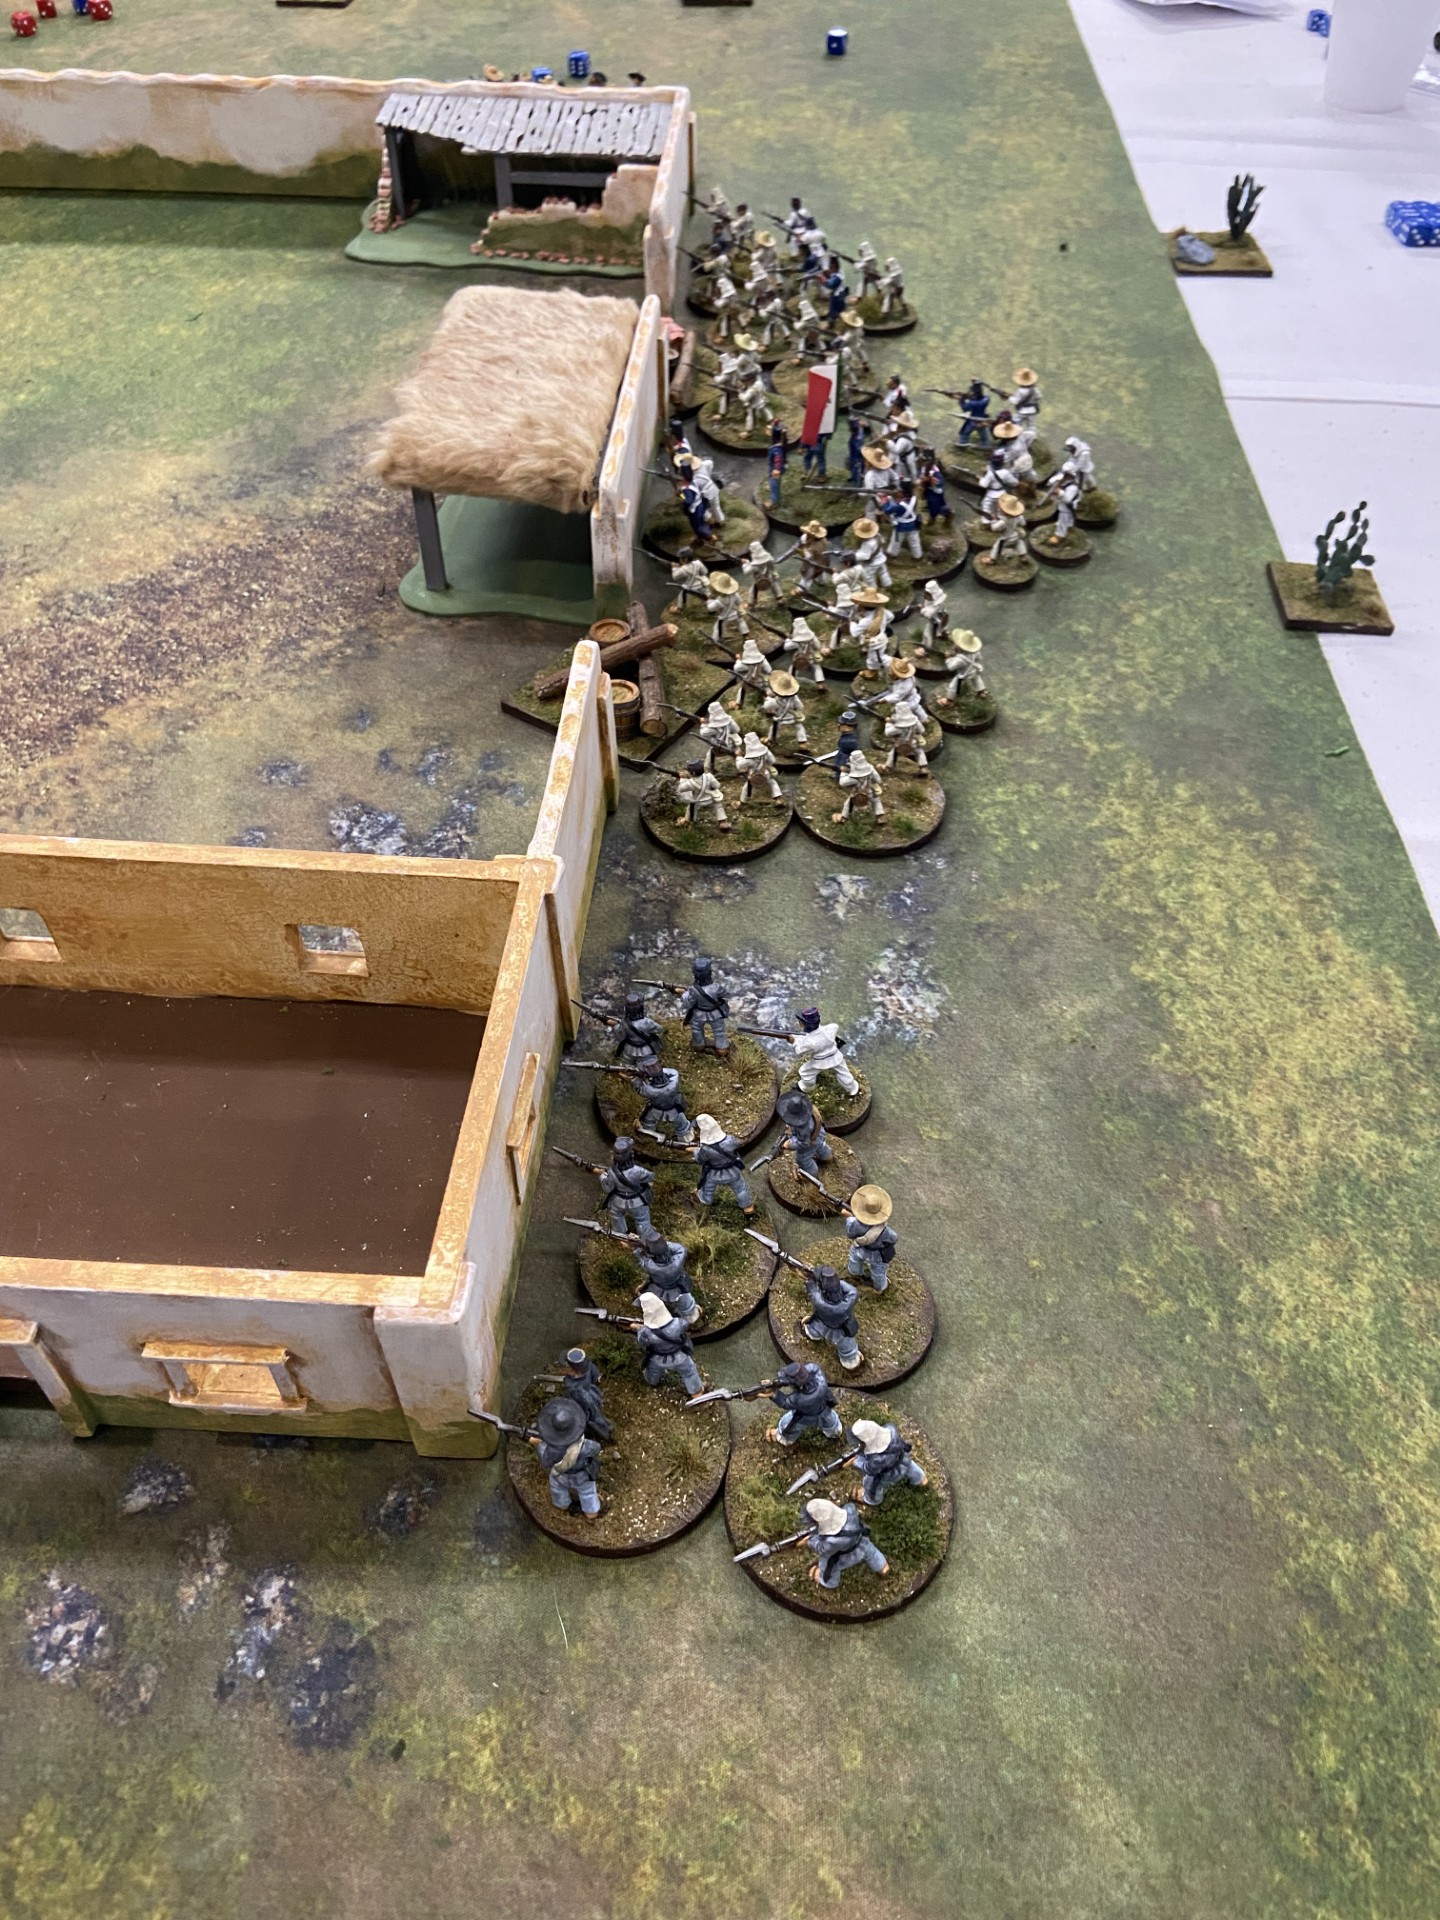
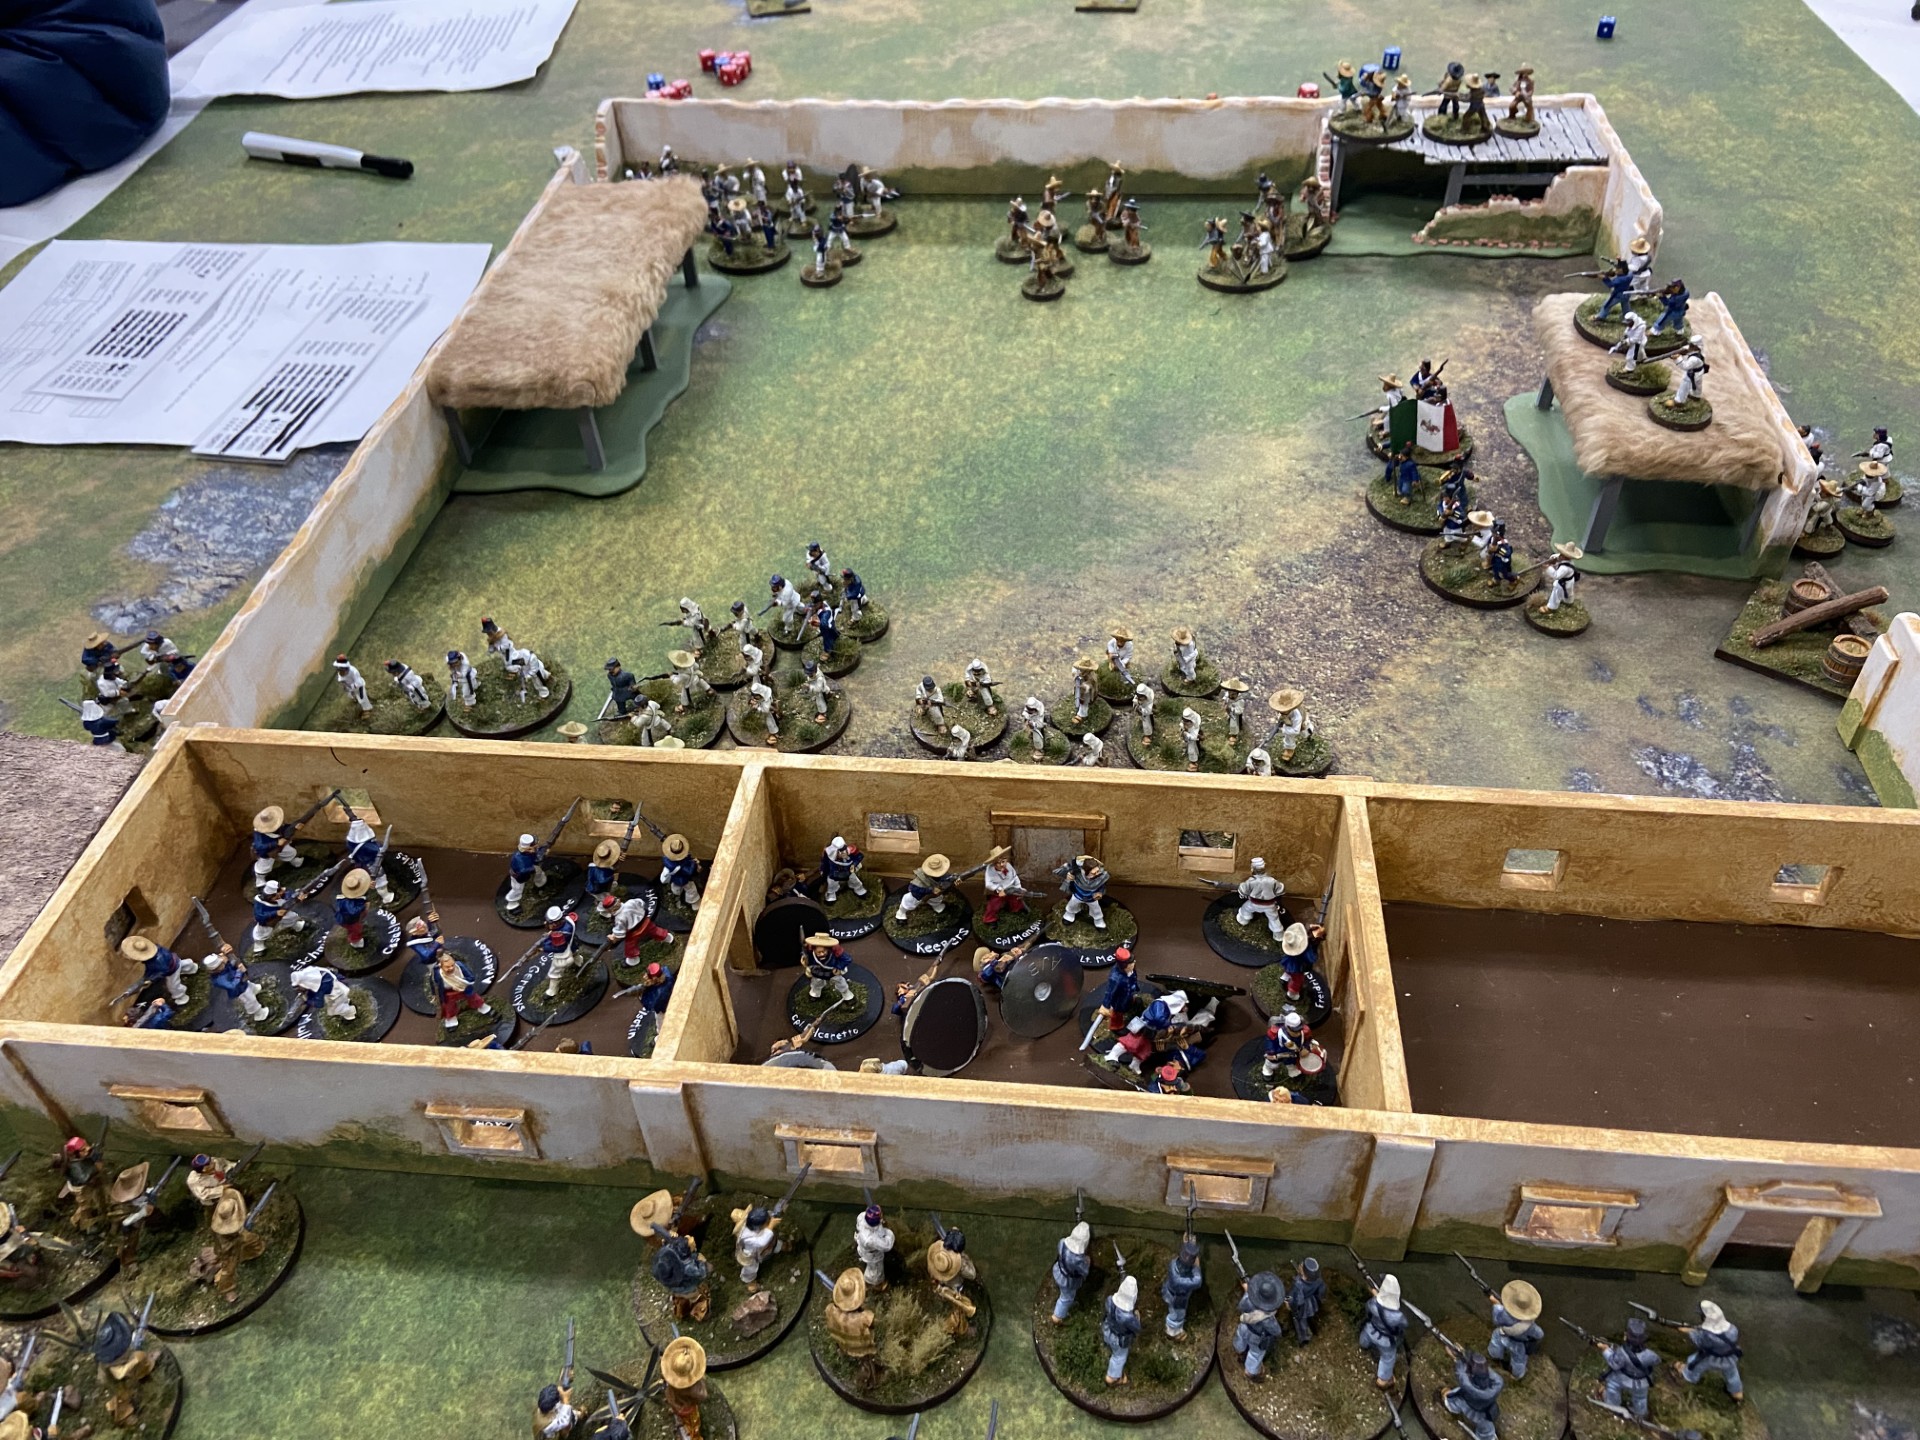
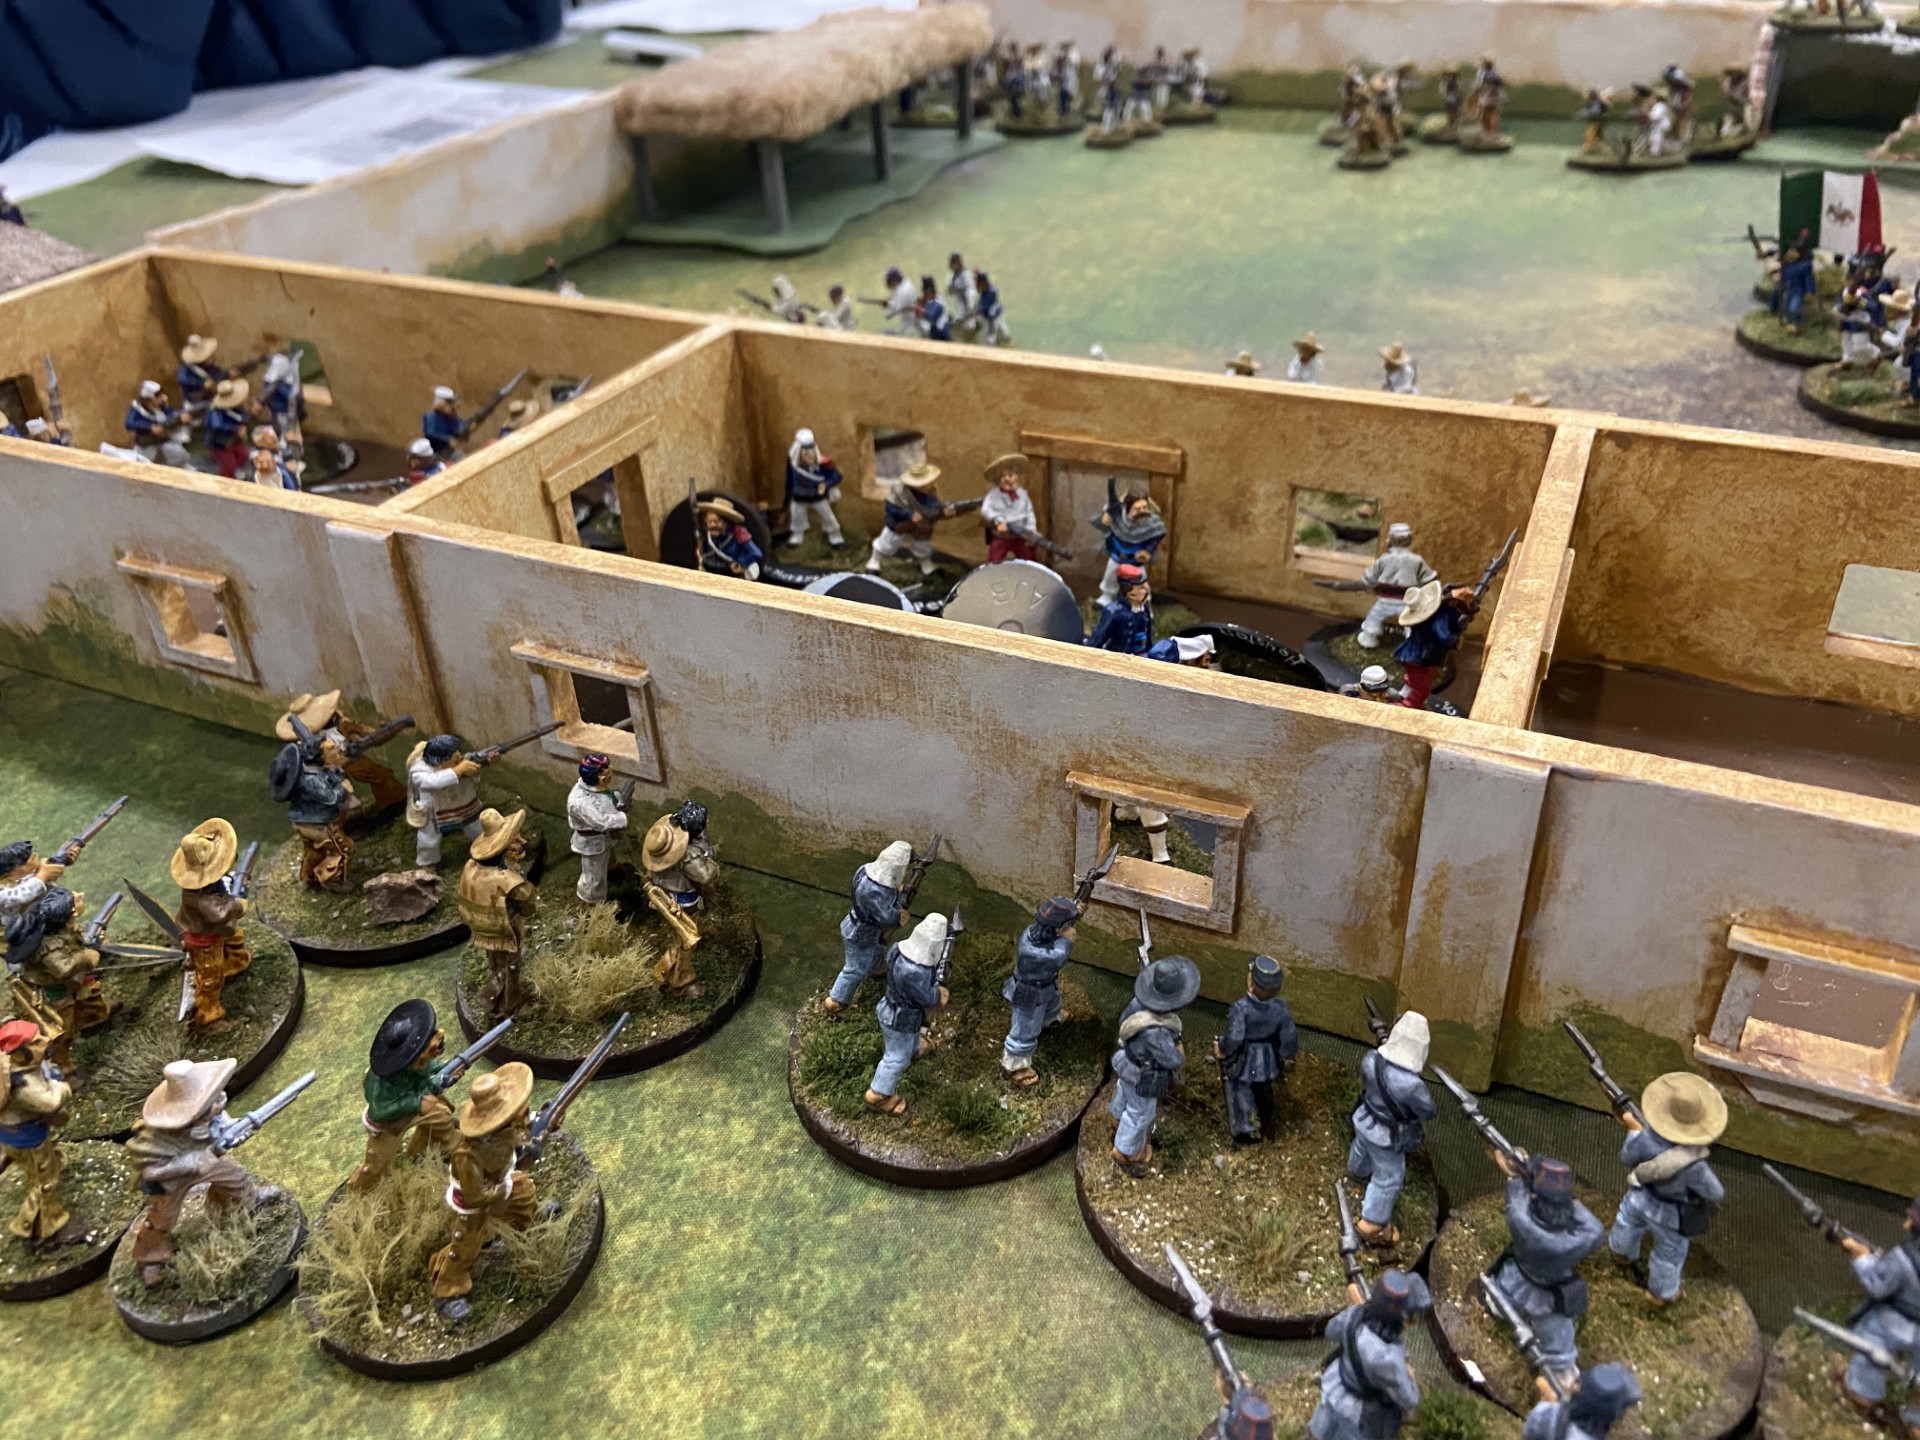
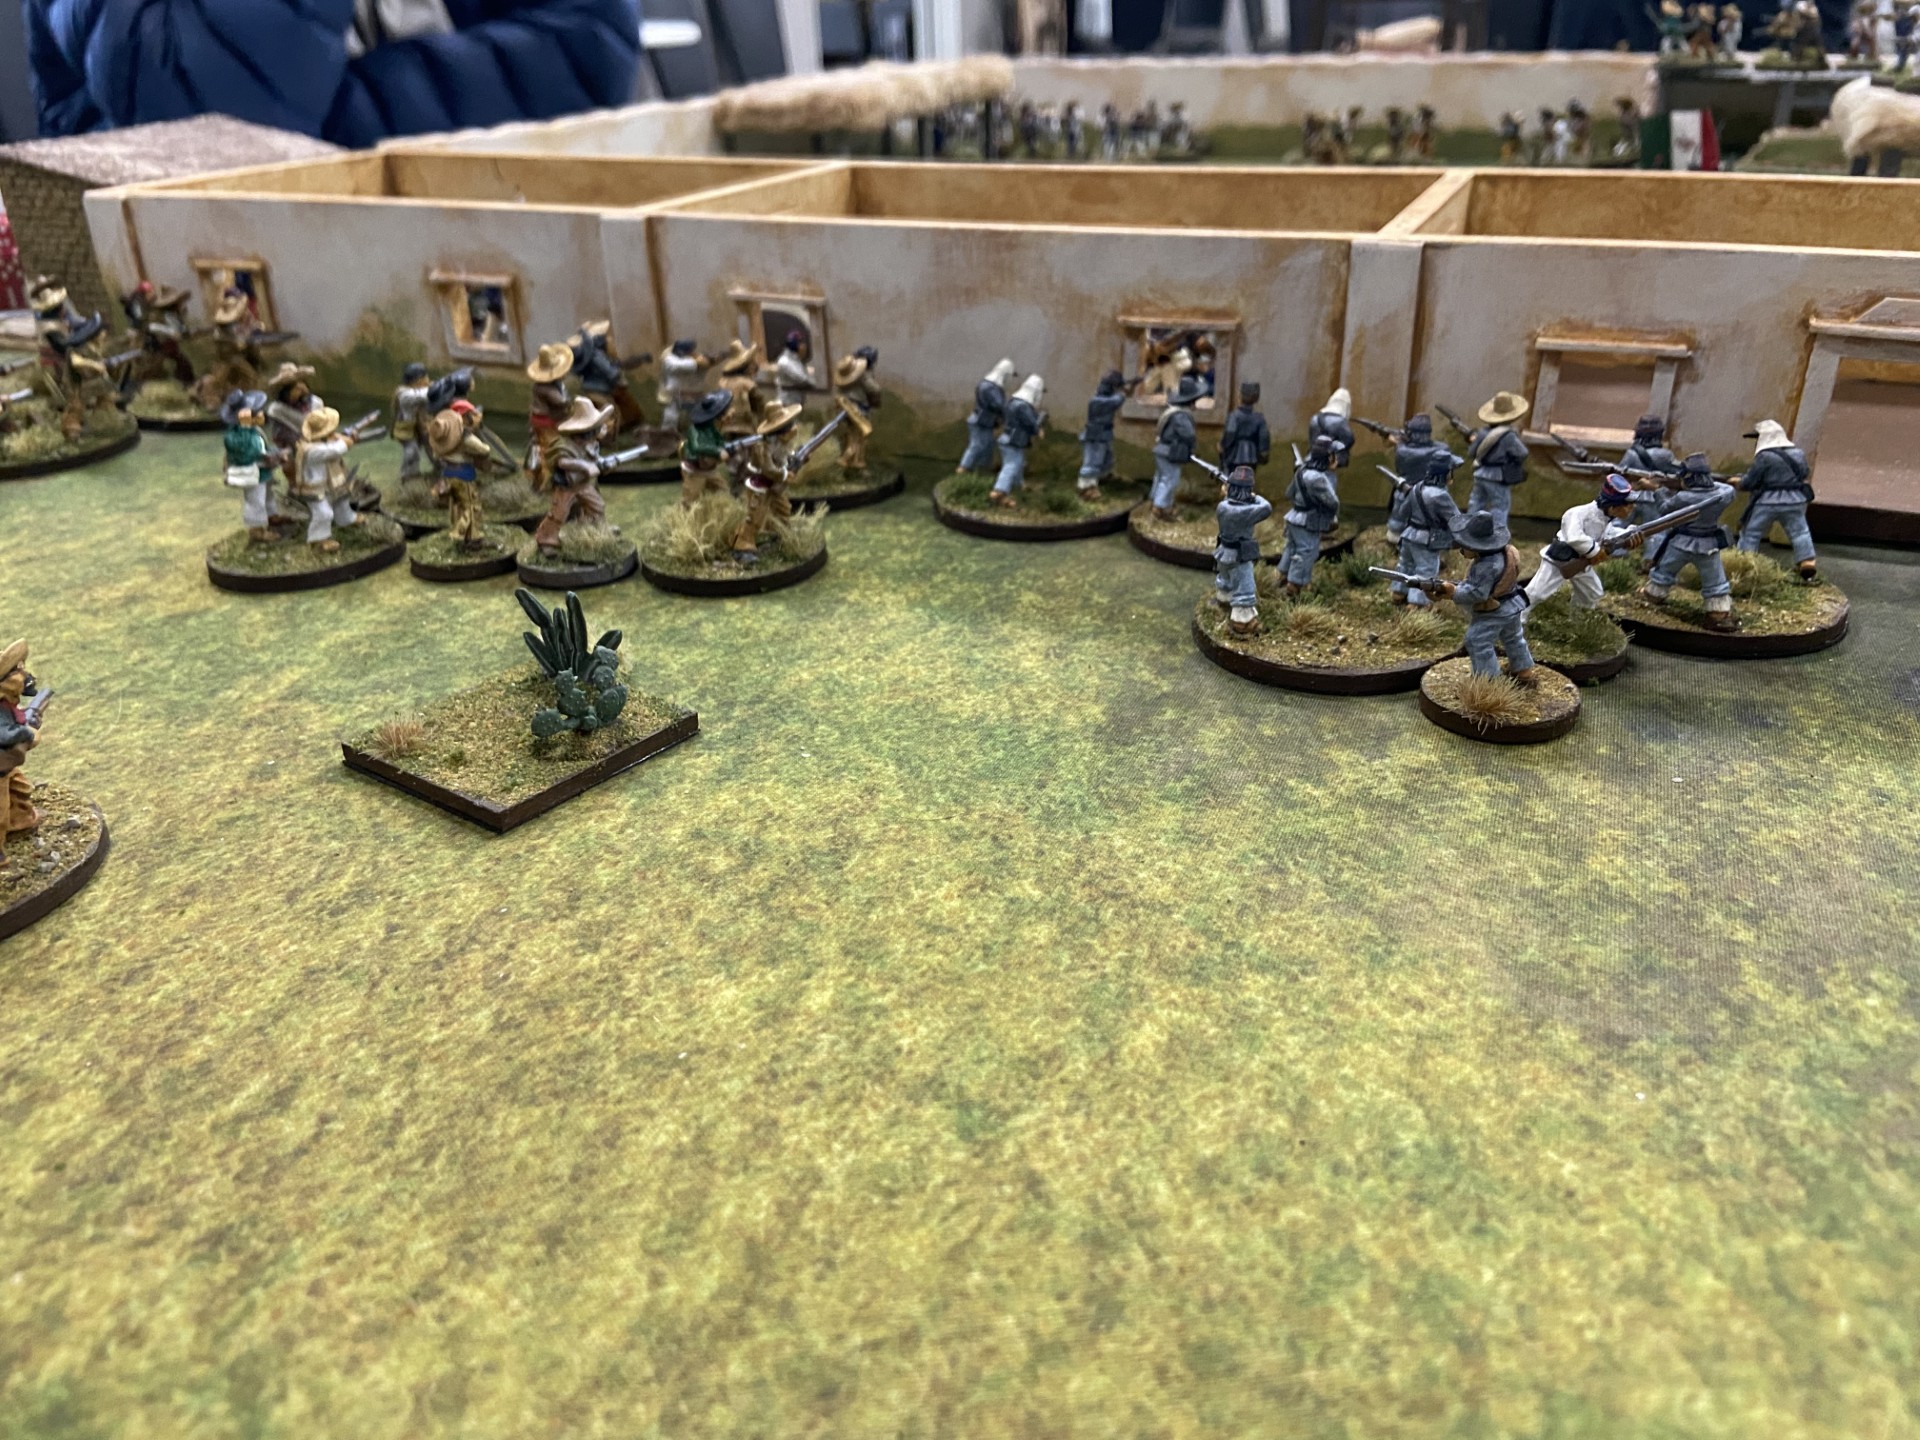
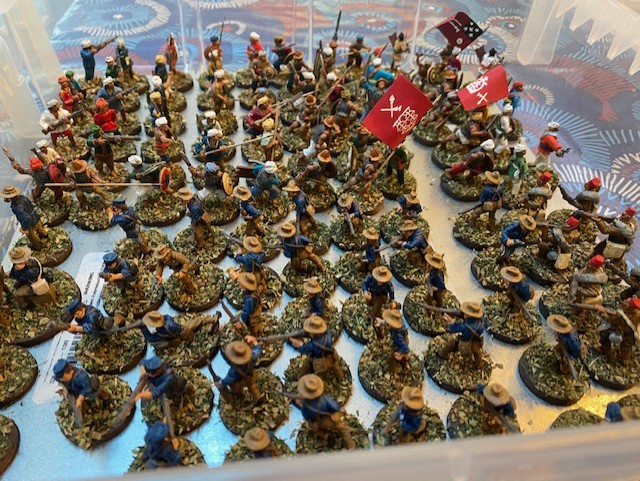
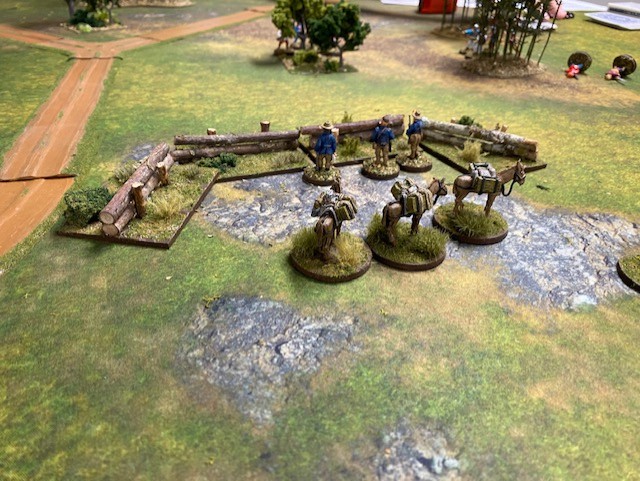
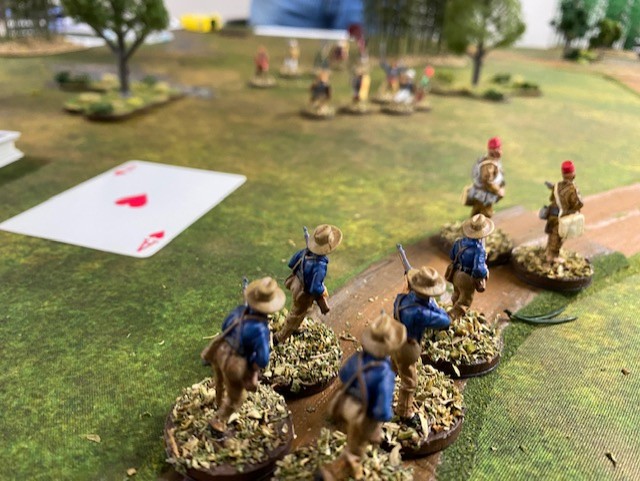
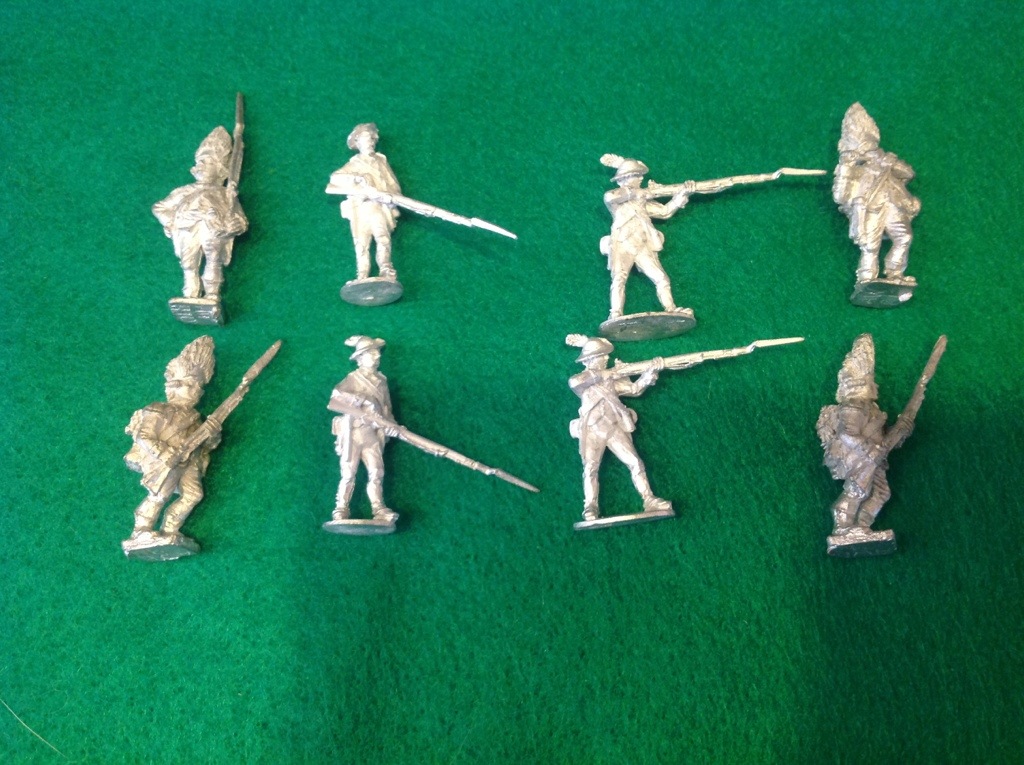
This has been especially true of my Cuban Rebellion Project. This is the Cuban Rebellion of 1895-98 that ends with the Spanish American War. Yes, it is somewhat unique, but it’s part of my web of projects that includes the Spanish-American War, the Philippine Insurrection, the Moro War and the naval side of the Spanish-American War as well. And it’s good I’m bringing an end to things because I’ll be running a Cuban Rebellion game on September 20th so I’ll let you know how it goes. I still have a few figures I’m painting. I’m now down to my final two figures, a pair of American mounted officers. There is a part of me that would really like to order a pack each of Old Glory American Marines and American Bluejackets to add to my nest of One Hour Skirmish figures, but I really don’t need any for a larger game, and 30 of each is just too many. I finished the project with 108 Cuban infantry and 40 horse, and 180 Spanish infantry, 16 horse and two guns. So not huge but plenty of work, and lots of painted rayodillo. Ugh.
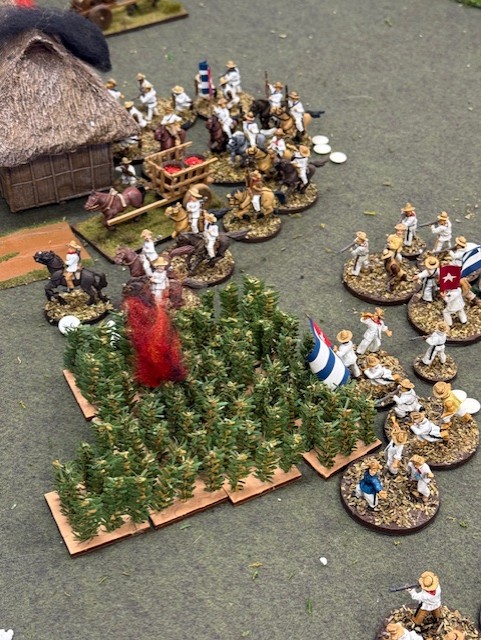
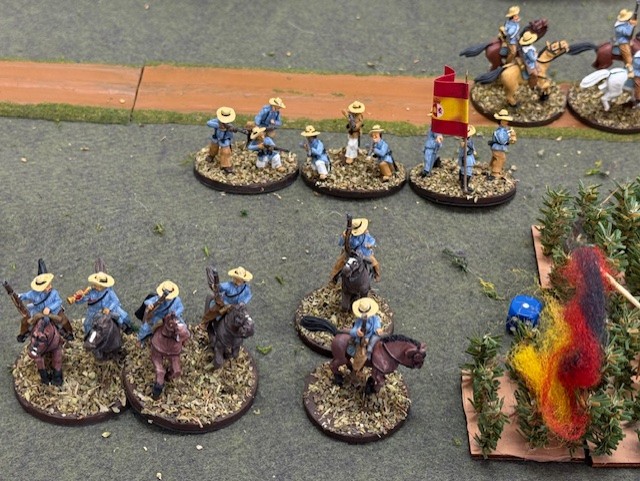
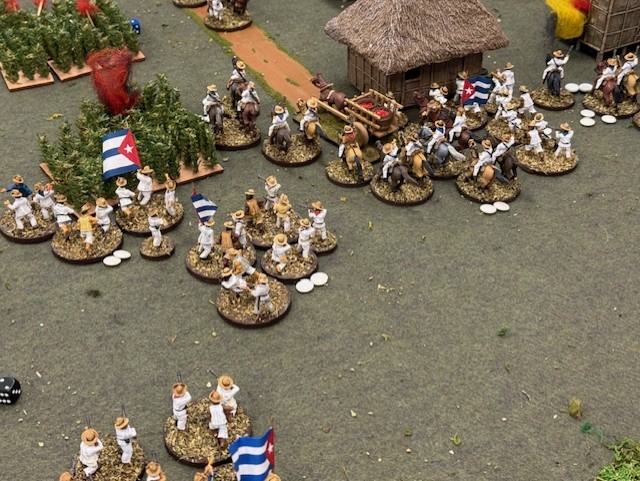
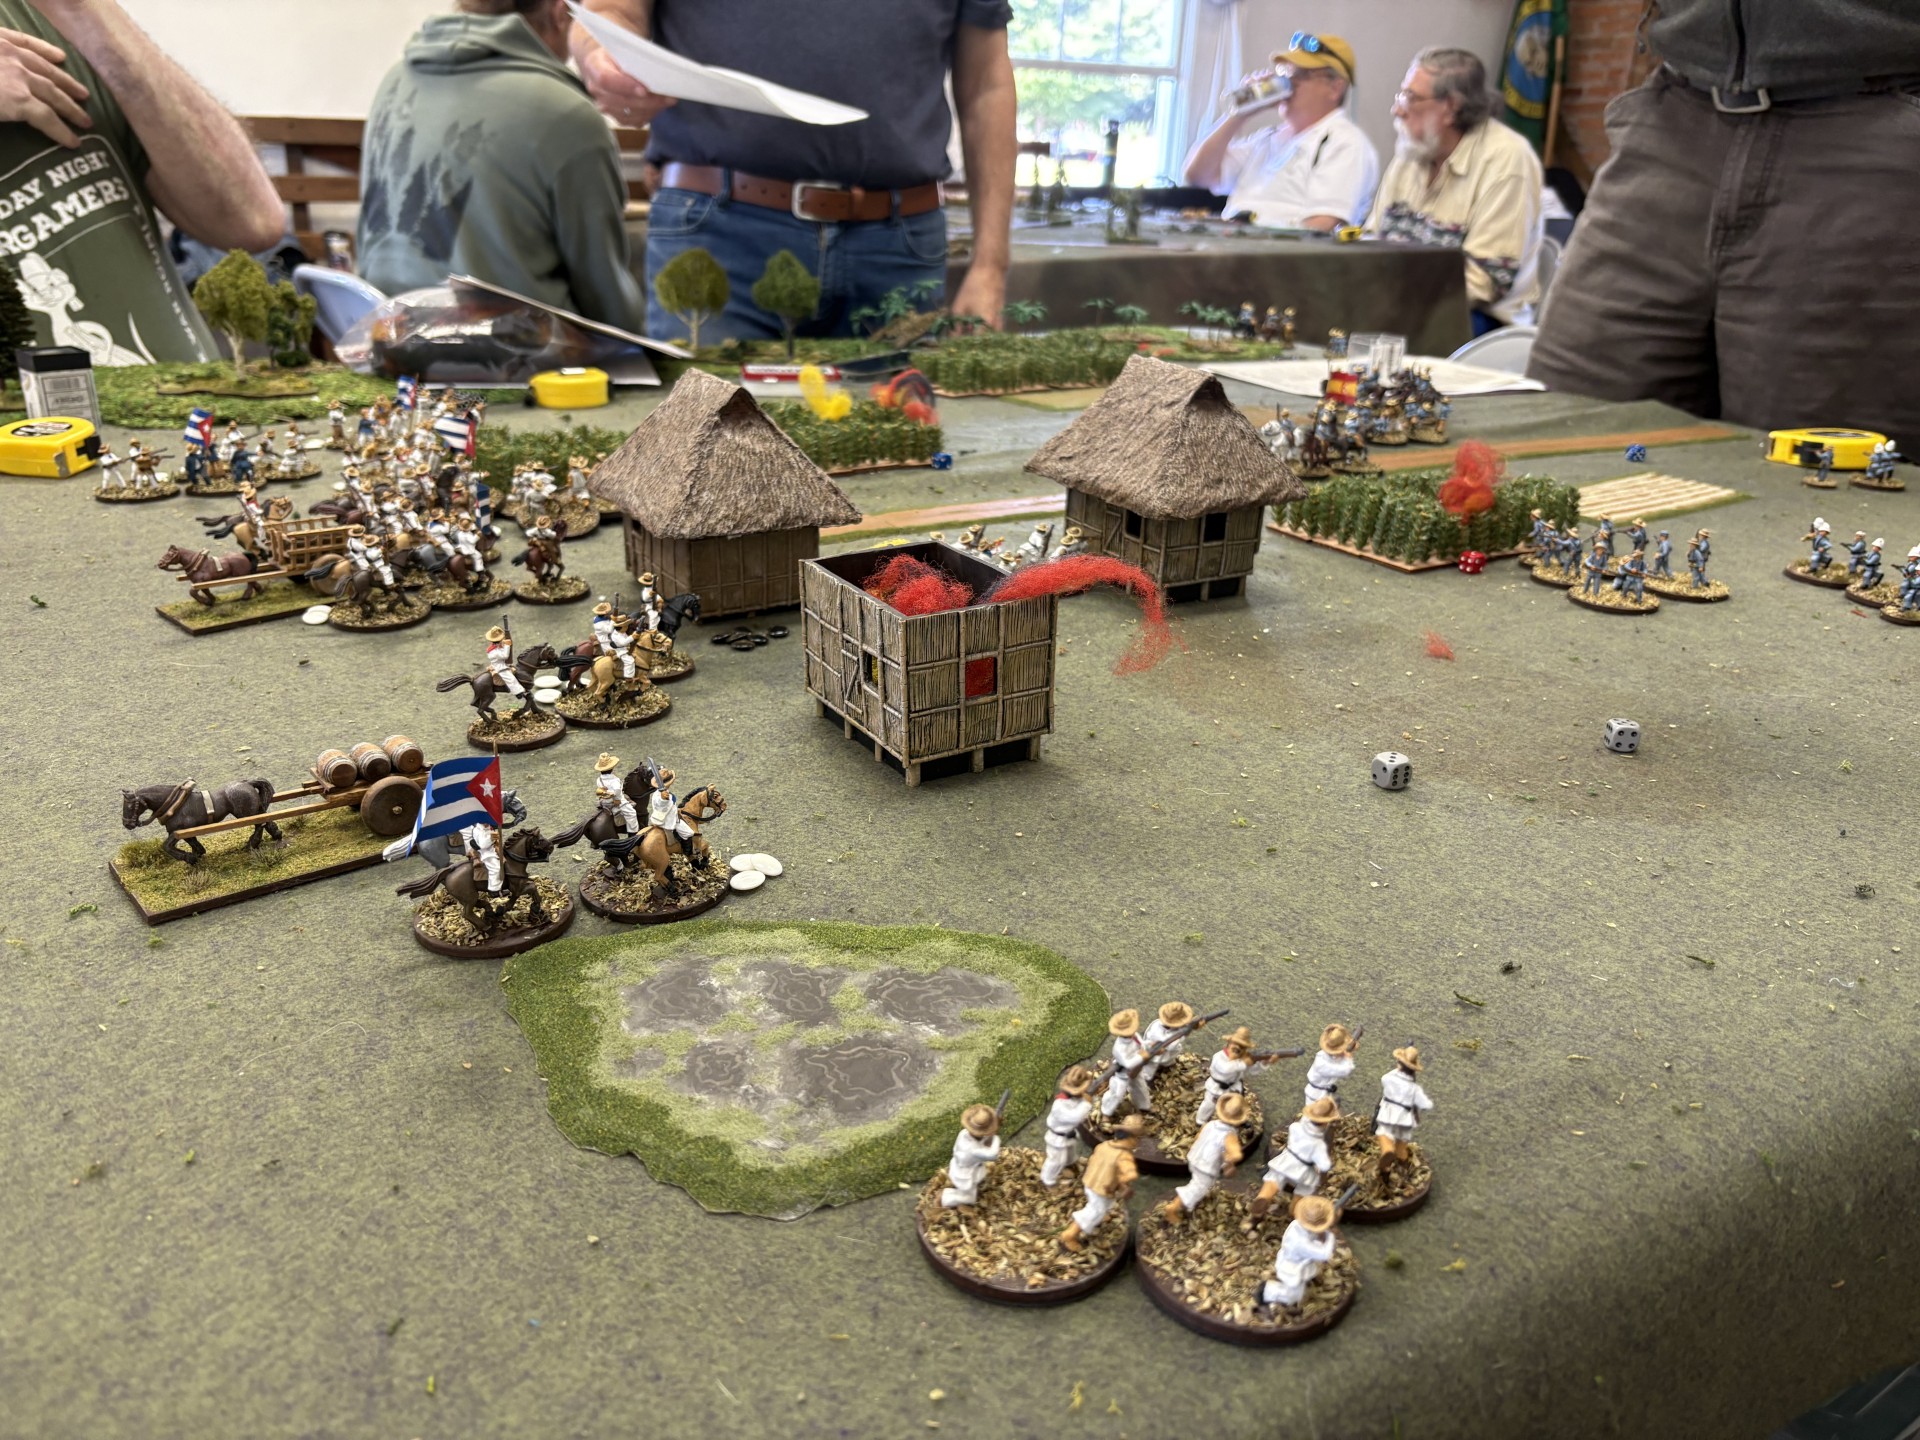
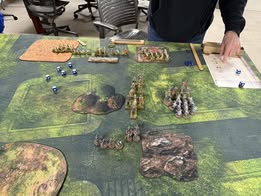
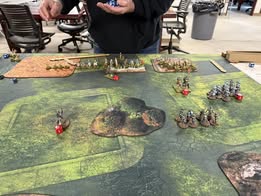
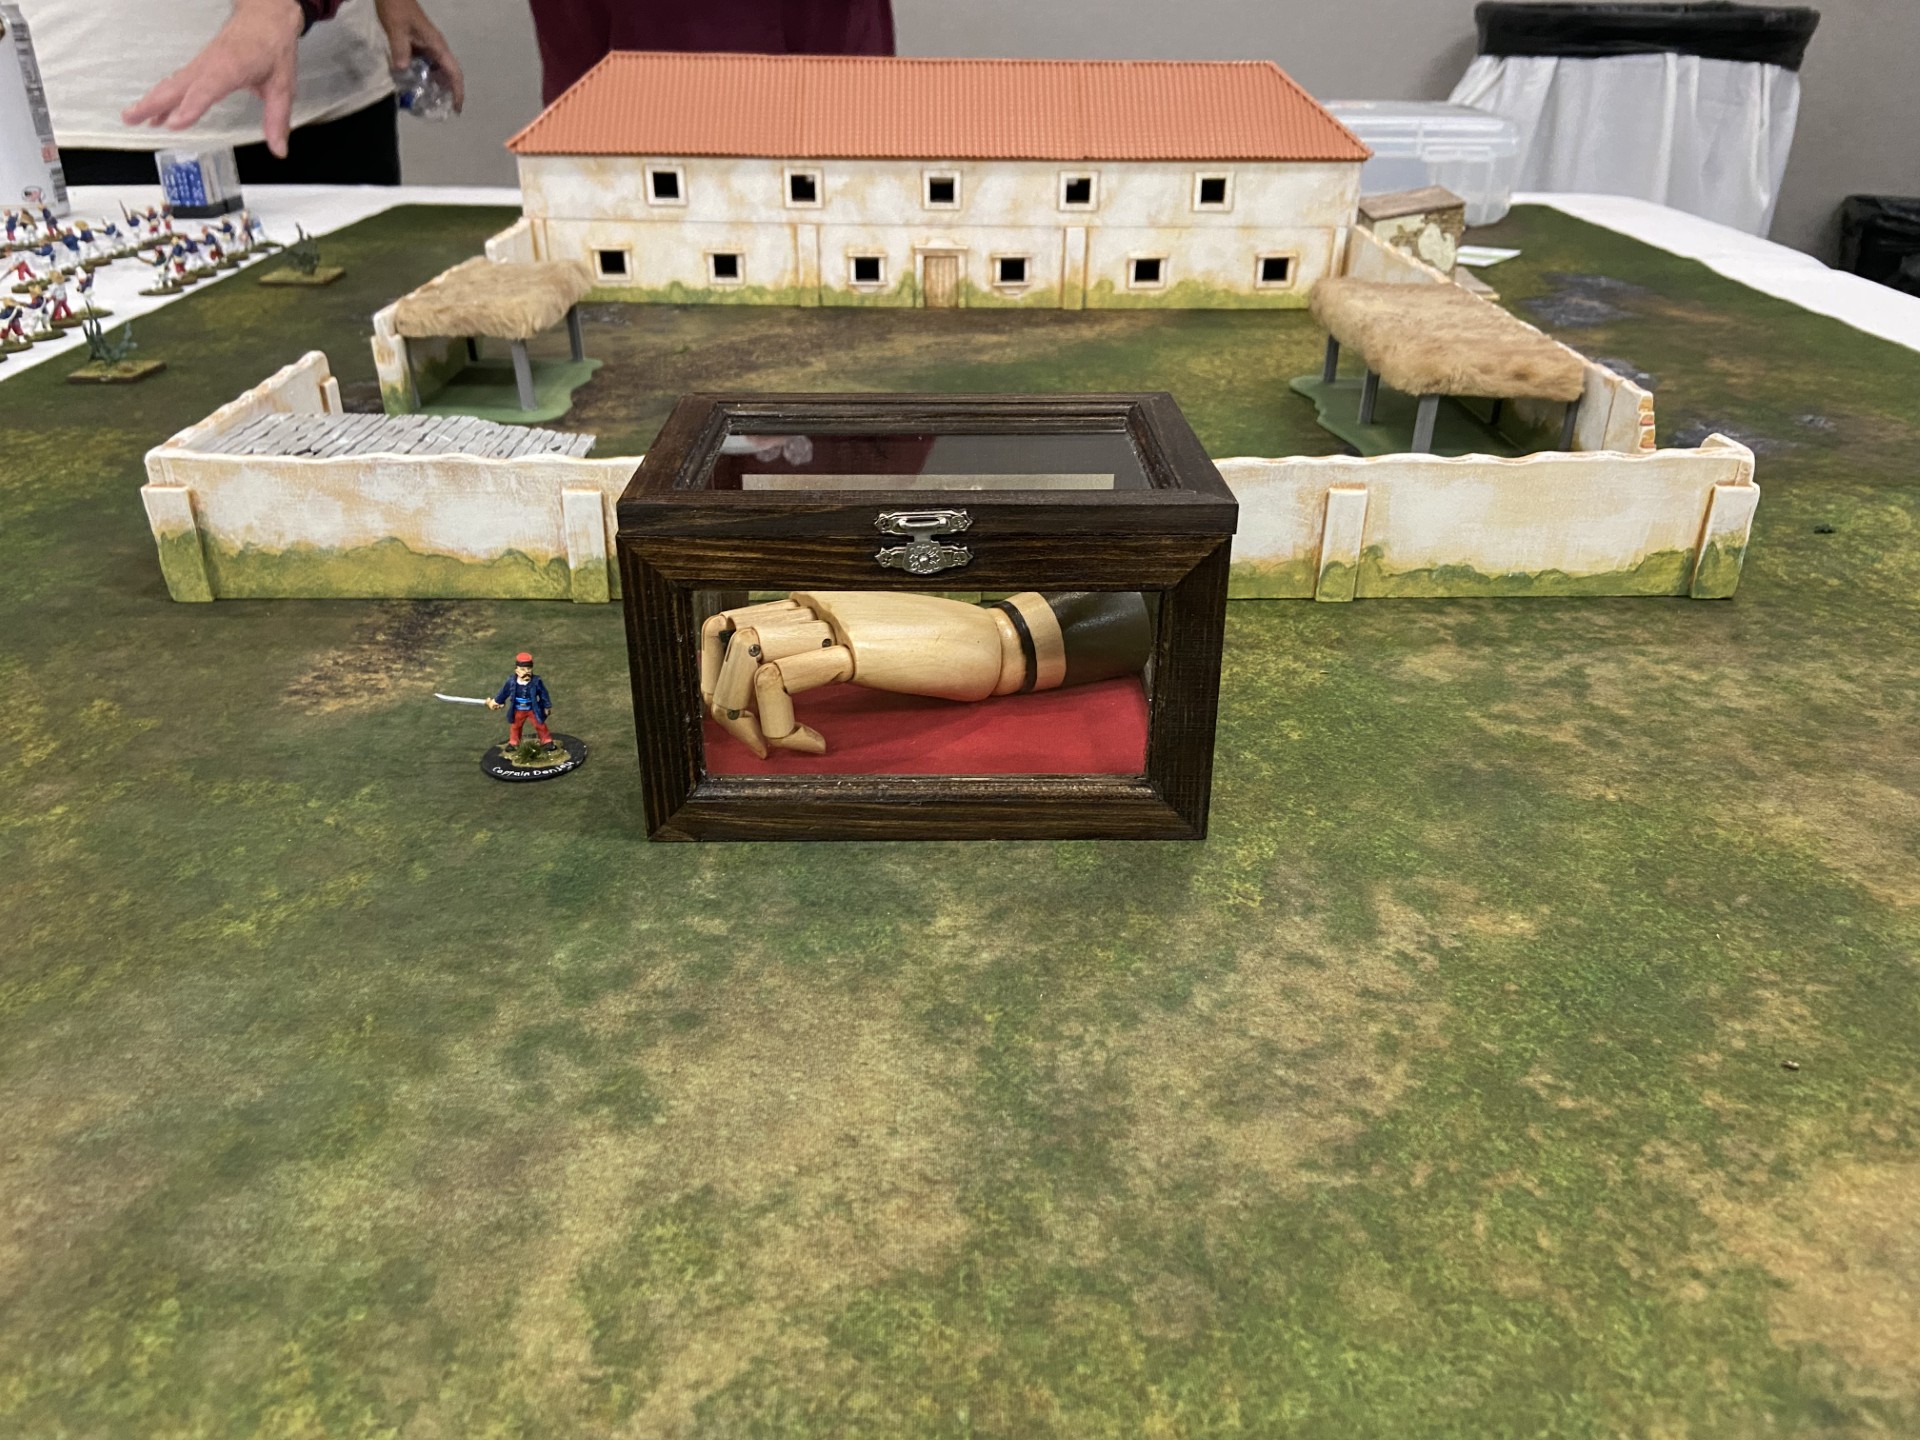
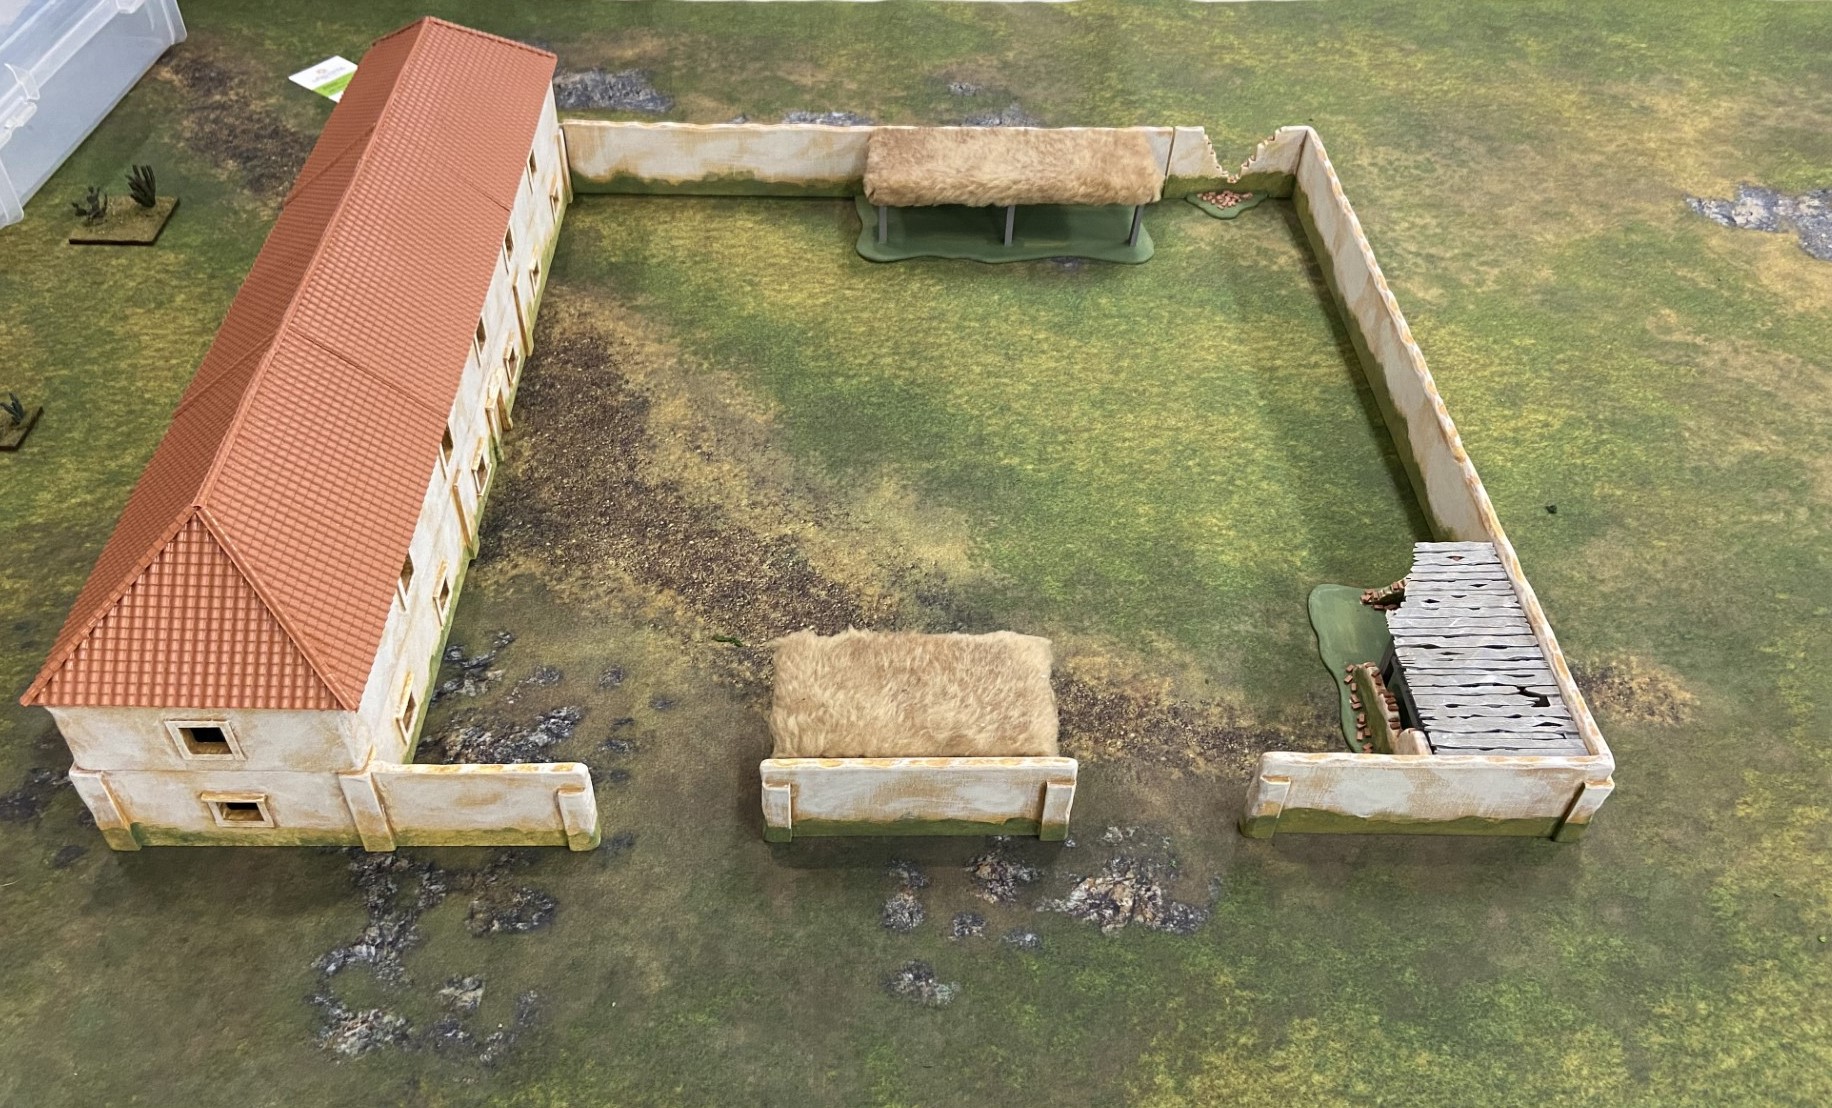
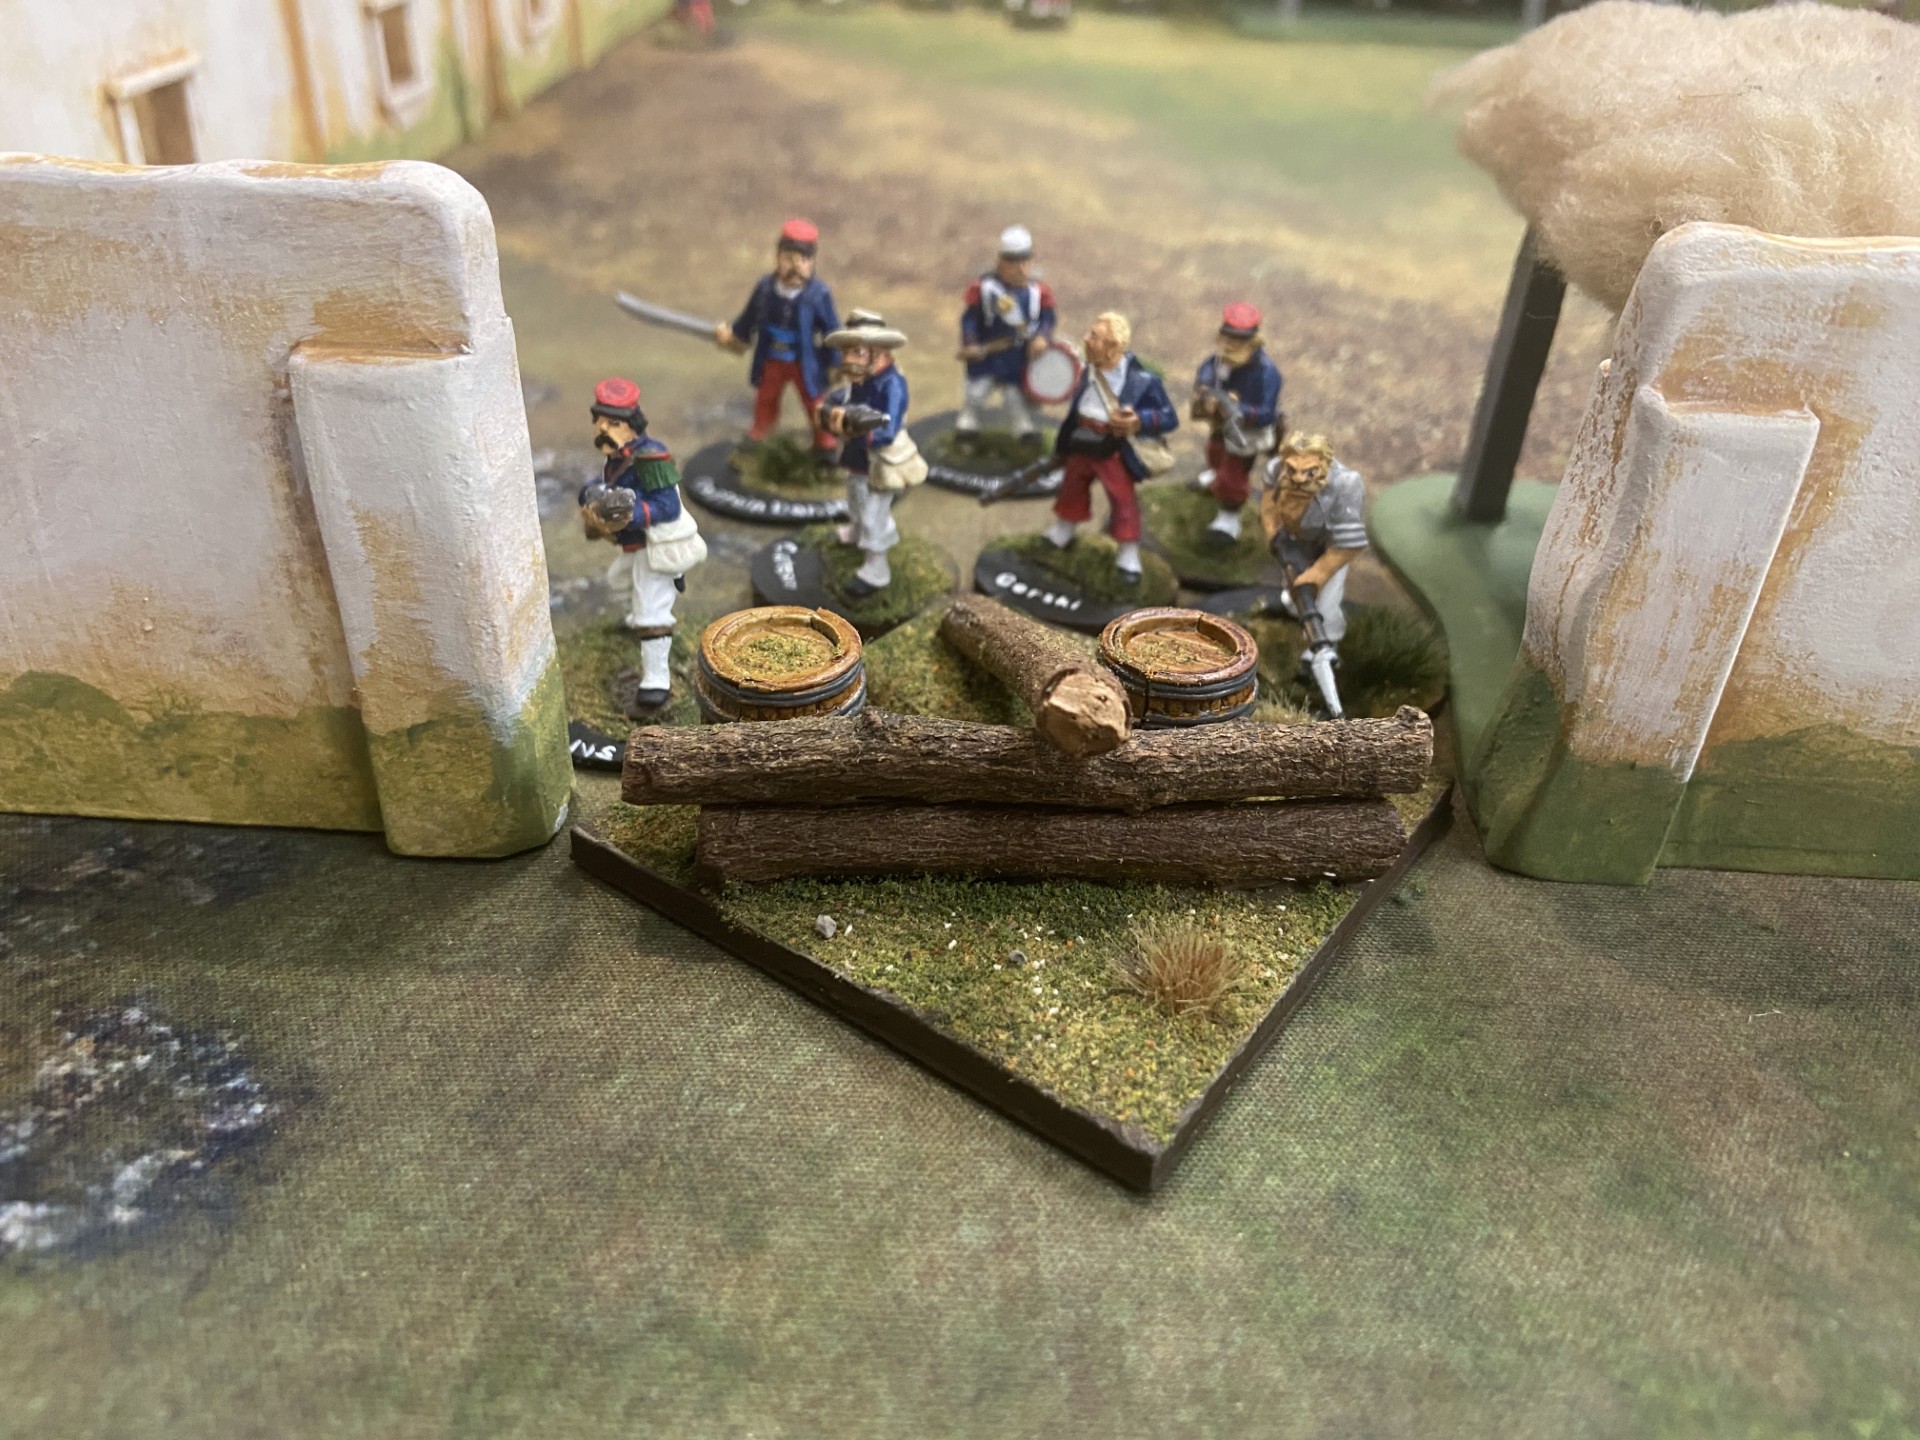
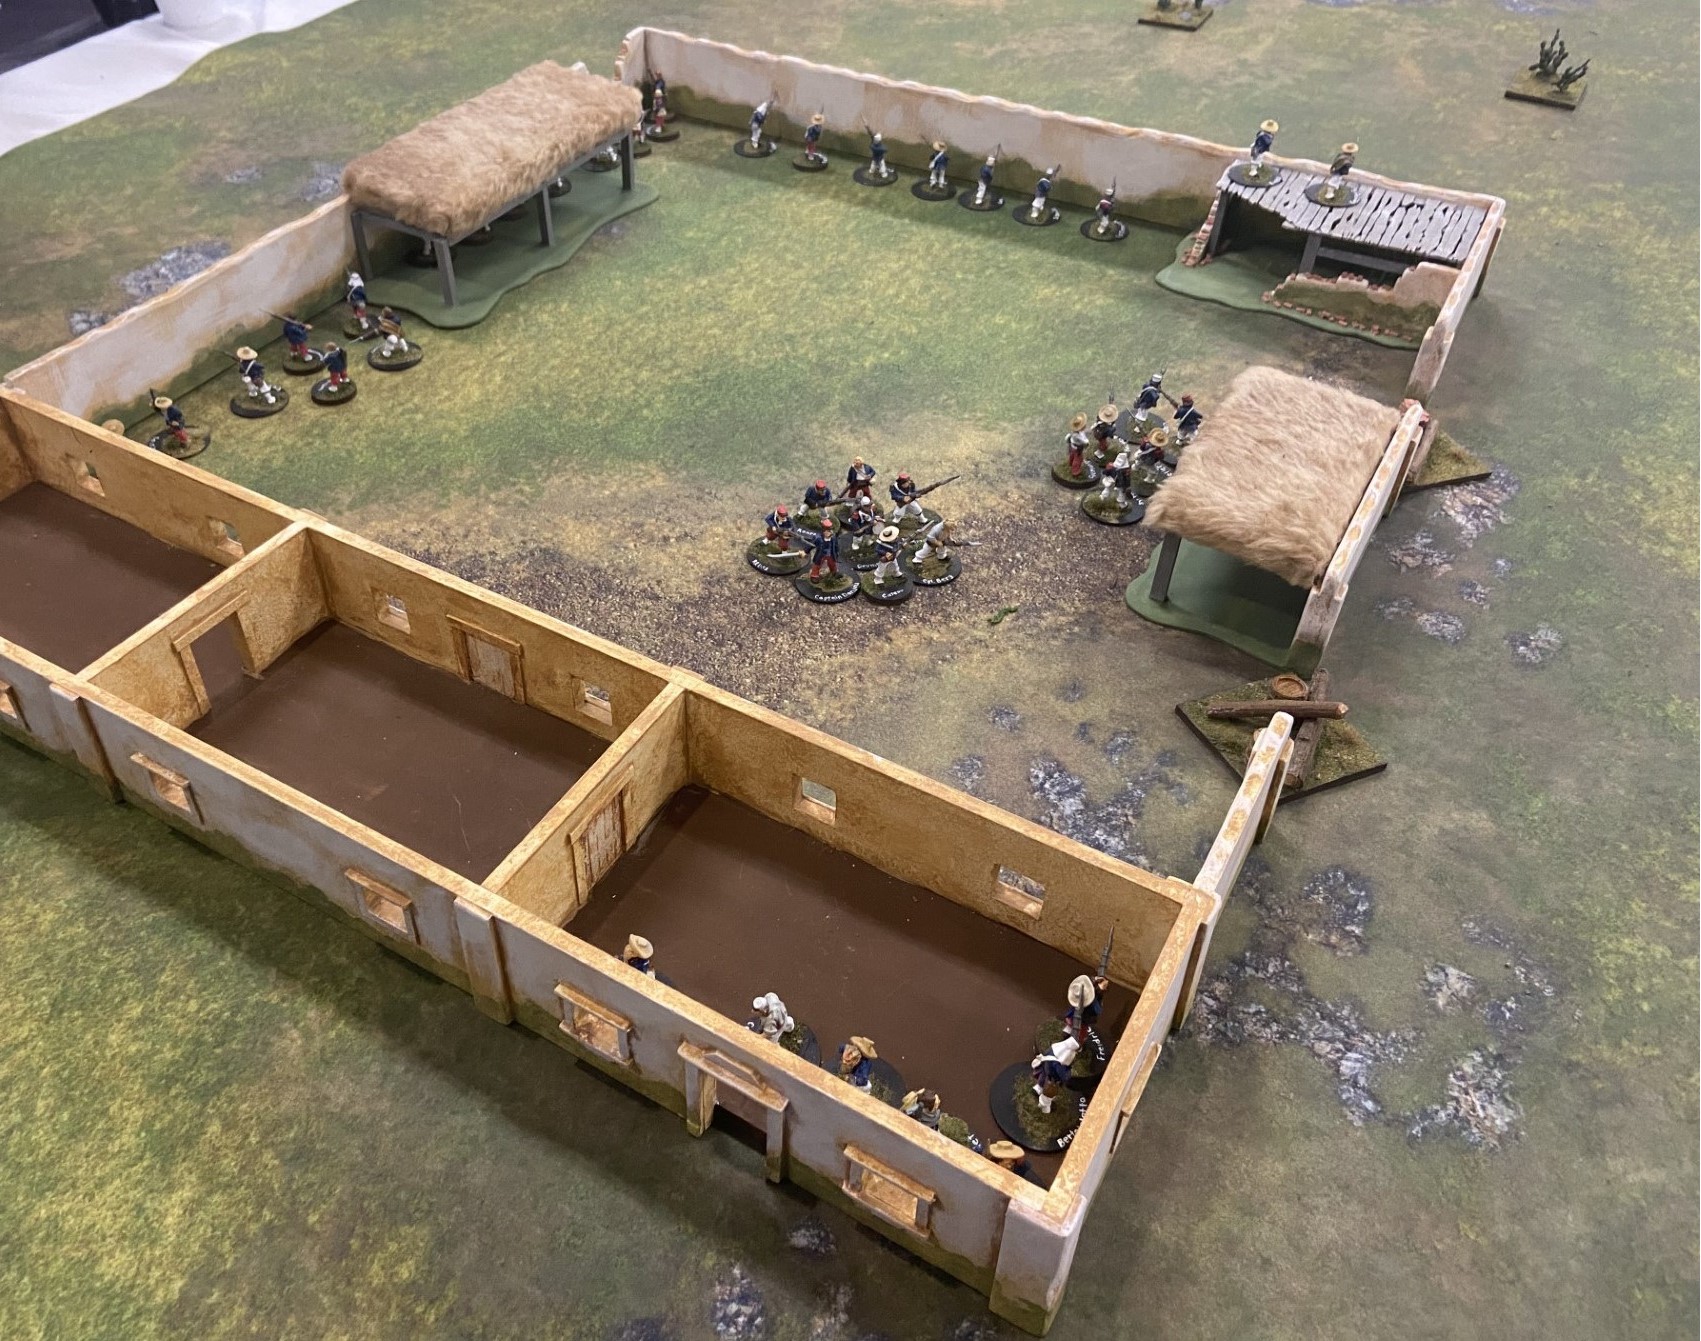
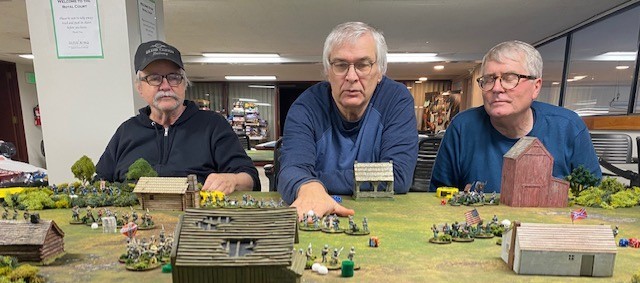
I’m using Daniel Mersey’s The Men Who Would Be Kings. It’s been a while since I’ve played these, so there’s studying to be done. 1898 Miniaturas has done some really cool stuff for wargaming this period, providing some action OOB’s for TMWWBK, as well as stuff for Black Powder (boo, hiss.) I’ve created unit charts for my troops based on their ratings. I ran this game I called “Mambi Justice” on Saturday at Fix Bayonets in old Fort Steilacoom. There was lots of fire and burning things and I had a terrific time. It’s looking like this will be an Enfilade game.
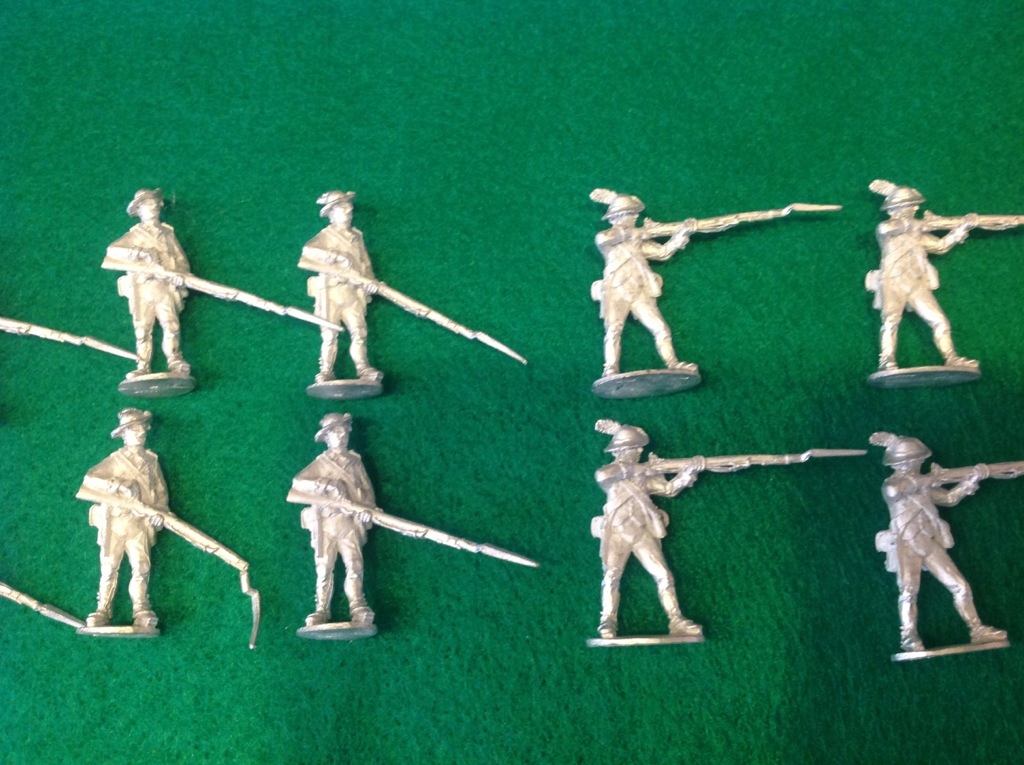
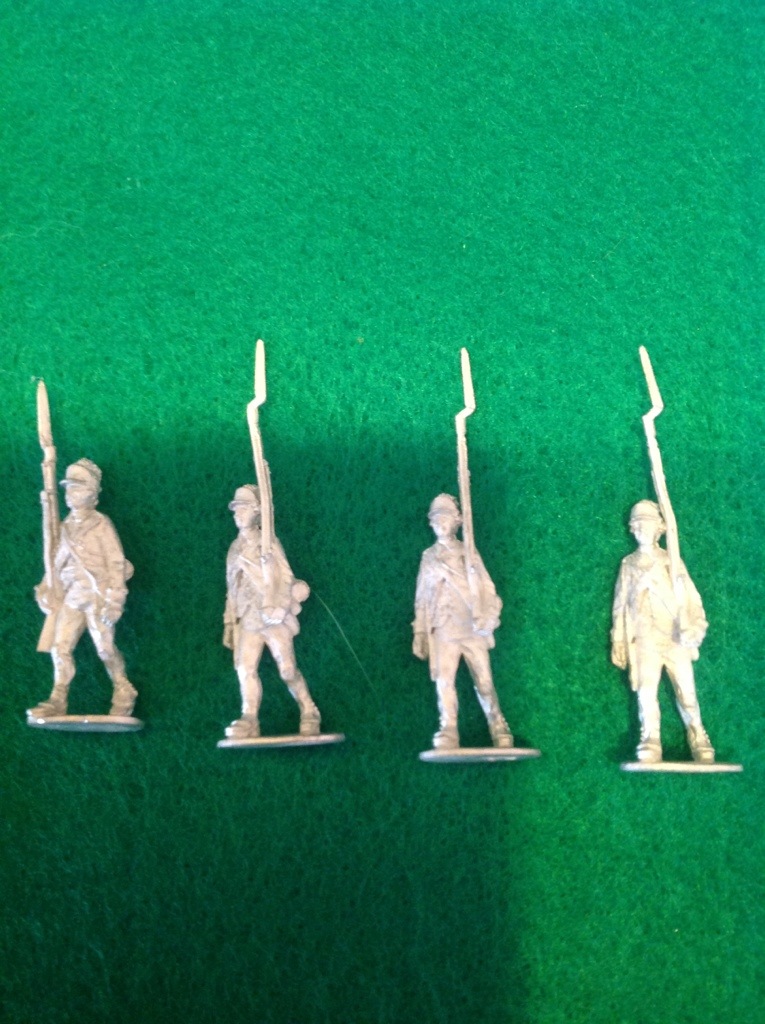
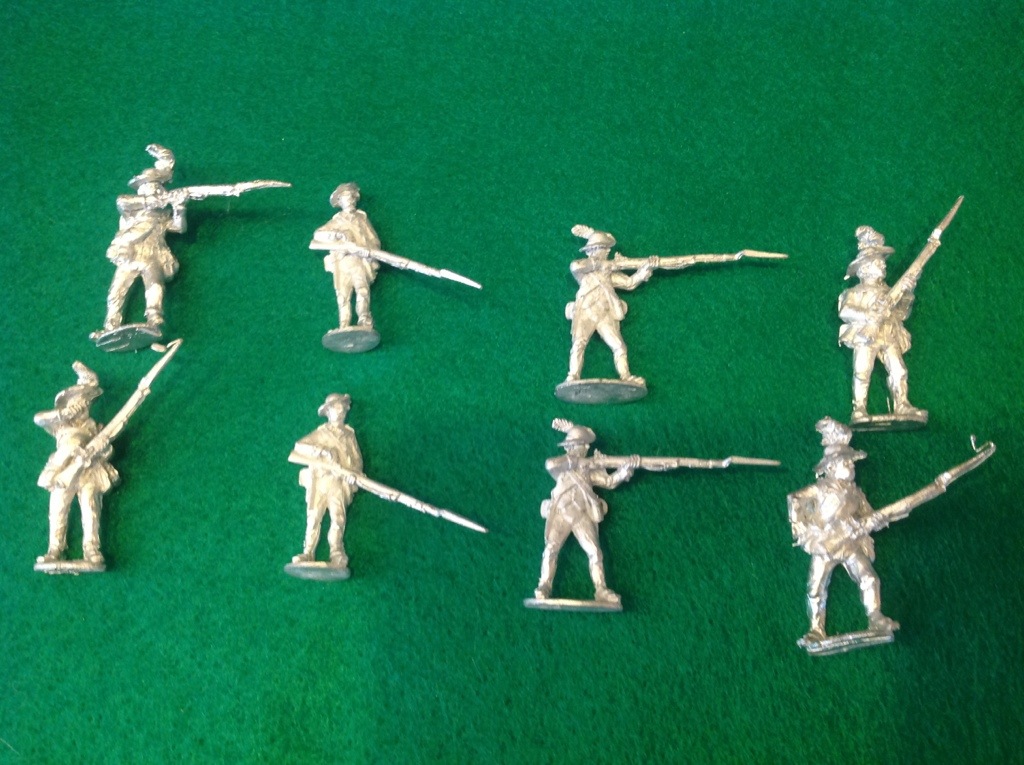
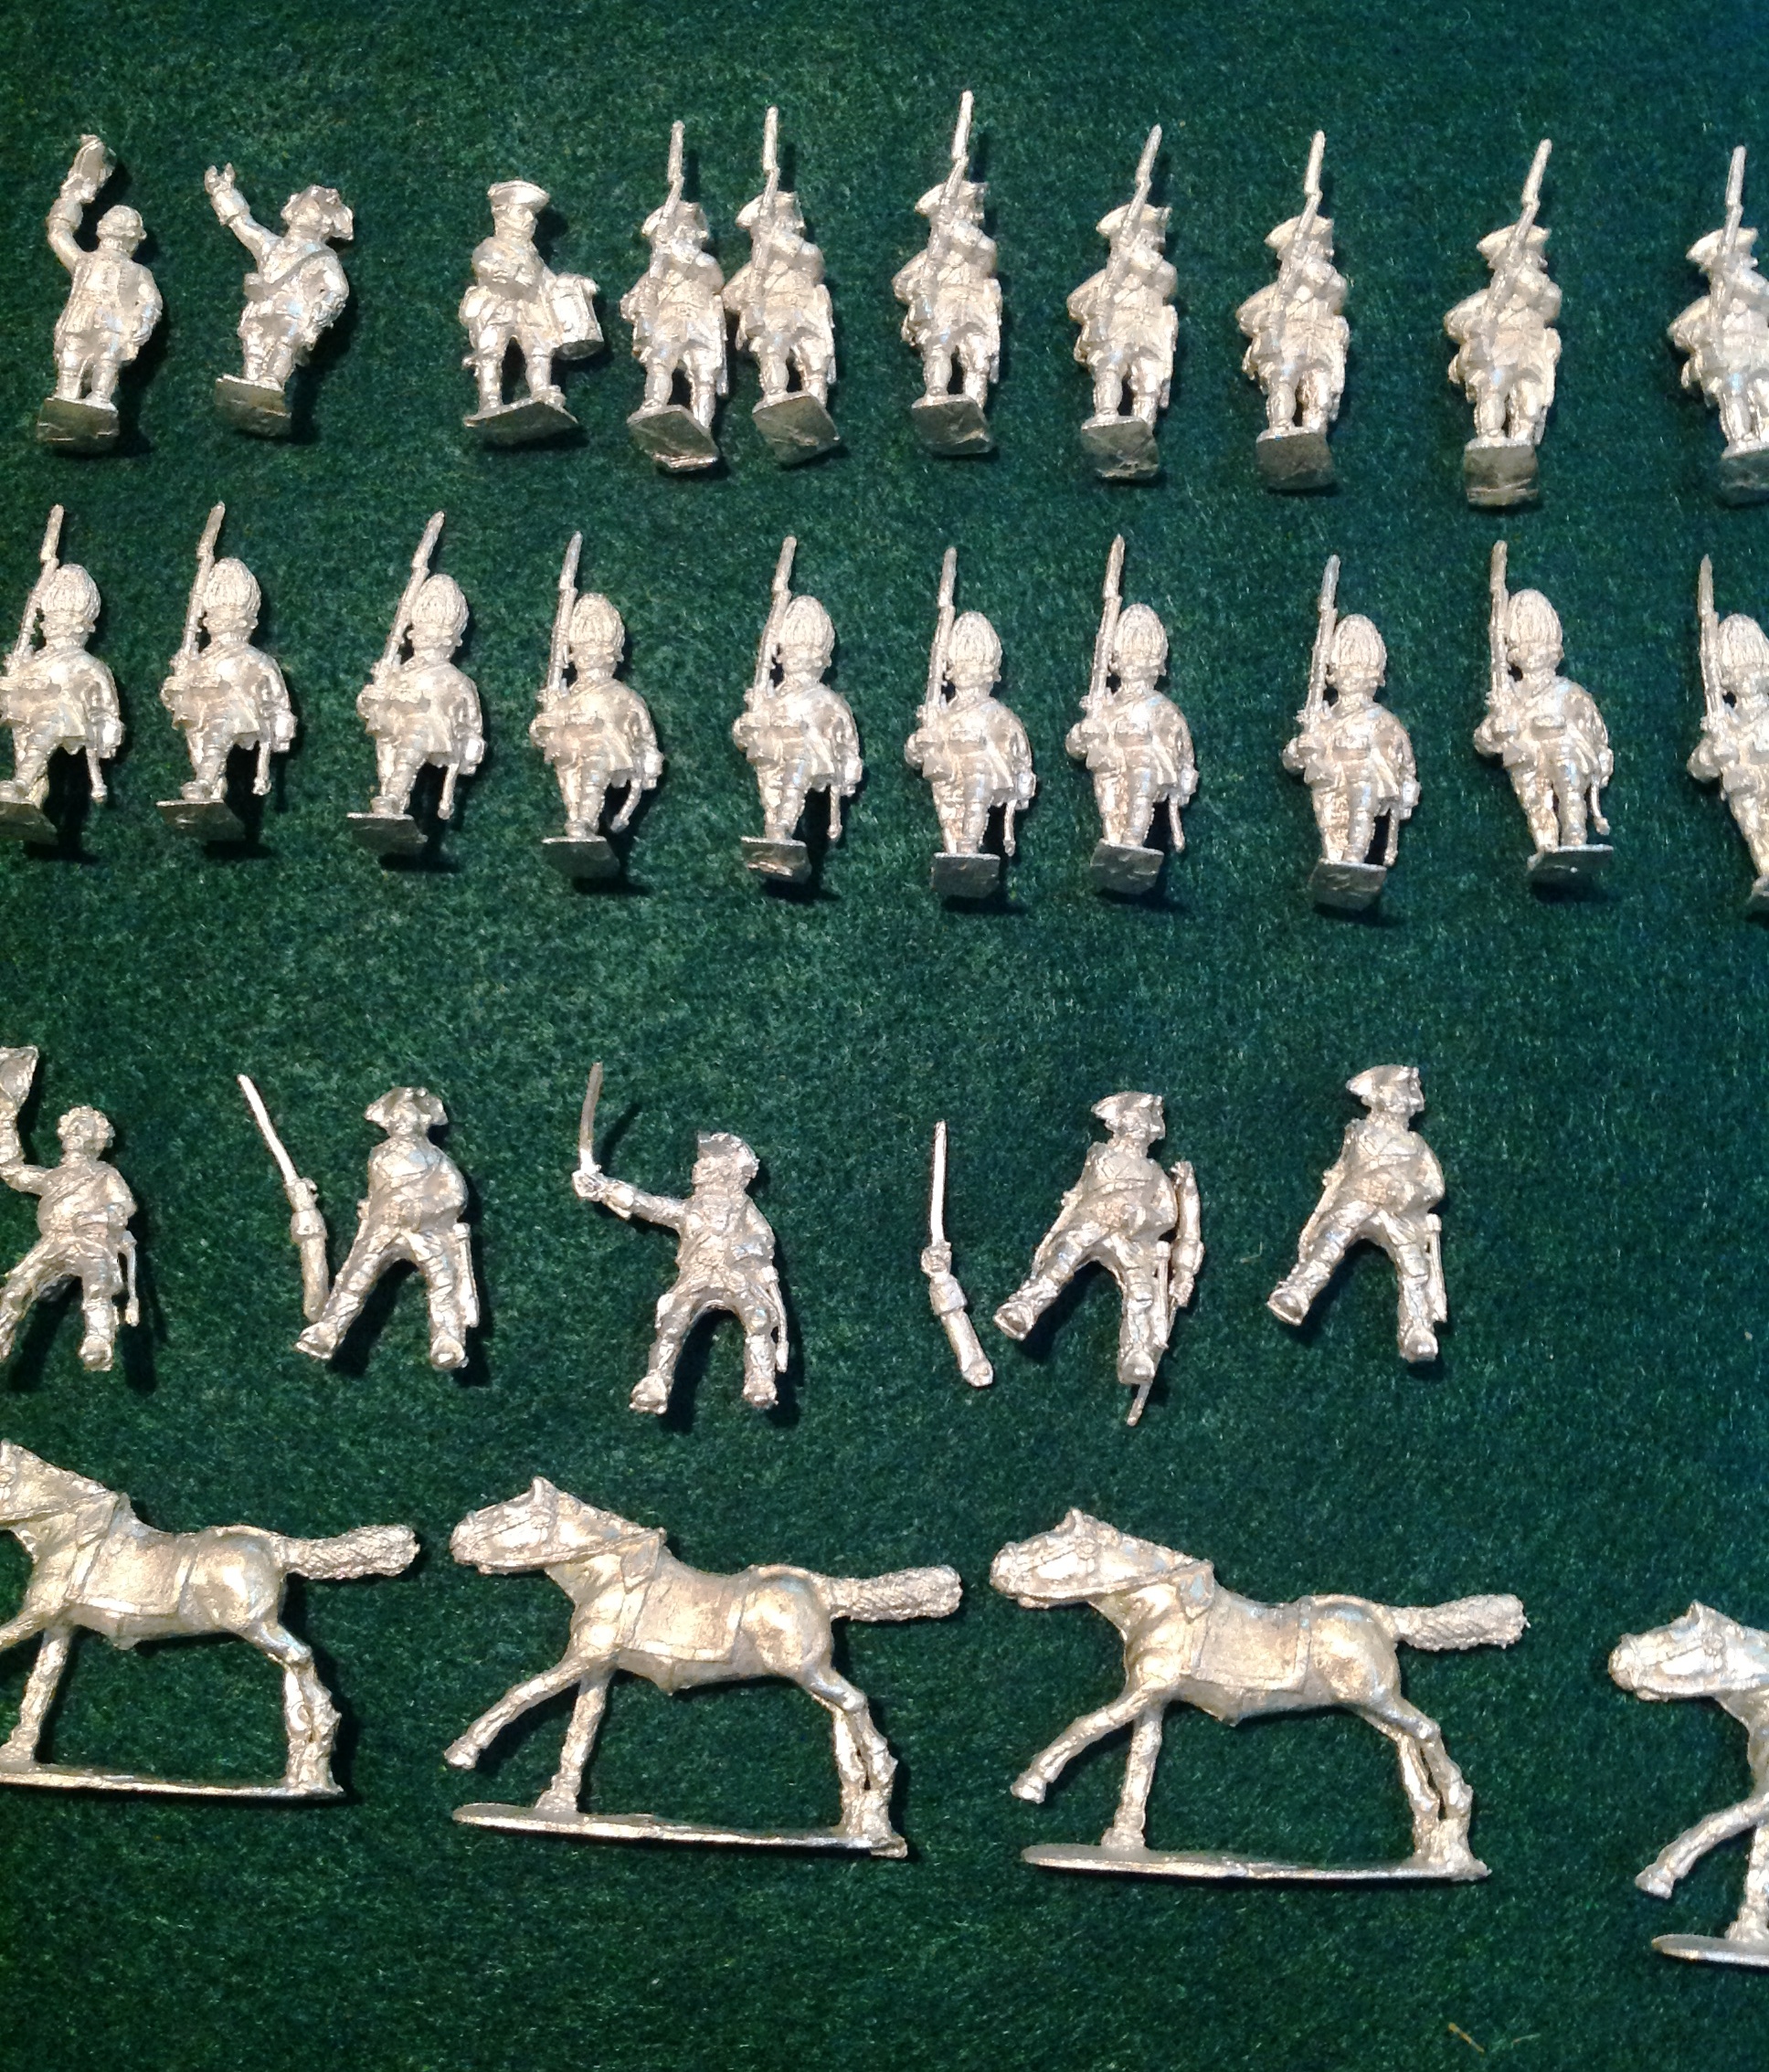
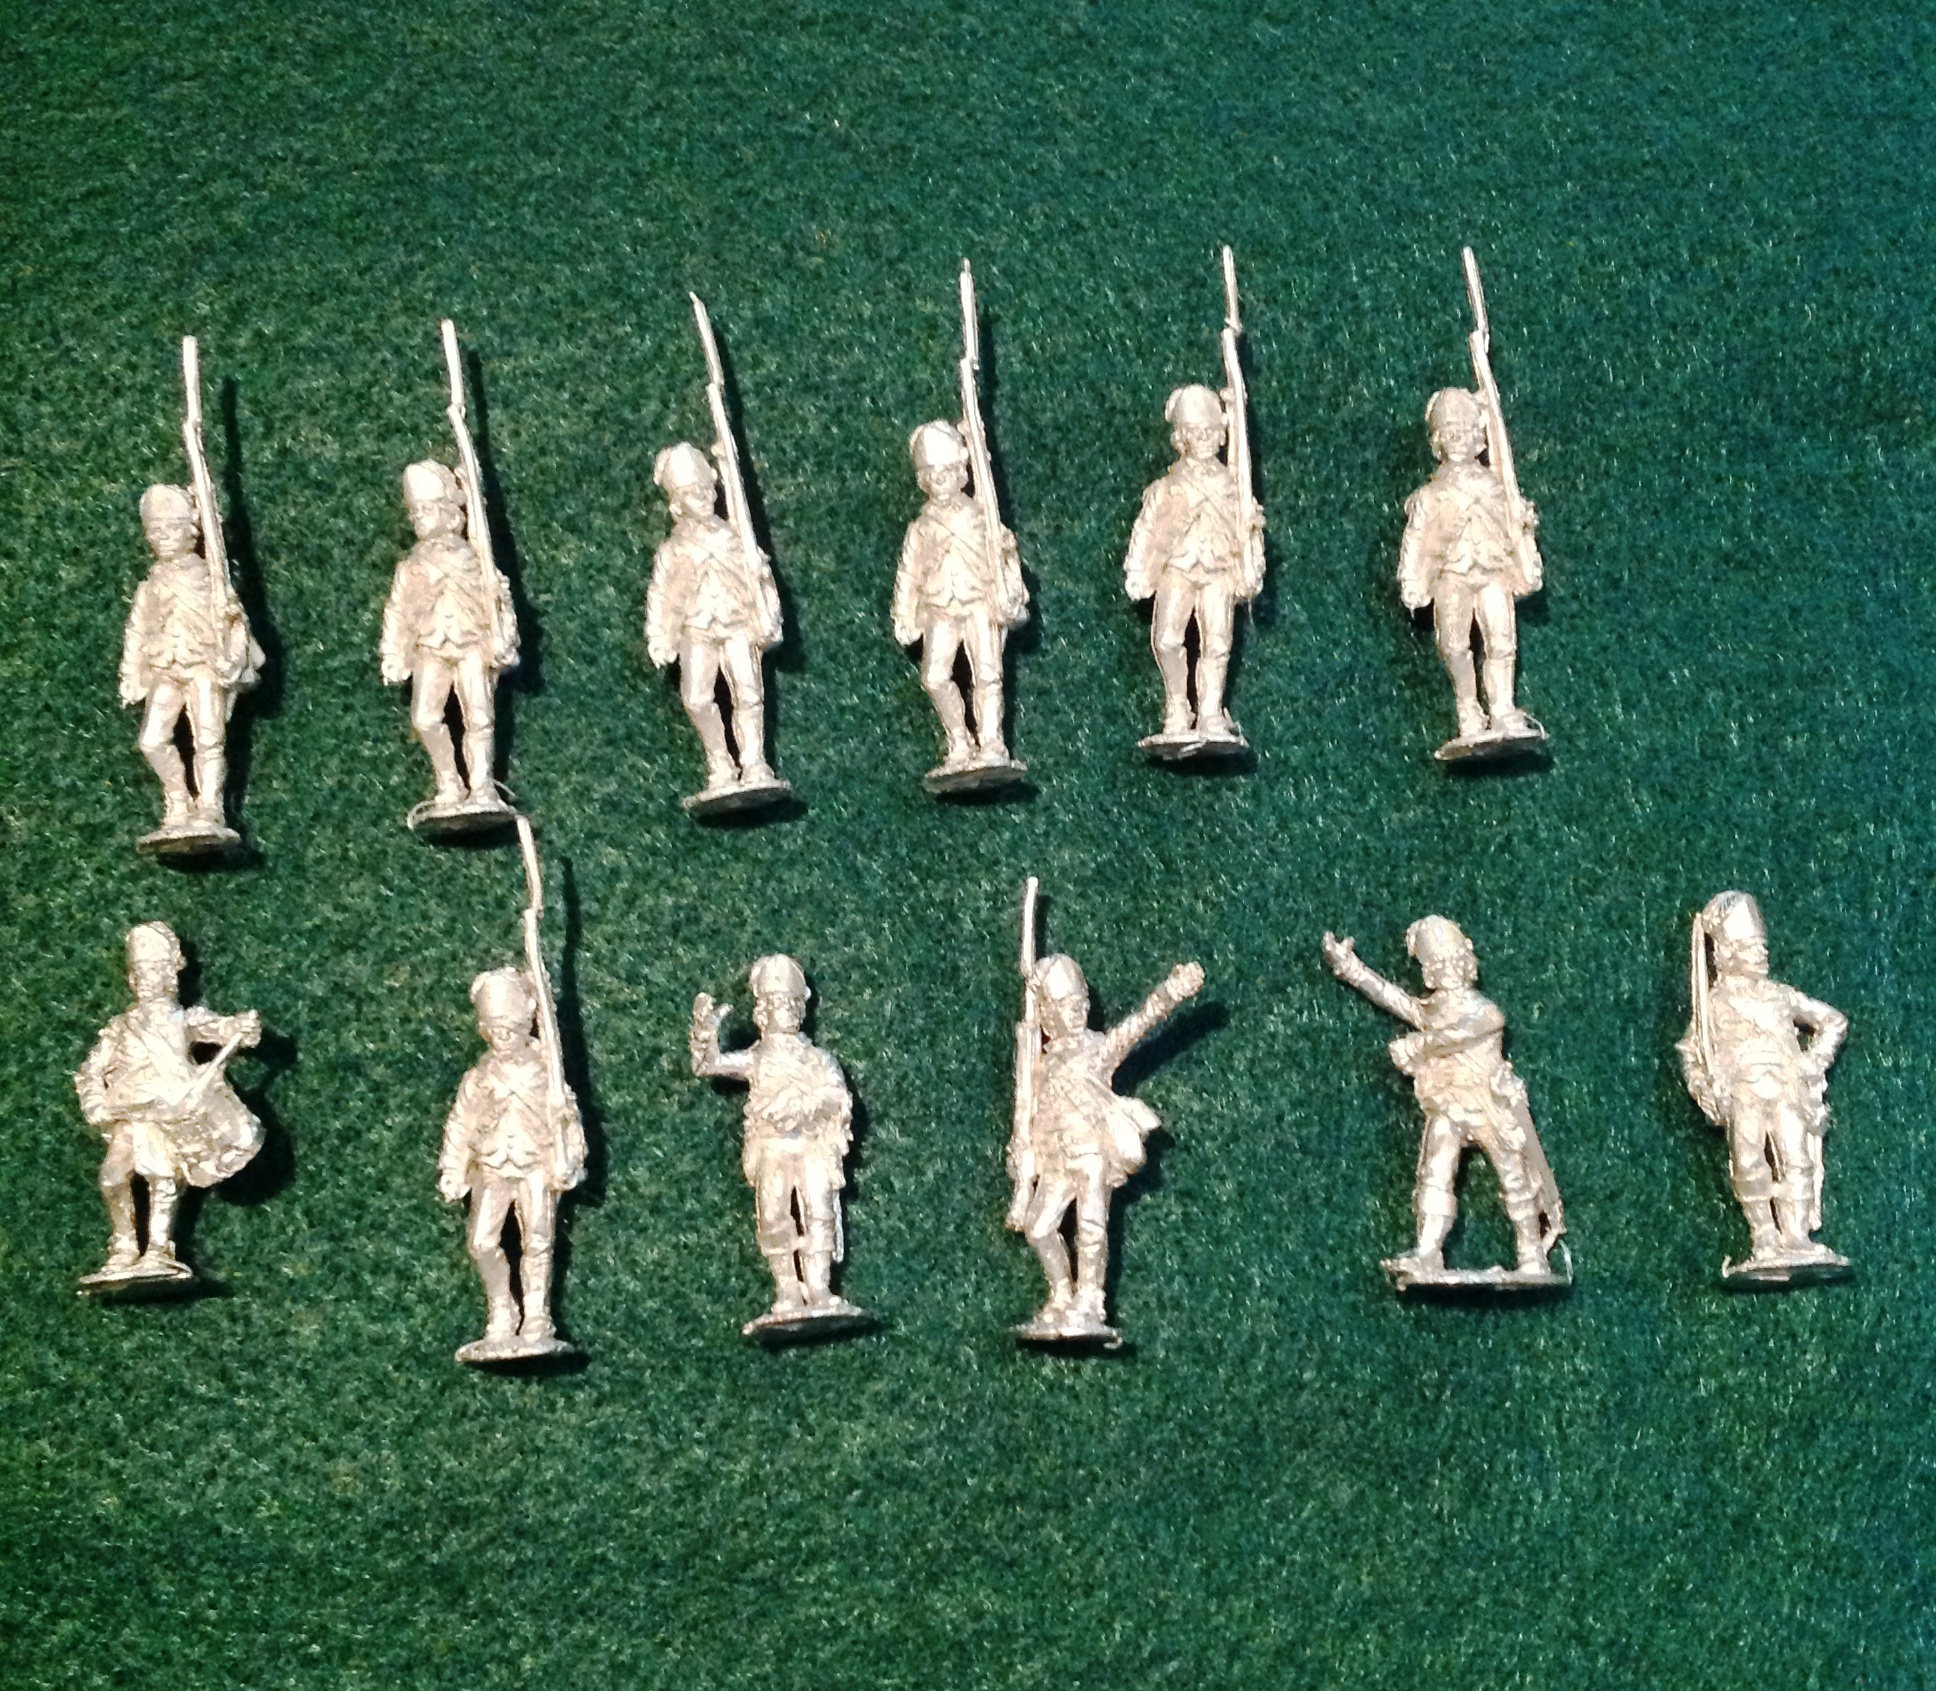
Another project that I’m nearing the end of, I’m not really nearing the end. I’m doing the Spanish Civil War with Michael Koznarsky, Mark Waddington and possibly others. These are 28mm Spanish Civil War figures, chiefly by Empress Miniatures, though today I’ve ordered some figures from Northstar’s fairly limited range.
When did this all happen and why the Spanish Civil War? Well, when we were cleaning out David Sullivan’s garage, we stumbled across his small pile of Empress figures. Later in discussion, the group decided to do a project in remembrance of David and I suggested SCW. Believing it would require limited input from everyone they all said aye. Well limited means different things to different people and Michael and I have jumped in two-fisted. I think we both like the wide variety of troops and the clash of ideologies. The two of us have been cobbling together an SCW Daniel Mersey-inspired set of rules. Some day I hope to be able to share them right here. The rule writing has been really challenging and fun. Michael has been the editor and voice of reason. He’s also come up with super design and graphic ideas, so that’s been a great collegial experience.
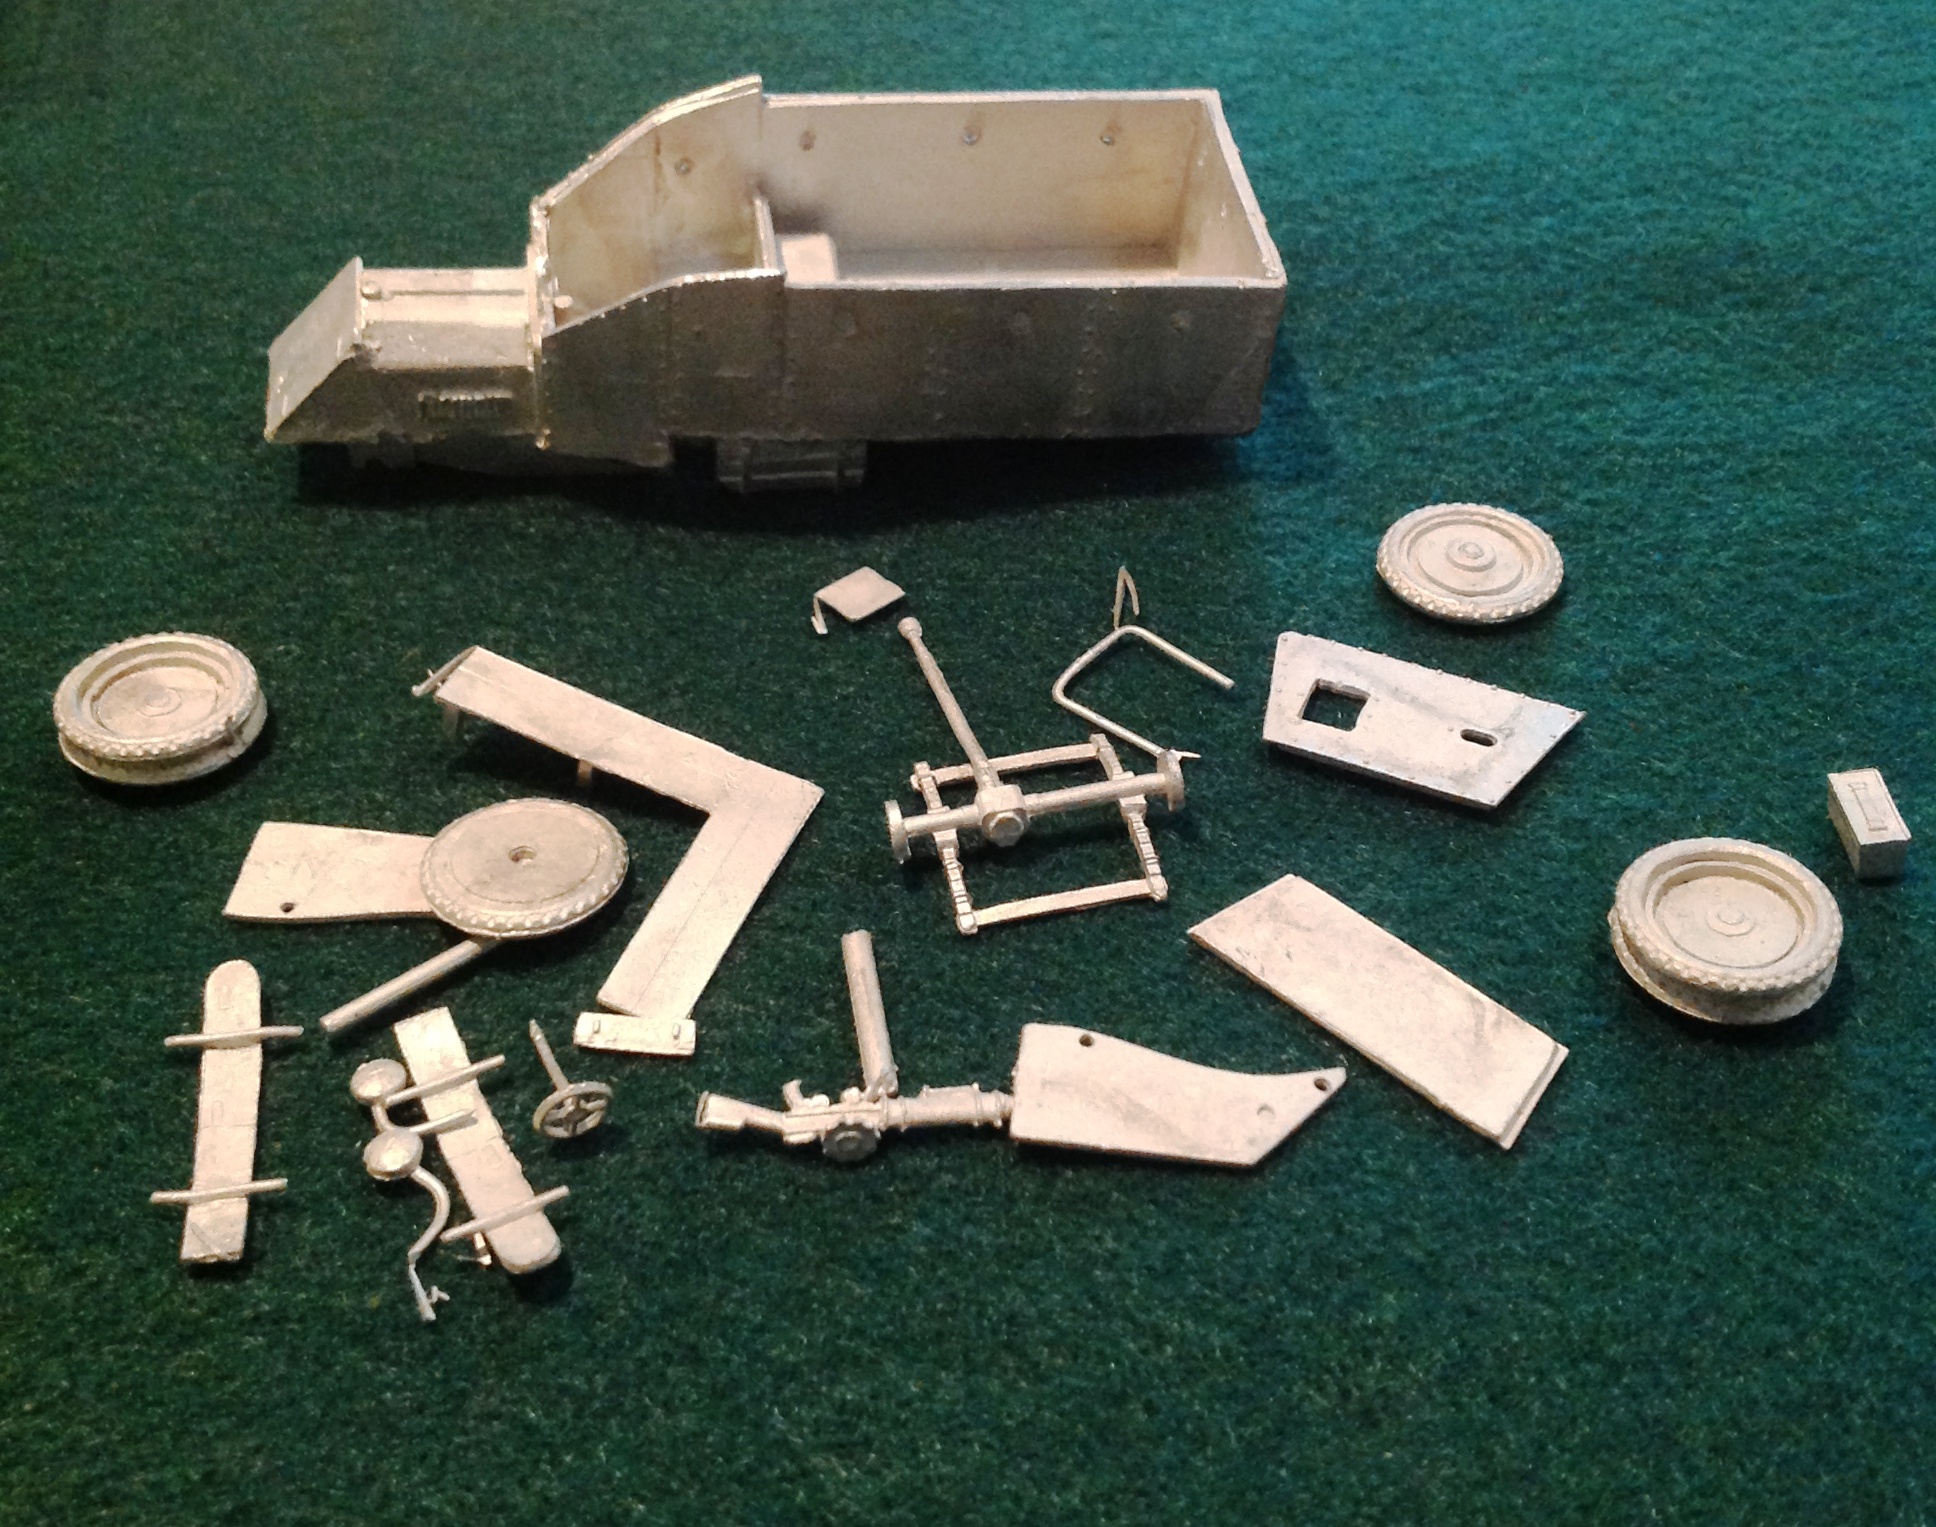
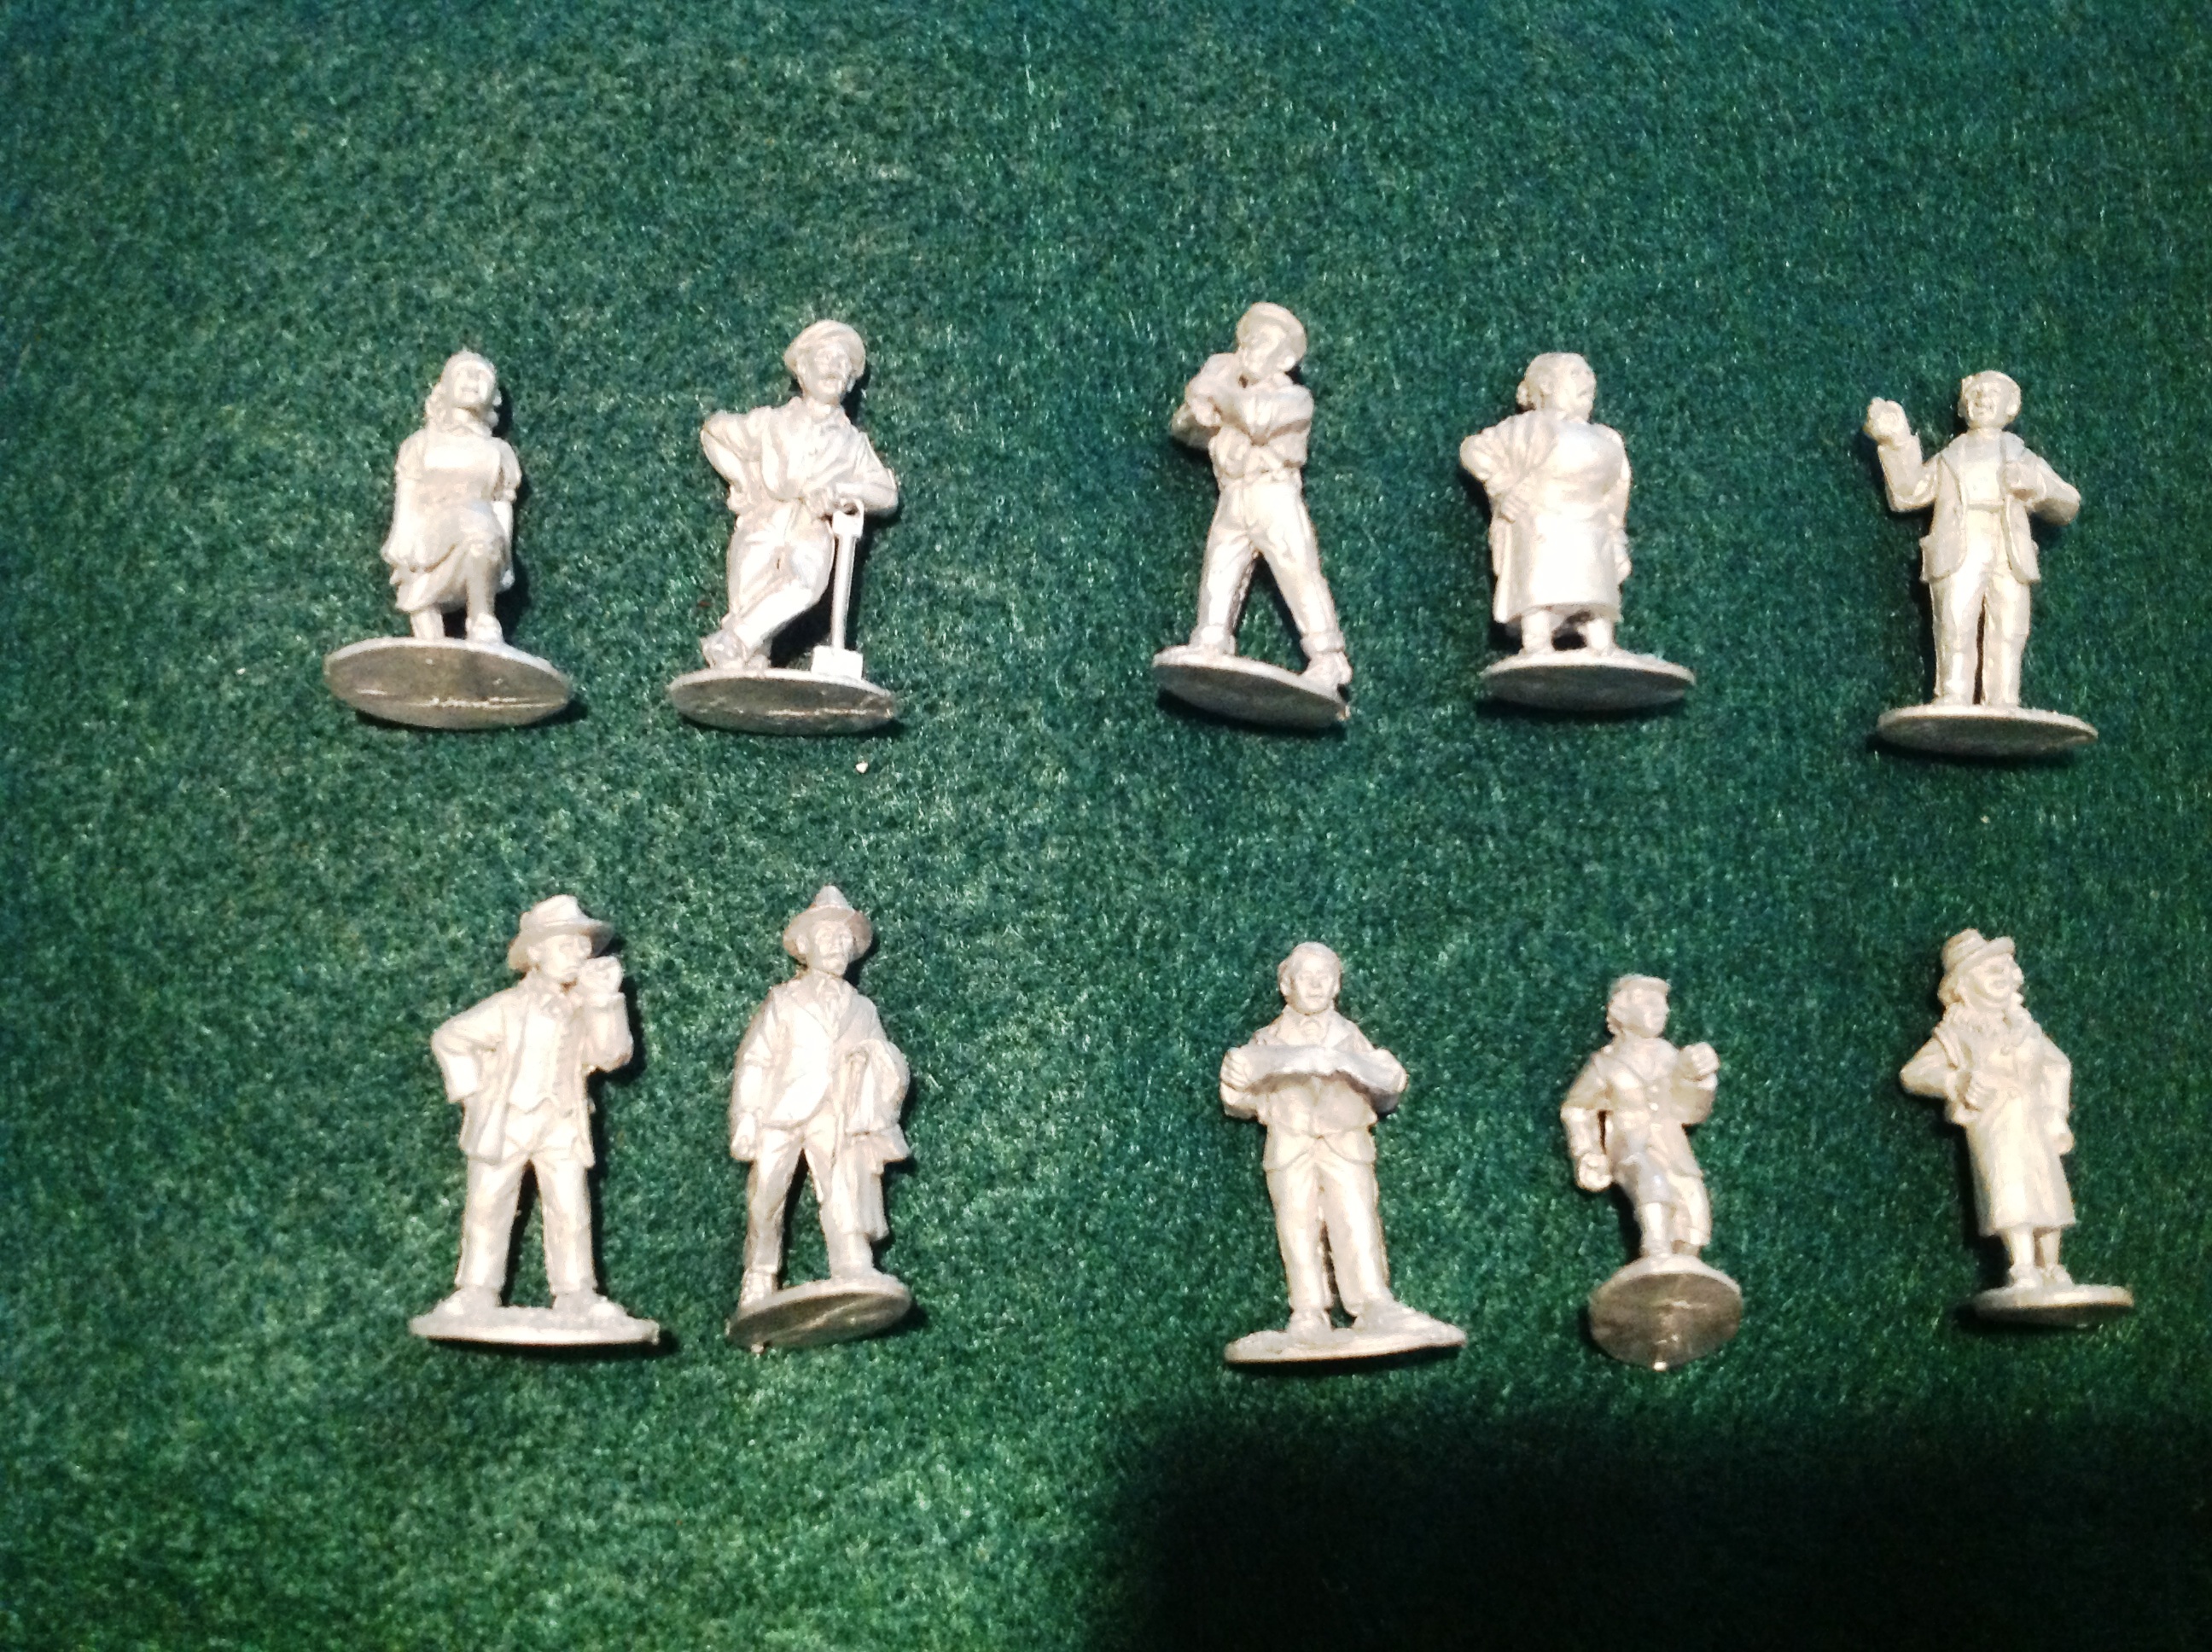
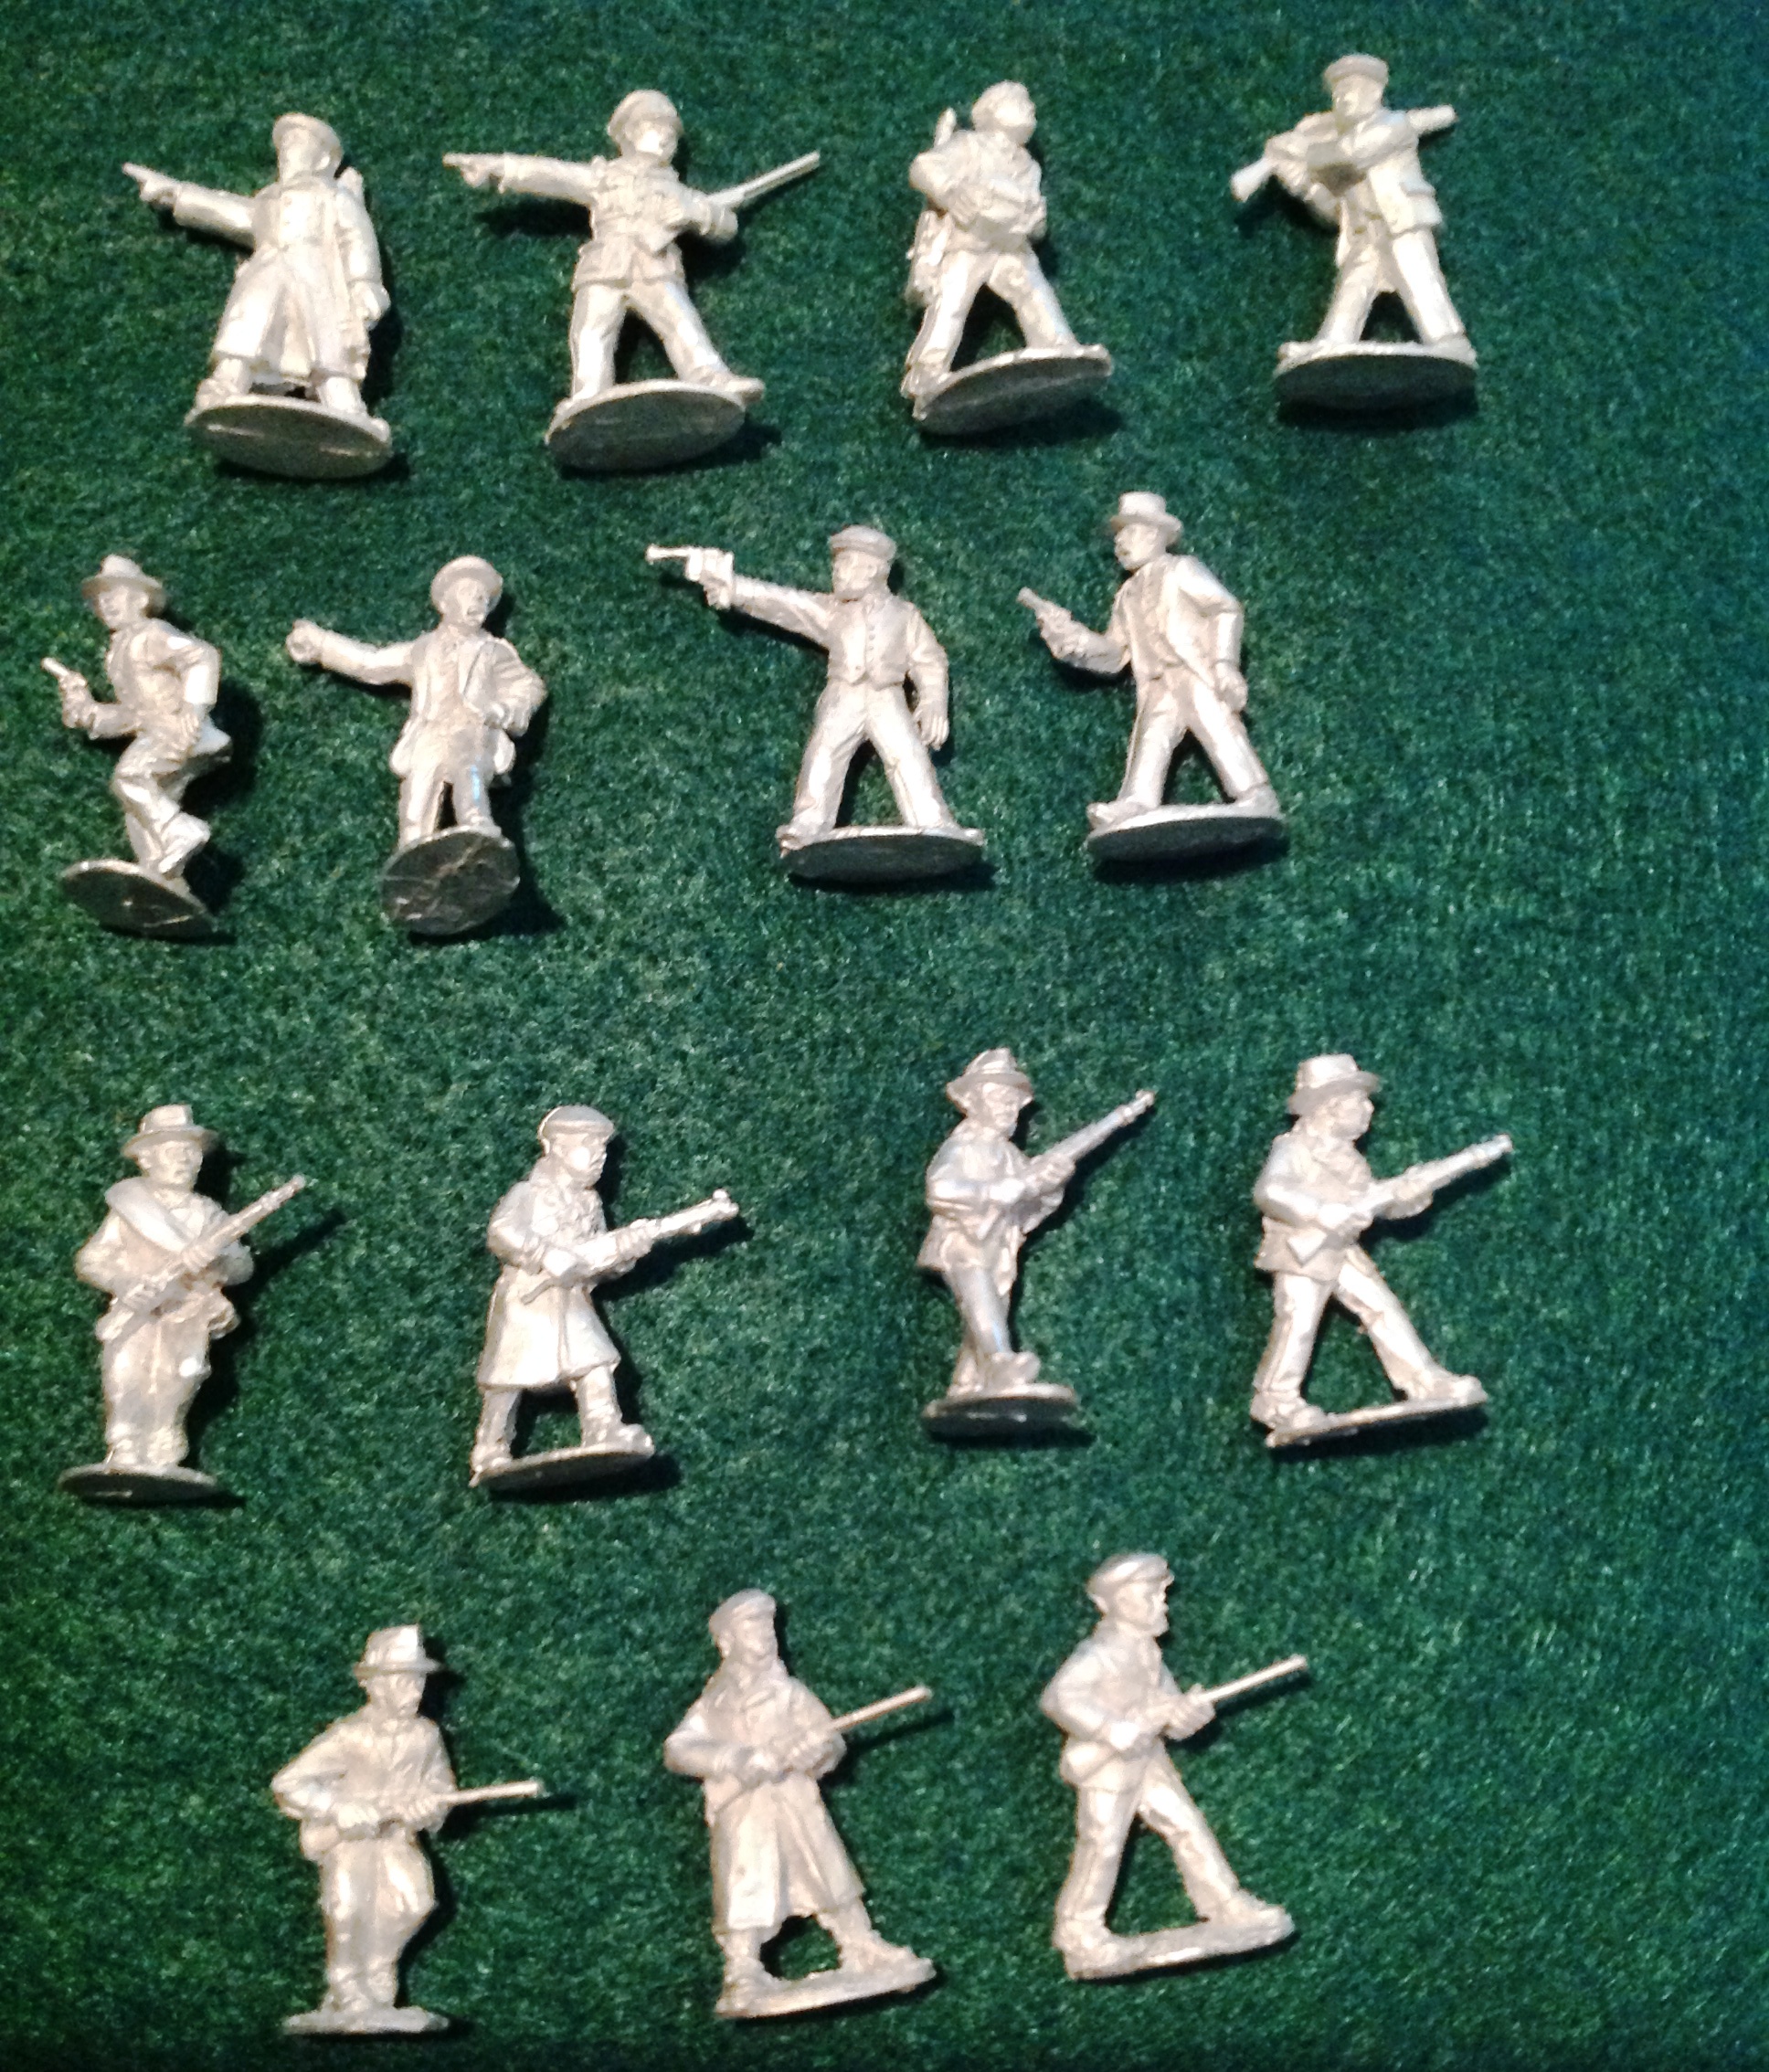
So what does it all mean? I’m currently in with about 100 Republican militia figures, including POUM socialists and CNT/FAI Anarchists. I’m adding a couple amazing (amusing?) improvised armored vehicles. I plan to keep adding other things to my pile. I have Republican regulars on the way. Would love to do some Basque Army units. Some Nationalist regulars and maybe some Falangist militia. Michael and Mark have a mix of other units including Carlists, Spanish Foreign Legion and Moroccans. The rules are intended to be semi-skirmishy and I want to avoid any sizable armored encounters. That’s for a different game, though I know some tanks are inevitable
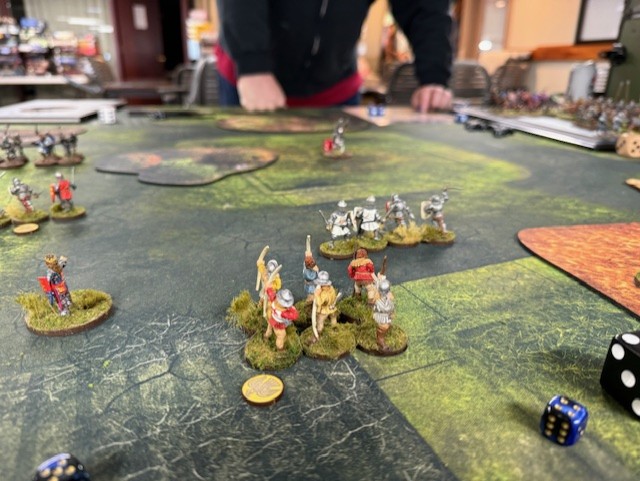
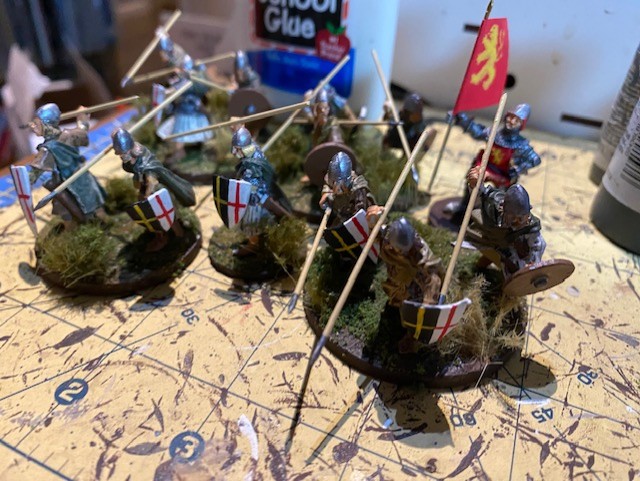
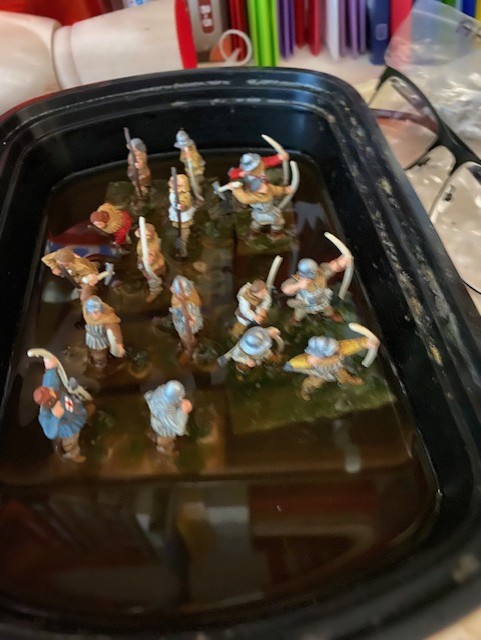
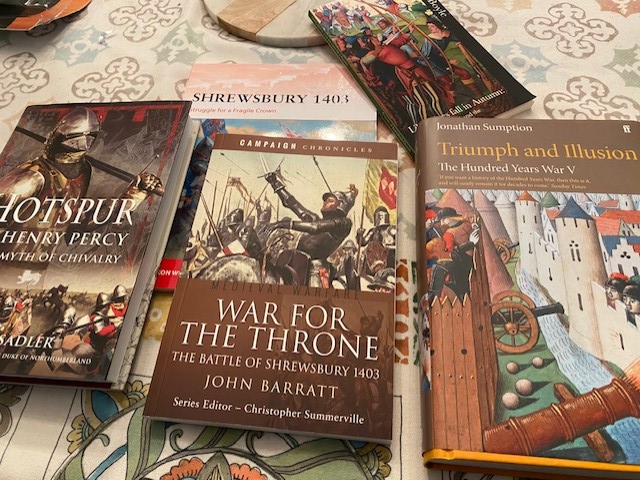
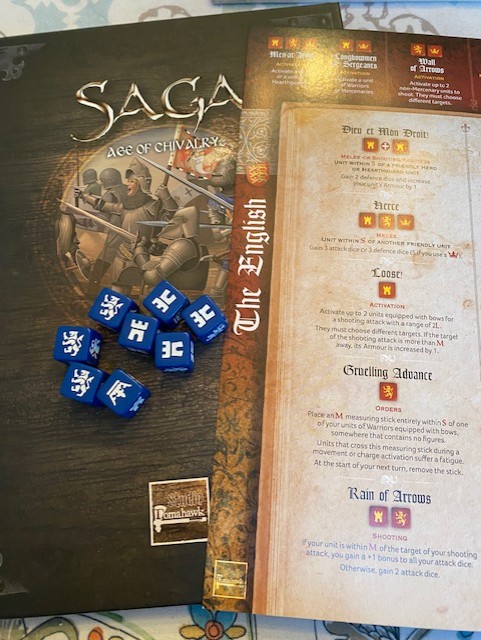
So, with the Cuban Rebellion finished, and the SCW project probably in a state of fits and starts, what next? I have a lot of figures to paint. My friend George would love to do some Vietnam War air battles and I would love to help him. He already has a lot of painted planes, and I have a lot of unpainted planes I’d like to paint. So that’s something I need to pull up on my list of to-do’s. A friend has contacted me about helping with a different air project, the attack on Force Z (the sinking of the Prince of Wales and Repulse in 1941.) That’s an Enfilade project and I’ve signed on to. Both the Vietnam and Force Z projects will get my nose back in David Manley’s air rules, which I’ve sworn I will do. There is some ship-building and airplane-painting needed, but nothing super major. Finally, I have my Blanchetaque game that will continue the Hundred Years War painting and basing. I’ve had enough of a break, that I can get things going again.